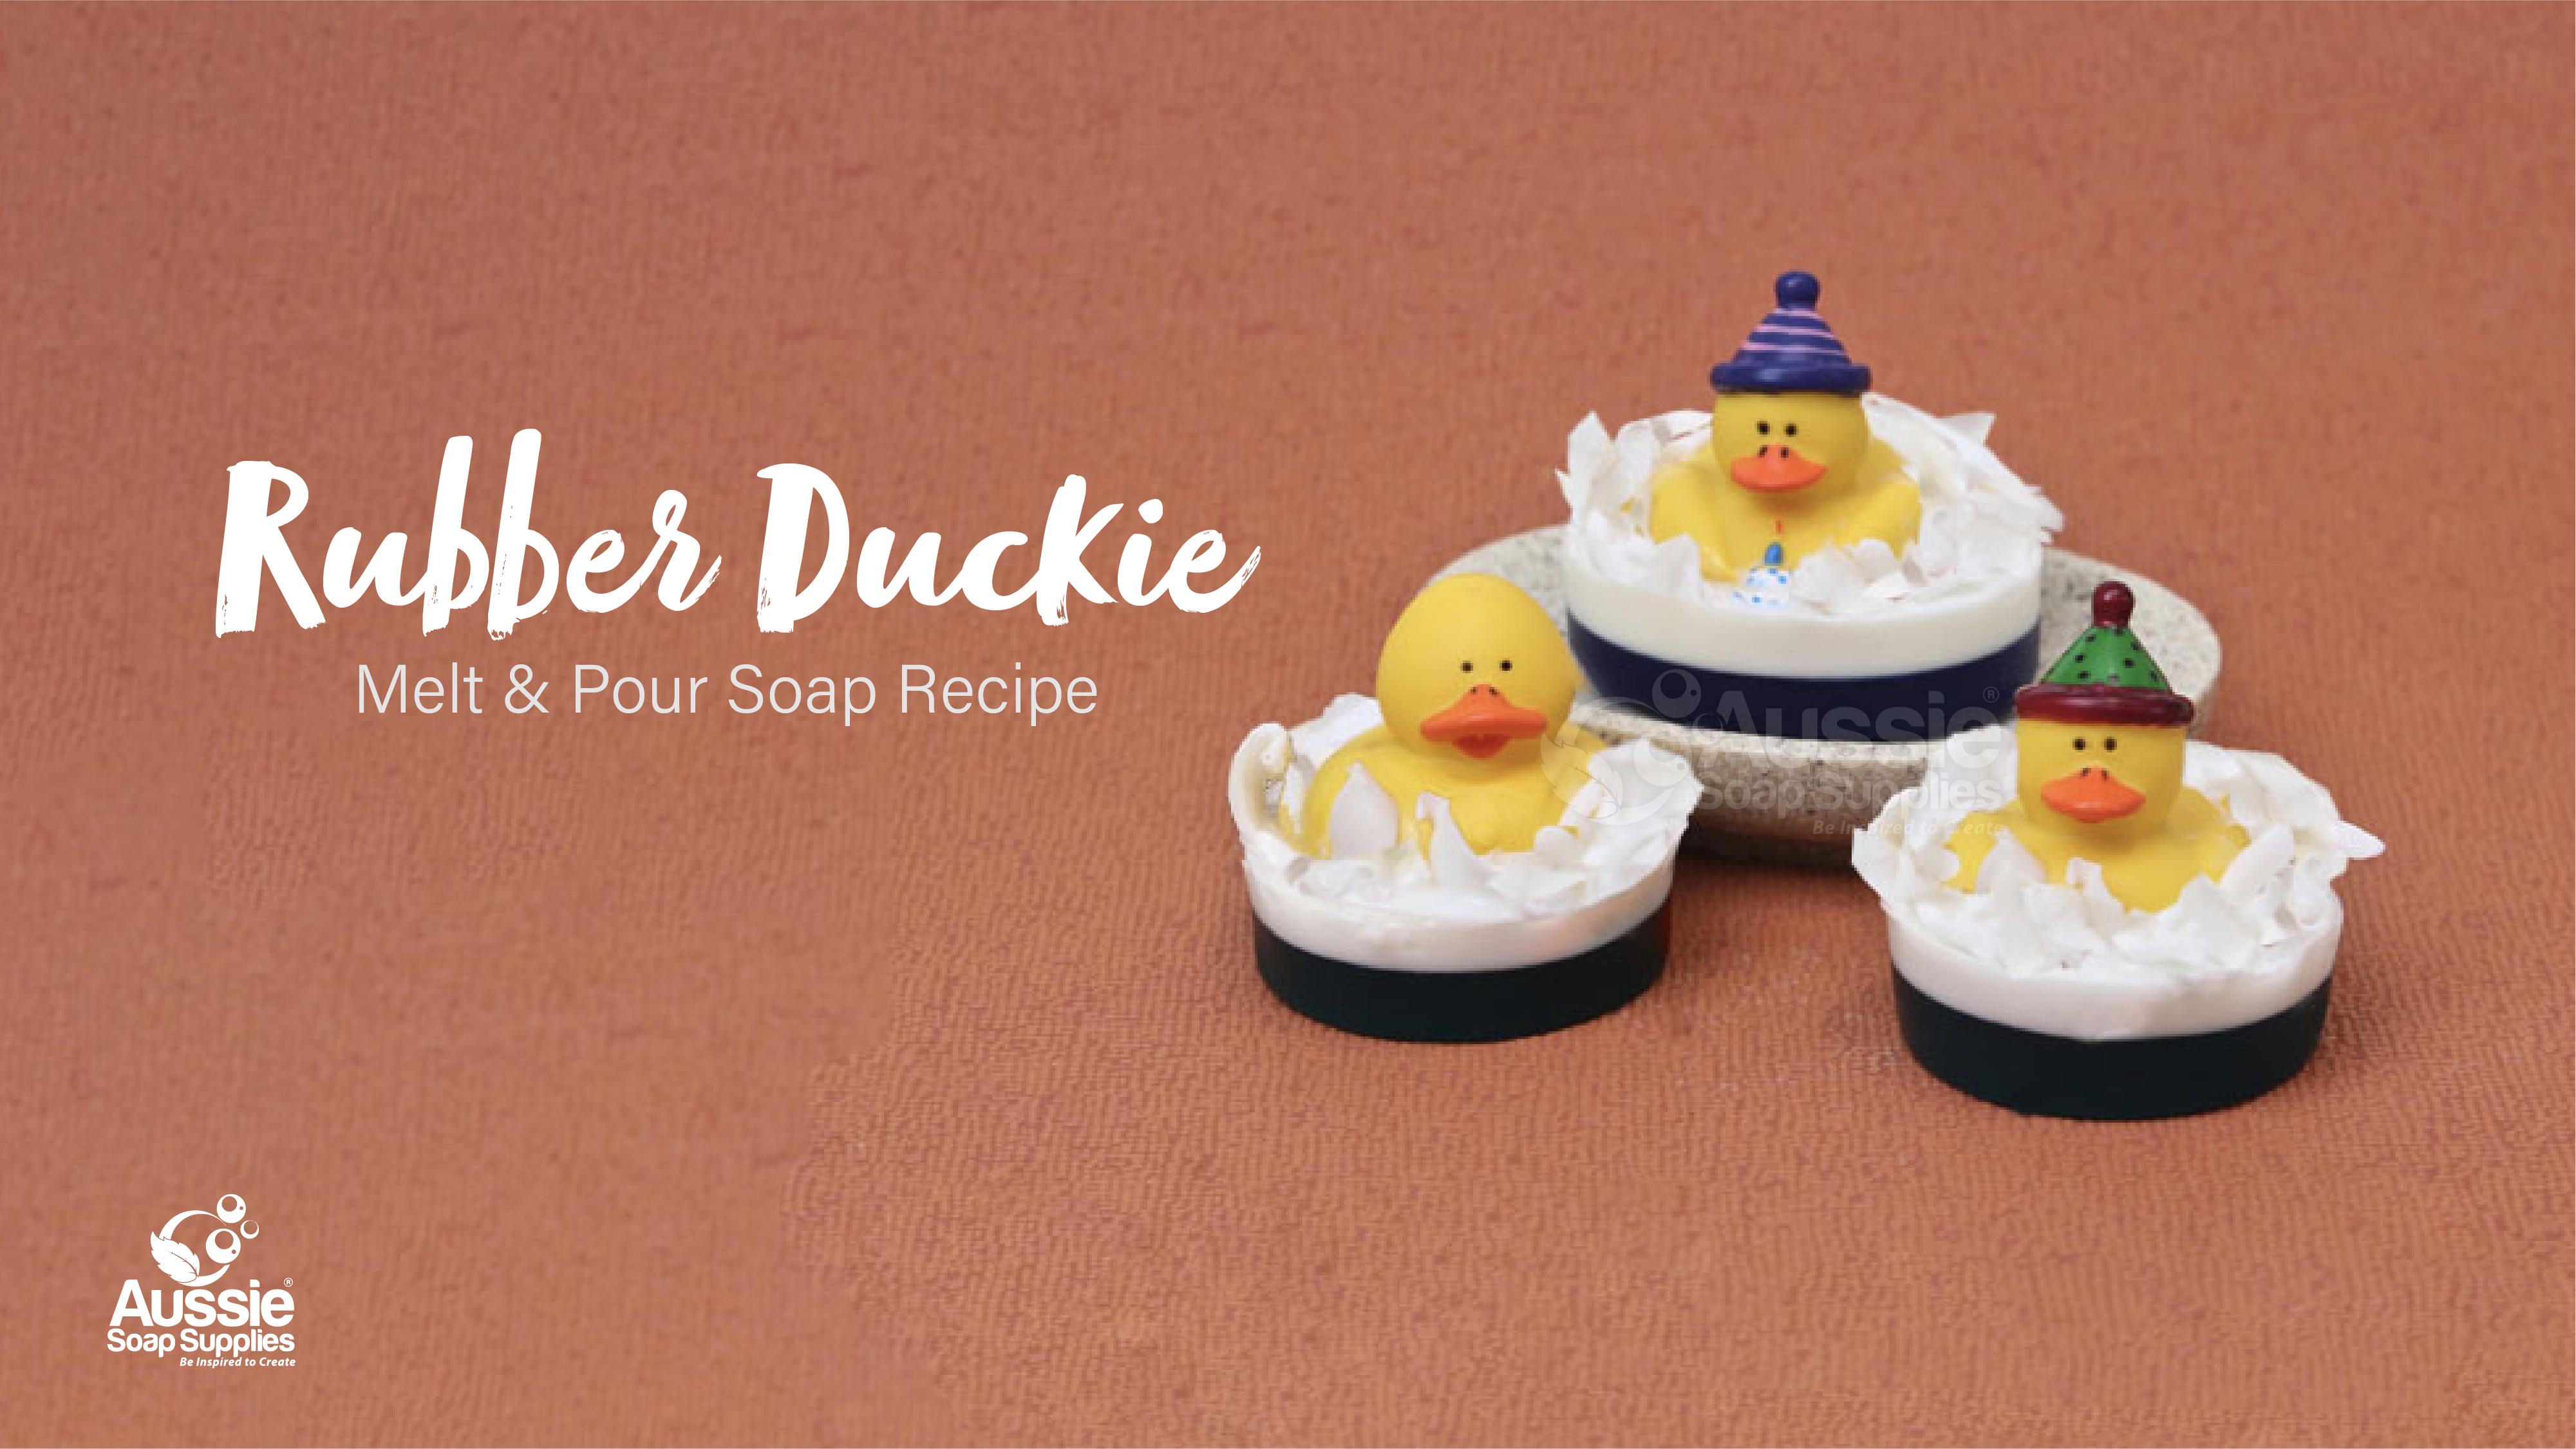
Our ducks have always been popular, and you can make them in a pond using any moulds that allow the ducky to sit surrounded by soap. Appealing to all ages, a little touch of whimsy makes most of us smile!
This project is also available in a complete Kit on and makes 12 Duck Ponds in our silicone moulds.
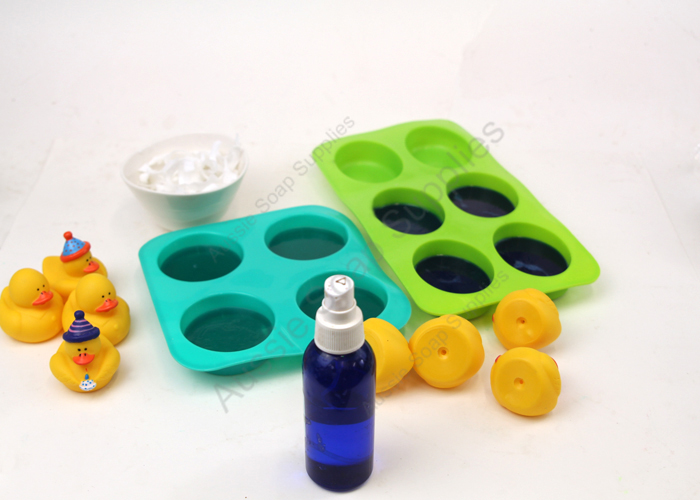
What you Need:
- Clear Melt & Pour Soap Base
- Deep Blue Liquid Pigment Dispersion or Deep Seagreen Liquid Pigment Dispersion
- Liquid Titanium Dioxide or White Melt & Pour Soap Base - For the top and the foam
- Monkey Farts Fragrance or Yuzu Fragrance
- BW Flex Mould - 4 Round Deep
or - BW Flex Mould - Oval 6 Cavity
or - Budget-Wise Flex Mould - 4 Oval Deep
or - Budget-Wise Flex Mould - 4 Hexagon Deep
- 12 x Yellow Rubber Ducks or ducks of your choice
- Isopropyl Alcohol & Spritz Bottle
Equipment:
- 1 x 500 – 750ml microwave safe jug (plastic doesn’t get hot) or Long Spout Pouring Jug (which is easier for the white pour)
- Plastic spatula, spoons etc and a knife to cut the soap base
- Isopropyl Alcohol & Spritz Bottle *This is not absolutely necessary, but it will help your duck stay stuck in the soap!*
- A vegetable peeler - If making white soap shreds for foam
Tips:
- If using the BW Flex Mould - 4 Round Deep the ducky is a snug fit, so it does not hold much foam, if using the BW Flex Mould - Oval 6 Cavity there is more space for the duck and foam
- Try and set the duck into a minimum of 5mm of soap otherwise he may pull away from the soap. When unmoulding – don’t pull your duckies out by their heads! Unmould the soap, not the duck
- Avoid overheating the soap as this will make it sweat more during storage
- Be patient! If you try and unmould the soap before it is totally set and cold, it will tear or stretch and dislodge your duck, and then it will need to be re-melted and poured again
- Store finished soaps in an air tight display jar, or wrap in cello wrap, cello bags or “cling film”
- Don’t waste any little left over pieces of soap, re-melt these together and make another bar

Okay let’s go!
Are you using a White Soap Base for the shreds and foam? If so, ignore the making white soap prep step!
Instructions:
If using the BW Flex Mould - 4 Round Deep I allow 40g for each of the two layers, and if using the BW Flex Mould - Oval 6 Cavity I allow 50g for each of the two layers.

Step One: White Soap Prep Step: If you have clear soap and need to make the white soap: Add sufficient clear cubes for the first colour pour for your particular mould into the microwave safe jug (around 400g is ideal). Heat in short bursts until it is all melted . Colour this with Titanium Dioxide to achieve a nice opaque colour, then add around 3g/ml fragrance or essential oil, and stir well to combine and then allow to set up. Pour some of this into the spare mould, no more than 200g and allow it to set up. While this is set, place the jug with the rest of the site soap in aside to remelt later

Step Two: Dice the rest of the Clear Soap Base into 1 cm cubes. Place into the other microwave proof jug and melt soap in microwave on medium-low in bursts of 30 seconds, stir and repeat until nearly all liquid
Step Three: Remove from the microwave and then add fragrance and colour the soap, stirring well to ensure it is well mixed. Spritz the top with Isopropyl Alcohol to remove any bubbles on the surface

Step Four: Pour into mould cavities until approximately two thirds full. This means the level will be approximately ½ cm from the top of the mould - you'll fill this part next. Set the rest of the coloured soap aside for the next batches
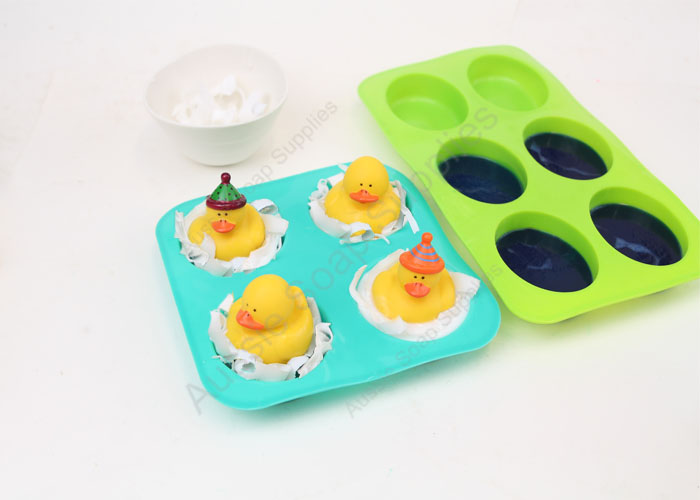
Step Five: Once a thin skin forms on the surface of the soap, spritz the surface of the soap with isopropyl alcohol and then a quick spray on the underside of the ducks and then position your ducks in the centre of each. The alcohol helps soap layers to stick together and *glue* in the duck. Don’t breathe the fumes as they are ick, and don’t worry, that smell quickly dissipates and won’t affect your fragrance. Press very gently on the duck to seat him on the soap

Step Six: Now unmould the two individual white soaps and use the grater or vegetable peeler to shred them. Then gently remelt the rest of the white soap in the jug
Step Seven: Spritz the surface of the coloured soap again, and then arrange a nice amount of white soap shavings around each duck, so they nestle around him, and then spritz them with alcohol. Immediately after you have done this, pour the white soap around the duck and over the shreds so that they are nestled and embedded in place
Step Eight: Allow to set for several hours. Unmould carefully! Release the airlock by stretching out the silicone and ease the soaps out of the mould. If you just lever the soap out the mould they may break away from the foam
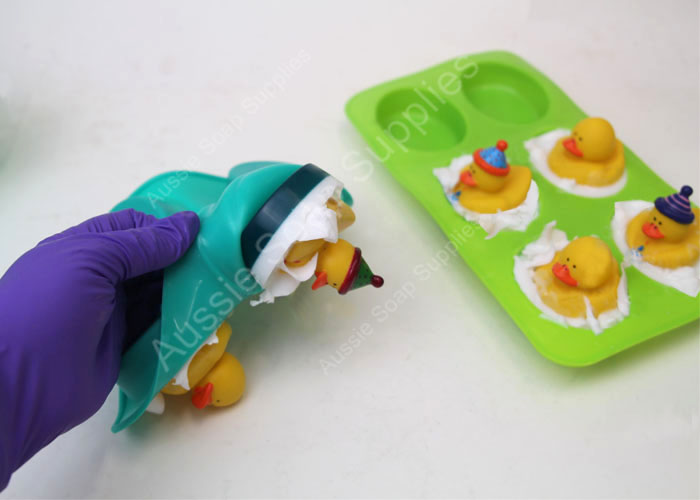
Step Eight: Repeat using all your ducks! Don’t forget to wrap your duck ponds in Cello Bags, or perhaps a tall elaborate cello cone and glitzy ribbon is more your style!
You can make 4 more batches of 200g. If you have some soap left that didn’t fit in the mould cavities, just remelt it in your next batch taking care not to overheat
This project is also available in a complete Kit on THIS page and makes 12 Duck Ponds in our silicone moulds.
| Difficulty: | Intermediate |
| Yields: | 12 soaps |
| Time: | 1 hour |


