These products have been deleted by the manufacturer, so this tutorial is here for the use of those who have already purchased these products.
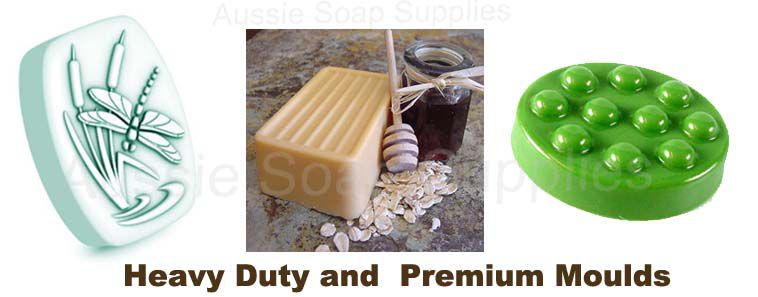
These designer soap moulds are used to create professional Cold Processed, Hot Processed and Melt & Pour Soaps, Bath Bombs etc. These strong and durable moulds are manufactured to the highest standard. Our quality Heavy Duty Moulds are manufactured from 60-mil thick plastic (twice as thick as most other moulds on the market), and are made to last. Excellent for both home and professional use, each soap cavity unmoulds to reveal exquisite detail.
Our Premium Moulds are thicker than normal and offer strength and durability as well as a unique range of designs.
It can be helpful to wash a new mould before the first use as we have found that soap always seems to be easier to unmould from a used mould.
TIP: If you have purchased a large Heavy Duty Mould you can make a smaller soap bar by half filling the cavities if you wish to make smaller flatter bars of soap - this way you get the most value of our your mould purchase.
All our Premium and Heavy Duty Moulds are manufactured exclusively from food safe, FDA Approved materials
Note: Once used for soapmaking, the mould is no longer considered to be food safe.
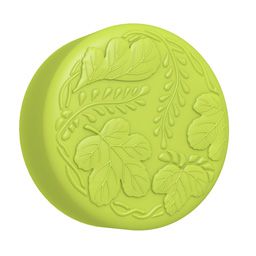
General Information: Cold Processed Soap recipes which are high in soft oils such as Olive, Canola, Avocado, Safflower, etc. can be a bit sticky, and therefore may unmould with more difficulty than firmer soaps high in Palm Oil, Palm Kernel Oil or Coconut Oil. These softer soaps will unmould if placed in the freezer for 1 hour. Do not try and bend the mould when removed from the freezer, allow the sheet to come back to room temperature (which will vary depending on the ambient temperature). 5 minutes or so is usually sufficient and then invert and press your thumbs across the mould cavity, from the outside to the centre, and the soap will pop out onto the bench.
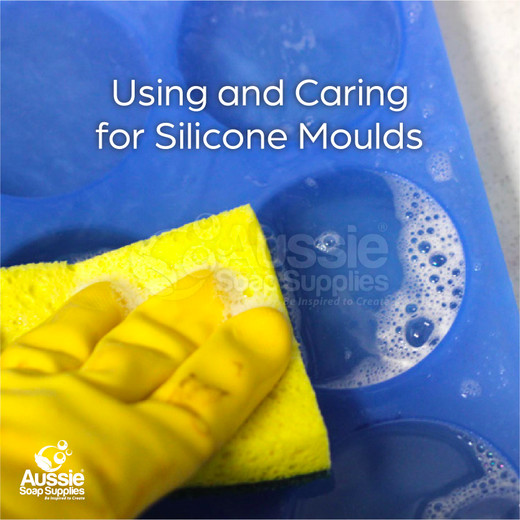
Cleaning the Moulds: After each use, hand wash the mould with hot soapy water to remove any soap base, and dry the mould and keep it stored in a cool area. We do not recommend washing in a dishwasher or using boiling water. If washing moulds after making Soy Wax Melts you may need to use hotter temperature water, but do not leave the mould submerged for extended periods.
Pour Temperatures: The moulds can tolerate wax and transparent soap temperatures of 57 - 62ºC. If you're concerned about warping, set the moulds in a shallow cold-water bath for hot-temperature pours.
Unmoulding: Avoid man-handling the moulds when releasing contents or you may crack your mould
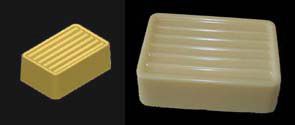
For Melt & Pour Soap:
Firstly, ensure your soap is completely solid and COLD – this means completely set at room temperature. If you are trying to take still warm soap from a mould, you will run into problems. Make sure the soap has set completely - the temperature and hardness are the surest guides. The best way to remove Melt & Pour Soap from the mould is to take a fairly thin, flexible spatula or bread and butter knife and simply run this around the inside of the mould walls - this allows some air to be introduced between the wall of the mould and the soap breaking the air lock. (With flexible moulds, just ease the sides out slightly and this allows the air in). Then turn the mould upside down and run your thumbs from the outside of the mould towards the centre, exerting gentle, but firm pressure. The soap will simply pop out onto the bench, if proving a little stubborn, a gentle tap on the work bench will usually do the trick.
The size of the mould, pouring temperature of soap and ambient room temperature will determine set up time. Allow 1 hour minimum before attempting to unmould single bars. If using a loaf, slab or log mould, leave overnight before attempting to unmould. If you try and unmould too soon, you’ll eventually live to regret your impatience! It cane take several hours for a loaf or log of Melt and Pour Soap to set up, so do try and curb your impatience!
If you experience any problems, half an hour in the refrigerator will help, but this isn’t recommended as a routine way of setting your soap. If you have been in a hurry, and chilled the soap, allow the mould to return to room temperature before attempting to unmould – this avoids damage to the mould. Using the freezer increases the probability of sweating.
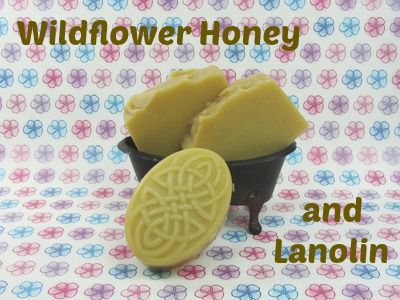
For Cold Processed Soap:
Gelling Cold Processed Soap will make the bar harder, so this is helpful. If you are new to soaping you may need to leave your soap in the mould a day or two before unmoulding. Before attempting to unmould, run a plastic spatula or blunt knife around the inside walls of the mould. This allows air to enter. Turn the mould over and firmly move your thumbs from the outside of the the cavity with firm pressure to the centre of the mould. This is normally sufficient for unmoulding.
If you have any difficulties with unmoulding (your recipe may be soft blend of oils, or 100% olive oil) allow the soap to sit in the mould up to 48 hours..
If your Cold Process Soap is stuck, place the mould in your freezer for approximately 1 hour (which should be sufficient but if left longer it won’t matter as Cold Process Soap is so robust). Allow the mould a few minutes back at room temperature before unmoulding – if you can’t wait, run a little warm water over the mould, like unmoulding a jelly. Invert the Mould, run your thumbs gently but firmly from the outside of the mould to the centre, you will see the air move across the clear moulds and a slight tap and the soap is out.
If Cold Process Soap is allowed to remain in the moulds for 12 - 24 hours after cooling down from gel, it releases much more easily than unmoulding it immediately upon cooling. (During this extra time the soap is shrinking and losing moisture). If you are experienced and are discounting the water, this will make unmoulding easier.
Remember: If you try and release the soap from the moulds by force you will damage and possibly crack the mould. Moulds are not designed to withstand this sort of treatment.
Using the freezer method consistently to unmould may shorten the life of your moulds, so use this method as infrequently as possible.
The addition of Sodium Lactate Plus, a natural humectant, will add sheen to the soap and make mould release easier too.


