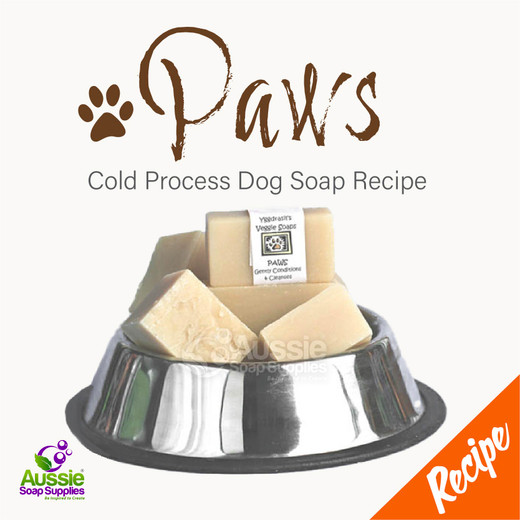
This tried and true recipe is a wonderfully simple introduction to two-tone Cold Process Soap making.
We coloured our batch with a combination of Lily Pad Green Mica for the fresh top layer and Neptune Green Mica for the darker green base, both hydrated in a little oil reserved from the main portion. Use all the colour to get a rich green hue. However! We had quite a surprise when the Lily Pad Mica suddenly morphed to khaki/olive green - we couldn't believe our eyes as we had used it in cold process soap previously and it had passed all our tests. Then overnight the khaki green turned back to a pleasant Lily Pad green again - phew! So this is a warning that you may experience this! Just cut the soap, put it on its edges to cure, and be patient and wait, in a few days it will be the colour in the graphics.
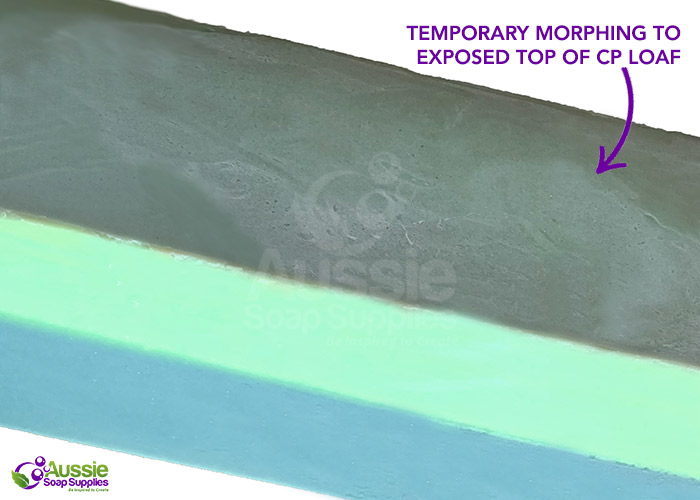
We have used our Flexible Mould - Loaf (Regular) for this and poured the extra soap into some single cavity moulds. This batch will also fill our Wooden Loaf Mould with Silicone Liner comfortably, and can be a one colour pour or, alternatively divide into two as our picture shows you for a two tone log which is wonderful sliced with our Cutter Blade or Crinkle Cutter.
This recipe makes a hard bar that has a lovely silky texture and fluffy lather. The full batch is approximately 1700g of soap, so you will have some left over. Have a spare multi cavity mould to use for the leftover soap.
Ingredients:
- 50g Castor Oil
- 550g Olive Oil
- 250g Palm Oil, Sustainable
- 300g Palm Kernel Oil
- 100g Rice Bran Oil
- 171g Sodium Hydroxide
- Between 320g and 450g water (use the higher amount of water if using touchy fragrances or you are a beginner as it will give you more time to play with)
- 3 teaspoons Sodium Lactate Plus
- Flexible Mould - Loaf (Regular)
- 40 - 50g/ml Oud Wood and Moss Fragrance
Equipment:
All your regular Cold Process Soap making equipment including Safety Gear including Goggles and Gloves
2 x Jugs to hold 1 litre traced soap (this is 2 x 700g for the silicone loaf mould)
Small beaker to hold the Fragrance - helpful, not essential
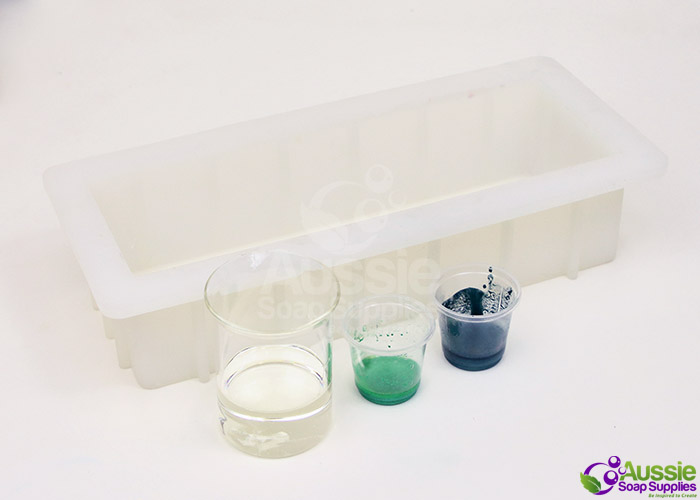
Small pots to mix the micas with the oil
Colour Prep:
½ - ¾ teaspoon Titanium Dioxide Powder placed into the cooled Lye Water
3 - 4 tsp Lily Pad Green Mica hydrated in 1 tablepoon of Rice Bran Oil taken from the main portion.
1 - 2 tsp Neptune Green Mica hydrated in 1 teaspoon of Rice Bran Oil taken from the main portion.
Method:
If you are a beginner, we recommend you make a couple of batches before attempting this soap so that you know what to expect. For how to make soap from Scratch, please see our Cold Process Soapmaking Instructions. You can also watch Soap Queen's You Tube Series on Cold Process Soapmaking. I like to pour when it's at light to medium trace and insulate well to encourage gel.
Prepare your soap to just past emulsion, or thin trace.
Divide the batch into two equal portions for a horizontal layer - for a flat soap you need 700g per layer, with 21g fragrance in each layer.
Bring the soap to light trace and then divide the batch into two heat proof jugs - to get this exact weigh each portion
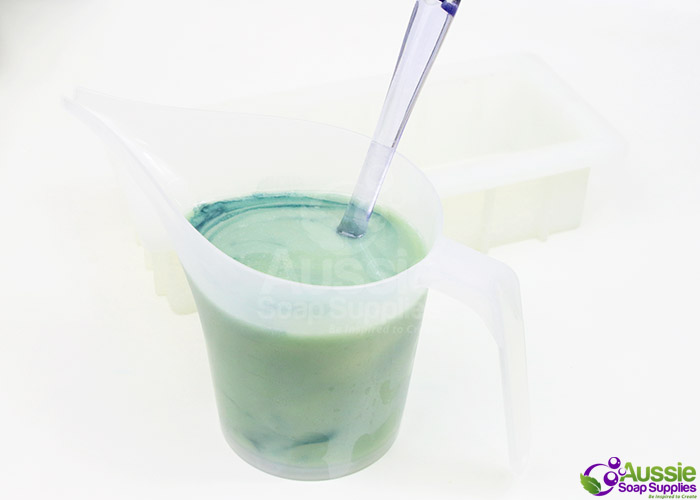
Colour and fragrance the base layer using half the fragrance allowance stirring manually, but thoroughly.
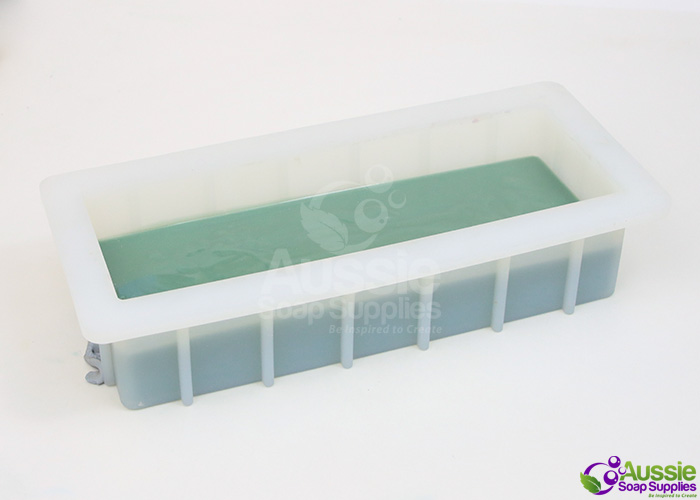
Carefully pour into the loaf mould.
I discovered my bench was uneven so I had to add some bluetack to level the mould on the bench.
Check that the base layer has started to set up a little (so that it is firm) and ready to take the top layer.
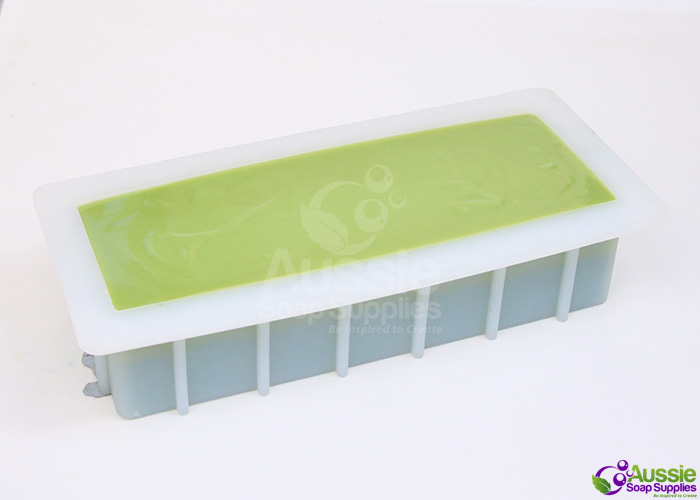
Then add the colour and fragrance to the top layer jug and manually stir to ensure it is fully combined.
If you feel you need more green, do add this immediately, and then you are ready to pour.
Now carefully pour the second layer over the back of a spoon or spatula so that the soap doesn't make any depressions into the base layer.
Note the colour! This is where the top layer of soap can turn a muddy khaki colour.
This colour disappeared overnight and the soap returned to a nice green after a couple of days.
For the other 300g of soap base, fragrance and colour and pour into the individual cavity moulds.
Cover and insulate as normal, allow a week before unmoulding, cut and cure as usual.
| Difficulty: | Experienced Beginner |
| Yields: | 10 - 16 bars |
| Time: | 1 hour |
| save: | No |
| sale: | No |


