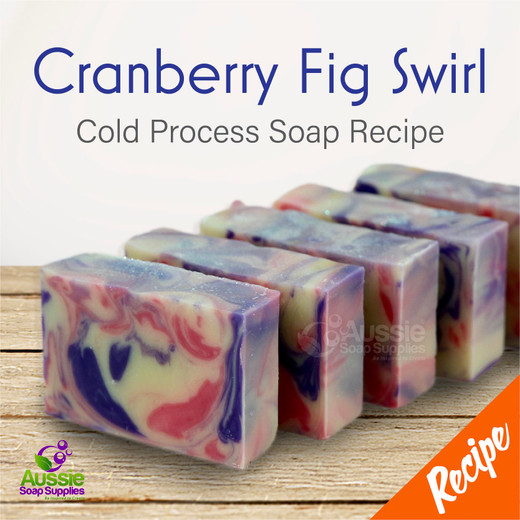
This is a simple "In the Pot" swirled Cold Process Soap scented with Cranberry Fig Fragrance, which performs amazingly in Cold Process Soap. This soap uses our Pre-Mixed Oils Pouch for a quick and easy start!

These are the moulds we used in this project
It's important to note that the colour / tone of the natural oils in the base oils pouch may vary by batch, depending on seasonal crop variations. A darker green olive oil may affect the finished colour of the soap. We use Titanium Dioxide to lighten and counter any discolouration in the base colour.
We used the whole pouch for this batch which makes over 2kg of soap, so you can pour a whole loaf mould plus more individual bars with the left over soap.
What you need:
- 1 x Pre-Mixed Base Oils Pouch
- 45ml Cranberry Fig Fragrance
- 25g (1 tablespoon) Sodium Lactate Plus
- Titanium Dioxide Liquid
- Royal Purple Liquid Pigment Dispersion
- Carmine Red Liquid Pigment Dispersion
- 480g Distilled Water
- 208g Sodium Hydroxide/Lye
- Medium Silicone Loaf Mould
Equipment:
All your usual Cold Process Soap making equipment including safety gear
Mini mixer is handy for the colours, but you can make do without
Large bowl or jug – to hold 3 litres+
2 x large jugs – needs to hold 1.5 litres
2 x 250ml jugs or cups (I forgot my small jugs, and don't usually use glass bakers for Cold Process Soapmaking)
Large spoon or spatula
Medium Flexible Silicone Soap Mould
Spare single cavity soap moulds for the balance of the soap after pouring the loaf
Method:
If you are a beginner, we recommend you make a few batches before attempting this soap. Check out our Cold Process Soapmaking Instructions or watch Soap Queen's You Tube Series on Cold Process Soapmaking to get started.
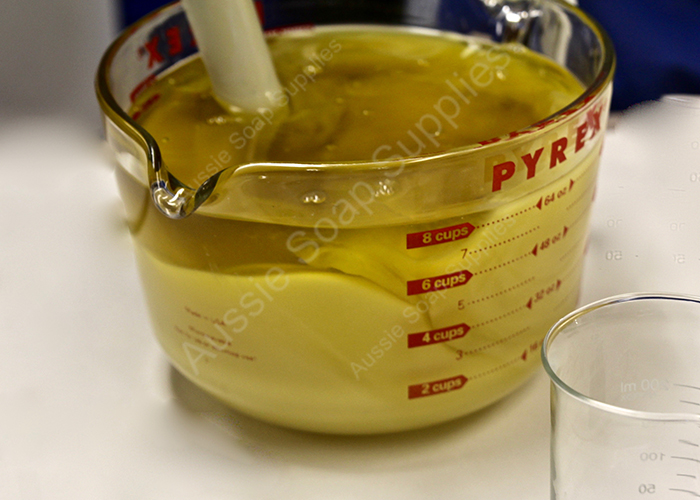
Gently warm the pouch of oils to ensure they are all completely liquid and mixed well.
Empty the pouch of oils into a large jug or bowl.
Add the Sodium Lactate to the lye water and then pour into the oils.
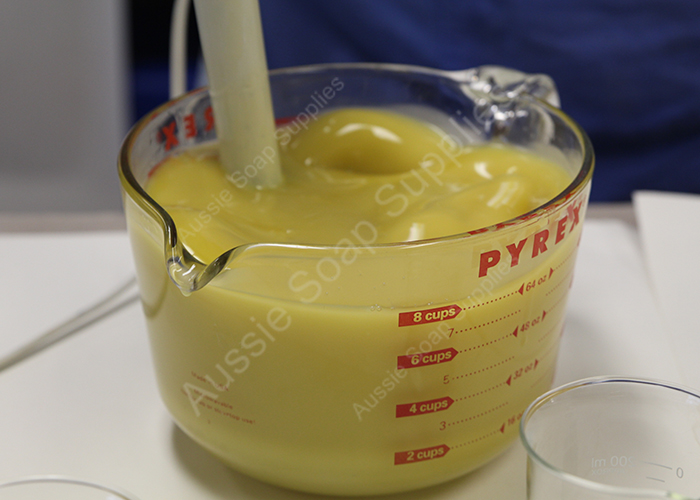
Bring to light trace using the stick blender.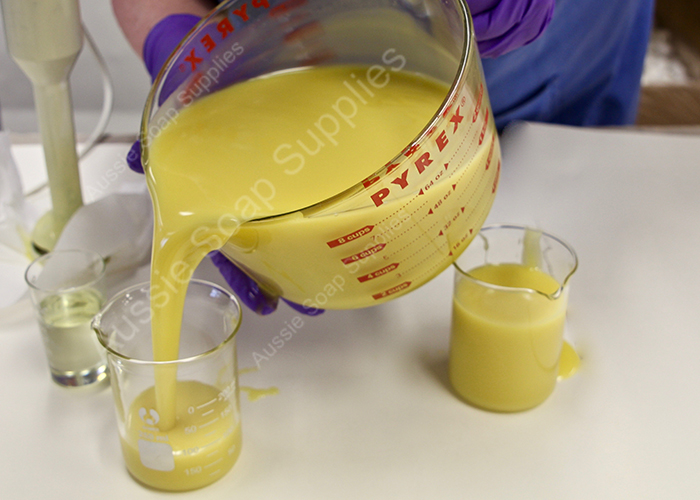
Remove approximately two measures each of one cup of the thinly traced soap.
(Please note: we recommend using plastic for these cups, glass beakers are NOT ideal!)
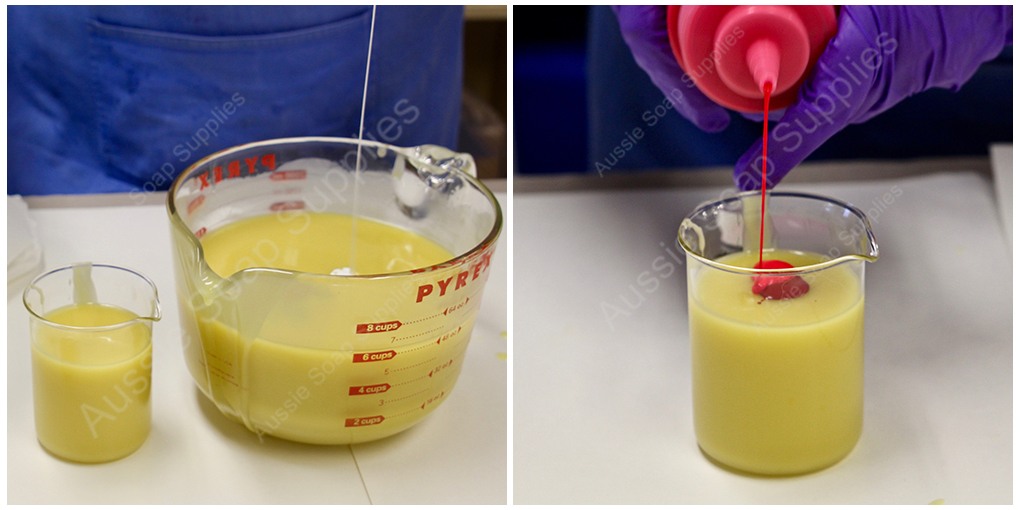
Add approximately 1 teaspoon of Liquid Titanium Dioxide to the main batch, a quick blast to disperse is all that is needed - keep it at light trace.
Now add the full amount of Cranberry Fig fragrance to the main bowl and mix in by hand thoroughly to keep the trace light.
Now add Royal Purple colour to one of the smaller portions and blast once to combine - you want a rich purple tone and light trace.
Now add the Carmine Red and some Liquid Titanium Dioxide to he other smaller cup. Again a quick mix will disperse the colour, make it a nice dark tone.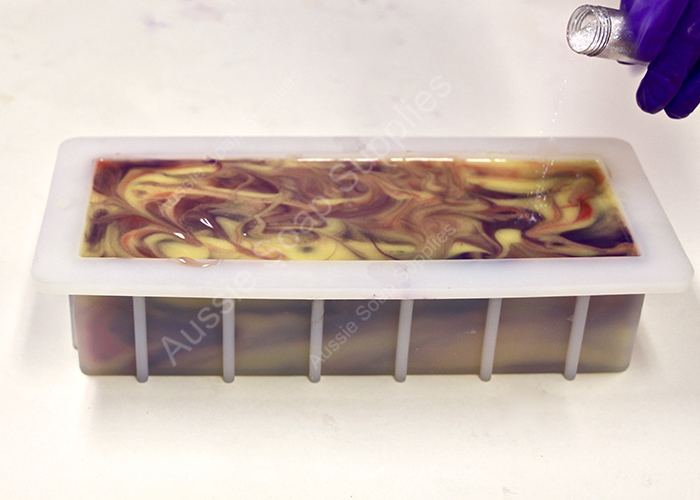
If the surface of the swirl is a little plain, take a spoon or chopstick and rearrange the colour.
Note: if you want a textured top you need to leave the soap for 15 minutes or so to enable the formation of the peaks.
We added a little Rainbow Glitter to the top of the soap - this is optional, of course!
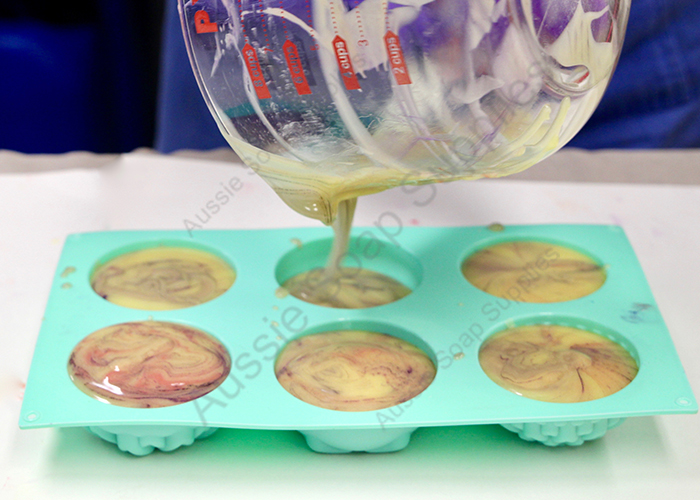
Scrape out all the spare soap into the main pot and then pour or spoon the leftover soap into the extra mould.
Note: If the trace is now heavy, it is best to put the lightweight silicone mould on a tray before pouring so that you can tap the mould down and remove any air pockets.
Cover and insulate both the moulds to encourage an even gel. A cardboard sheet bent into an A shape protects the top of the loaf from being flattened by the insulation.
In a couple of days, the soap should be hard enough to unmould – if it is still too soft leave it for several more days.
Once unmoulded, slice to your preferred thickness and then cure for 6 weeks until ready to use.
Note: The second mould, glitter and Distilled Water are not included in the picking list for this project. You'll need to add them separately and purchase the distilled water from your local supermarket.
| Difficulty: | Beginner |
| Time: | 1 hour |
| Yields: | 14 -18 bars |
| save: | No |
| sale: | No |


