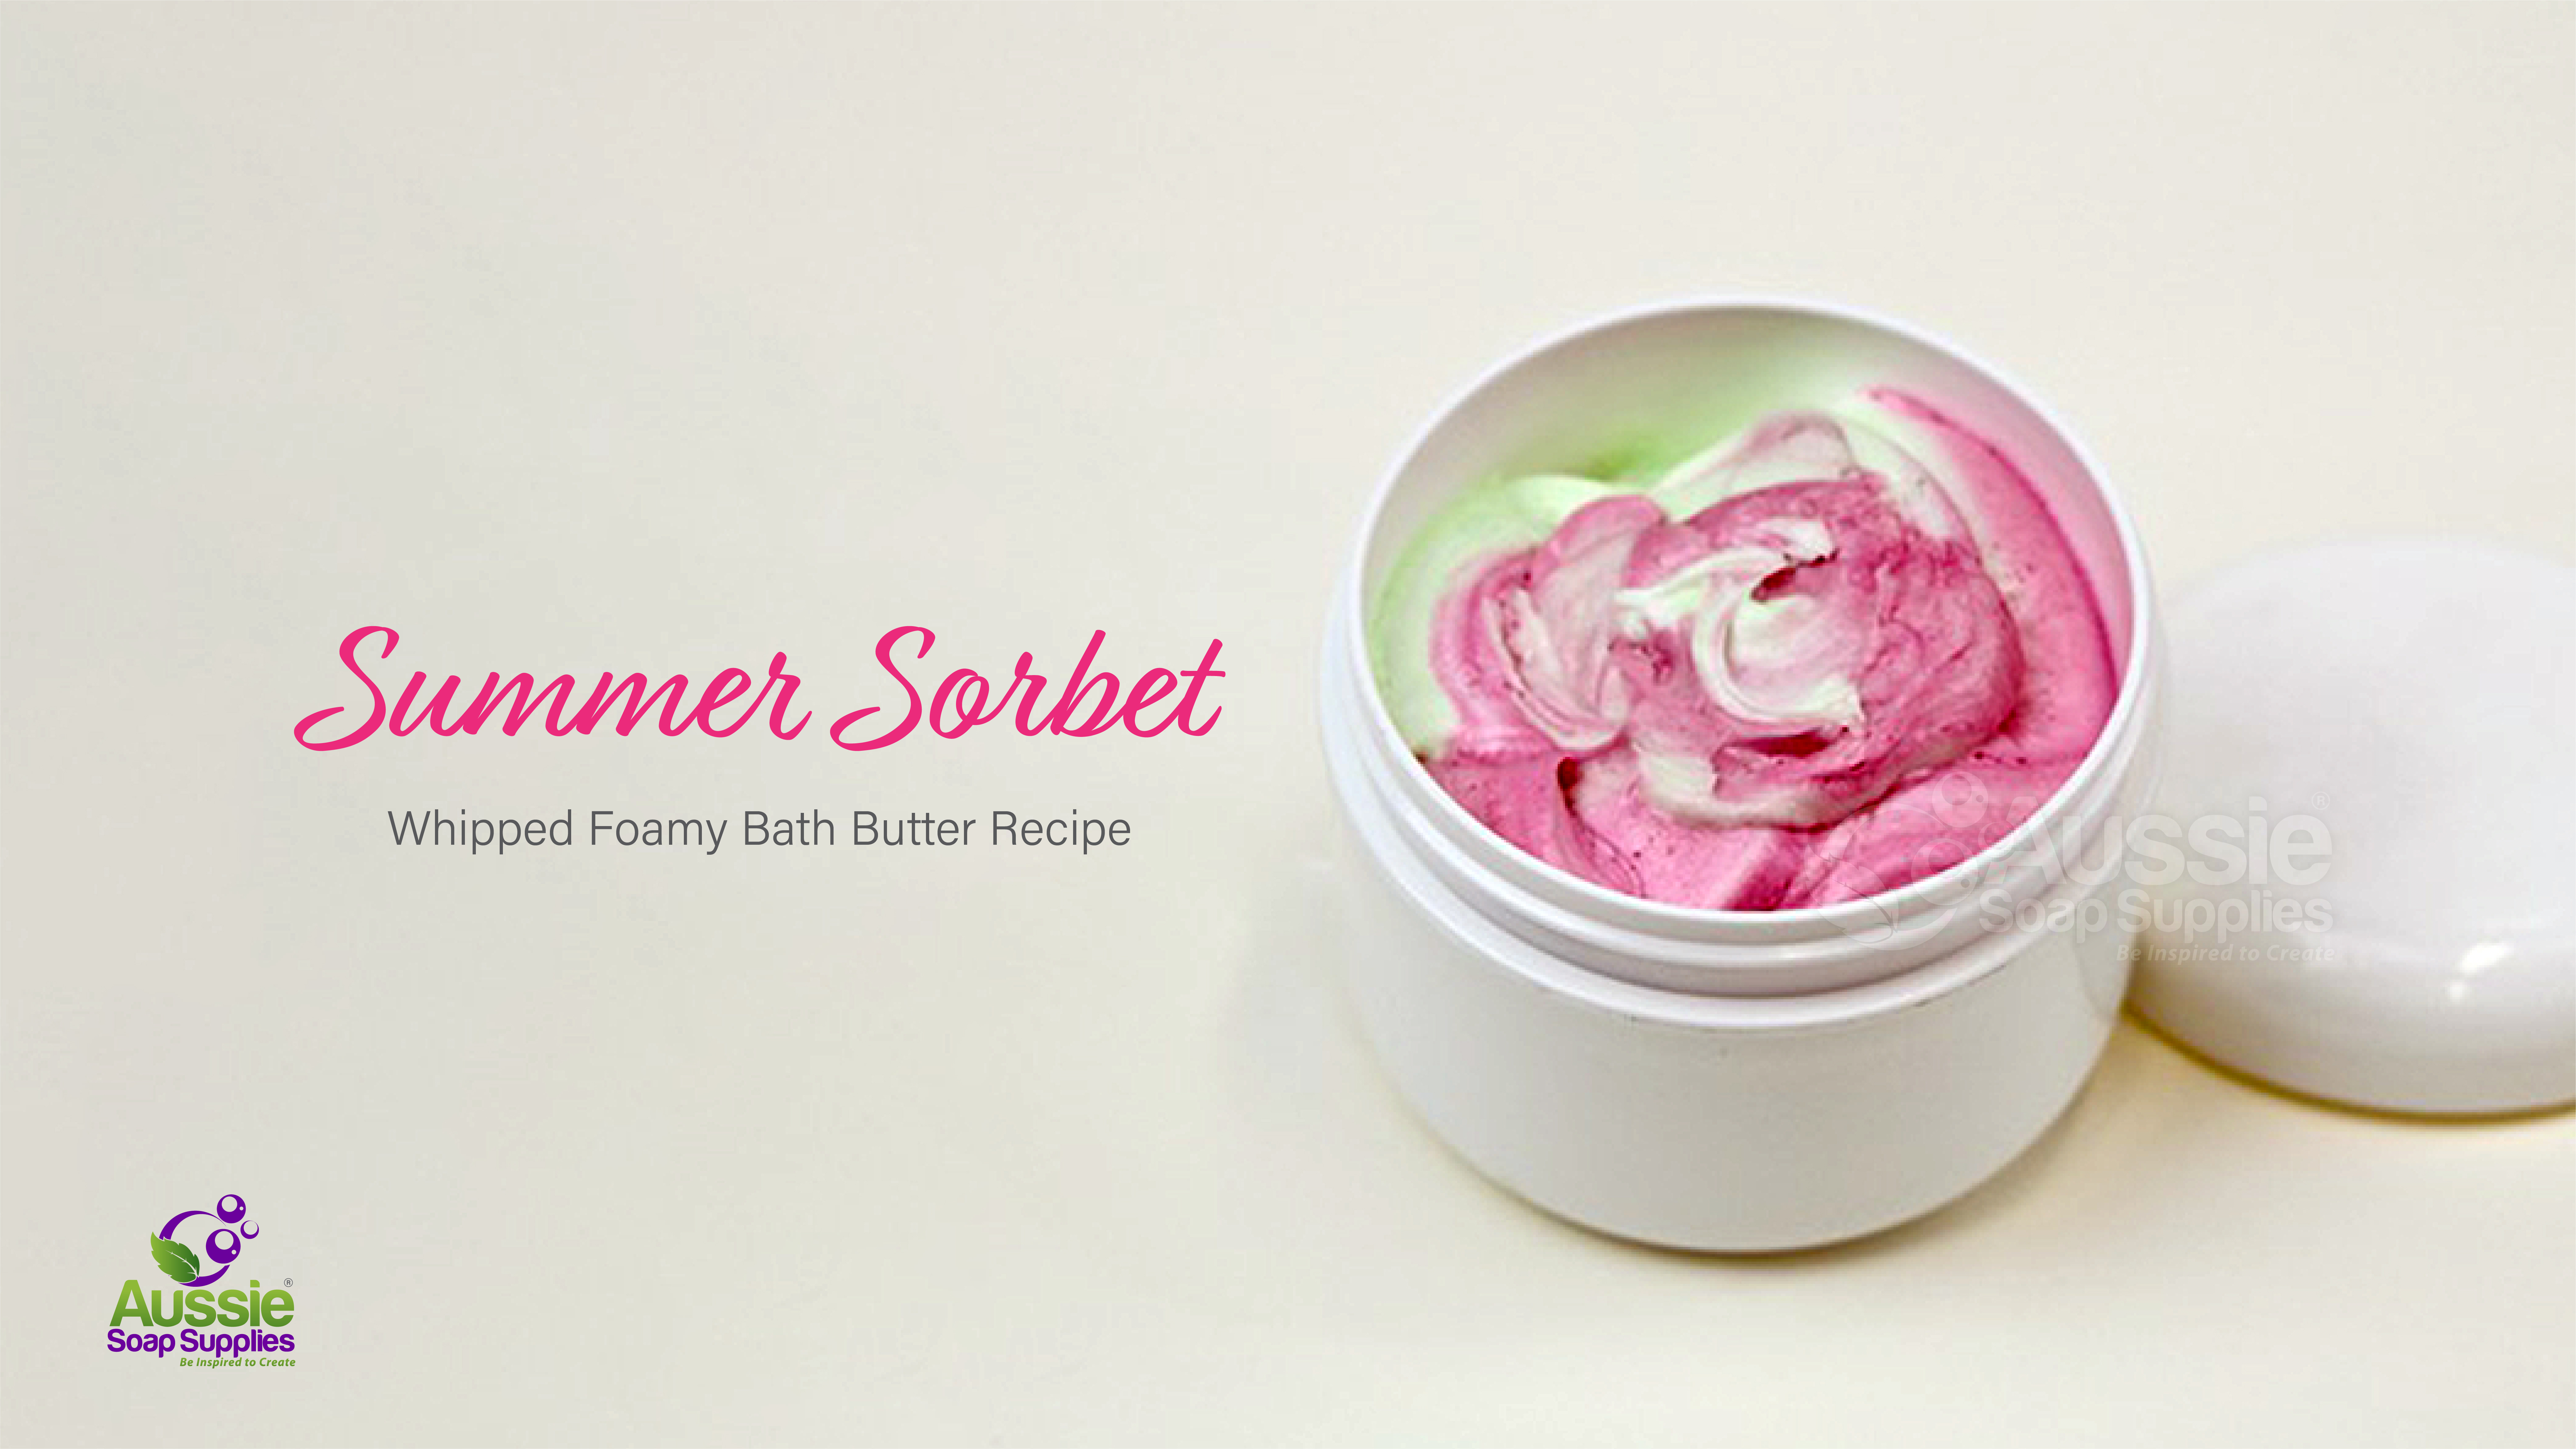
This two-toned whipped foamy bath butter reminds us of yummy meringues or summery sorbet! Once whipped, our Foamy Bath Butter has a mousse-like texture, never separates and rinses away cleanly. The result is a whipped, lightly textured, cleansing cream soap.
Paired with a Bath Scoop or Spatula, this makes a wonderful gift.
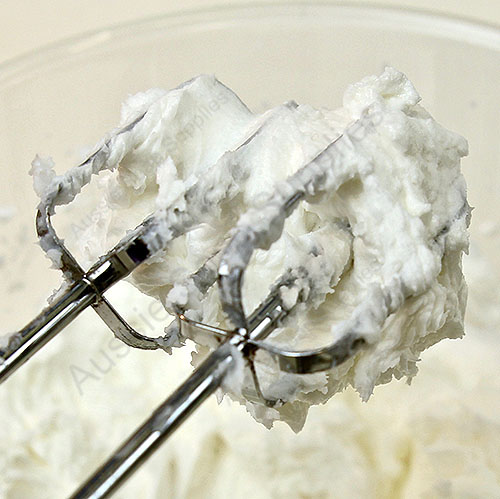
There is no heating required, Foamy Bath Butter can be whipped cold at room temperature. We use a regular hand-held electric balloon whisk to whip it or a stand mixer with the balloon whisk attachment for larger batches.
What you need to make this creamy scoopable soap:
- 1kg Foamy Bath Butter
- 50g/ml Calendula Extract (or your preferred botanical / herbal extract)
- 10 - 20g/ml (2 - 4 tsp) Strawberry Kiwi Fragrance Oil (or your preferred Essential Oil)
- Pink Piggy Liquid Neon
- Cactus Green Liquid Neon
- 10 x 100ml Medium Natural Scrub, Mask & Spa Jars
Equipment:
- Electric balloon whisk or stand mixer
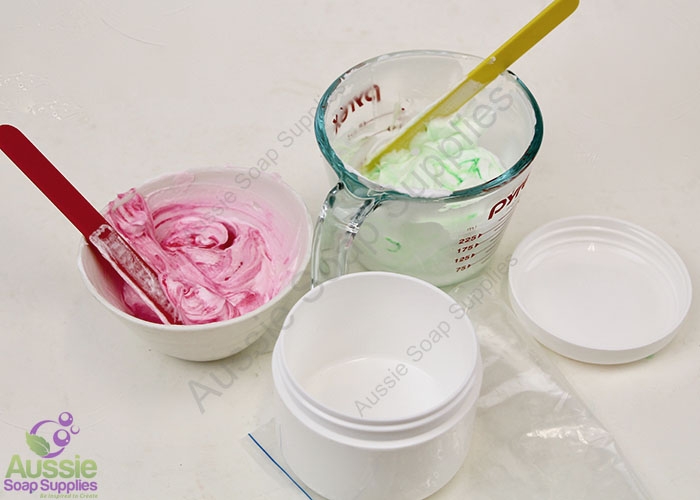
- 2 x Medium - Large mixing bowls or jugs
- Spatulas
- 2 x Large ziplock bags or piping bag
Instructions:
- Place half the Foamy Bath Butter Base into each of the jugs or bowls.
- Using an electric balloon whisk, squish the beaters into the base and set the mixer on medium and begin whip the bath butter. If the base is very hard (in winter) 30 - 60 seconds or so in the microwave will soften the base.
- Increase the speed to high as the base begins to soften up.
- After whipping one jug or bowl, repeat for the other half of the Foamy Bath Butter.

- Add half of the herbal extract or fixed oil you are using to each bowl, and also half of the Fragrance or Essential Oil.
- Whip the mixture again until it is really light and fluffy.

- Now I add colourant to each jug in a contrasting colour to match your scent choice. If you want a solid colour, beat the mixture thoroughly. If you want a streaky look, use a spatula to mix the colour through so it is still a little streaky, but without leaving a large portion of undiluted colour.

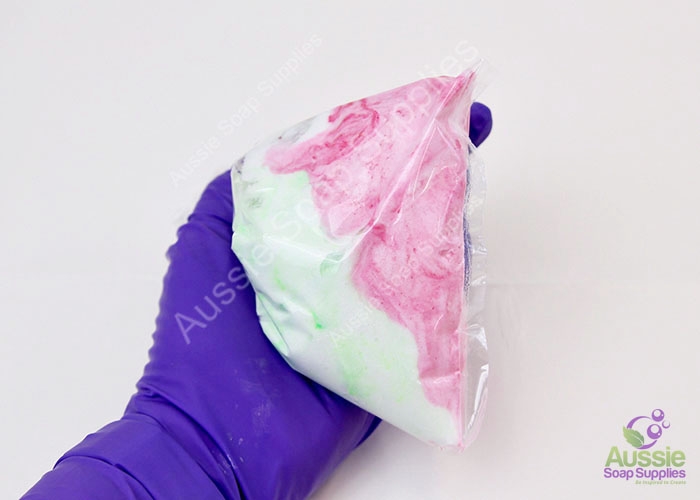
- It is time to fill the ziplock bag! It can but a little tricky fitting the full kilo of the mixture into a ziplock - if you feel it going to be, use half of each bowl two portions.
- Fold back the zip part of the bag, making a cuff and spoon in each coloured soap, I like to stand the bag in a Pyrex jug with the cuff on the outside so there is less mess. I put one colour in one corner and the other half in the opposite corner so that when it is piped out it forms a semi swirl (like meringue or cupcake icing). As you seal the zip, lightly press out any air and then twist the zip part ready to be piped.
- Cut off a few millimeters from one of the bottom corners of the bag, and then pipe directly into the containers.
- Put on the lids, label the containers and you are done!
| Difficulty: | Experienced Beginner |
| Yields: | 1kg |
| Time: | 1 hour |
| sale: | No |
| save: | No |


