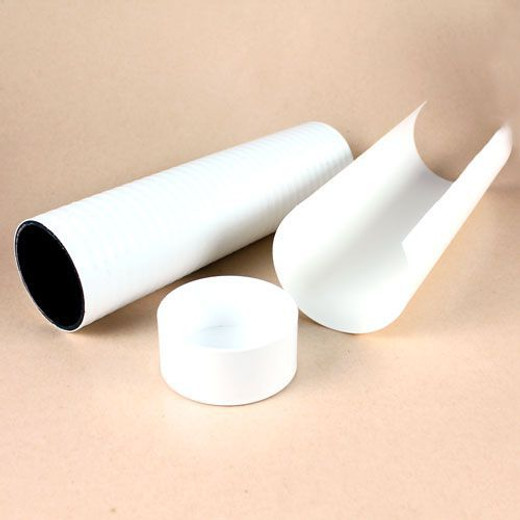
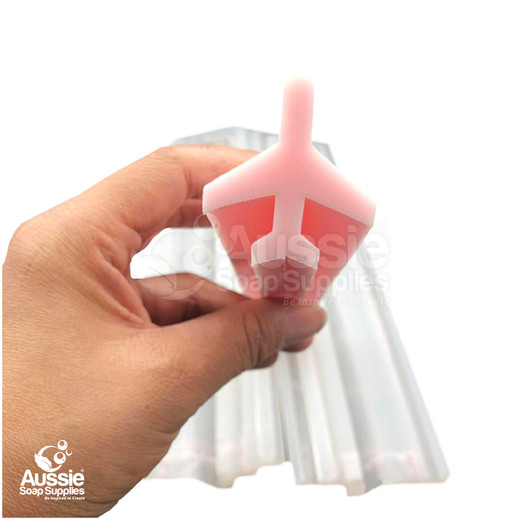
These innovative moulds produce a generous round loaf of soap. The wavy texture on the mould casing allows the liner and end cap to be easily removed. But don't worry, the removable liner keeps the soap smooth and round. The flexible, plastic liner is thick and sturdy for easy removal of Cold Processed or Melt and Pour Soap. Ensure it fits perfectly, it may need one millimetre or so cut from the edge to be perfect.
The mould holds approximately 1.4 – 1.5kg of soap
We recommend hand washing all of your mould components between use to ensure they last and last.
Please read these important “how to” instructions before using your mould for the first time to make using this mould trouble free.
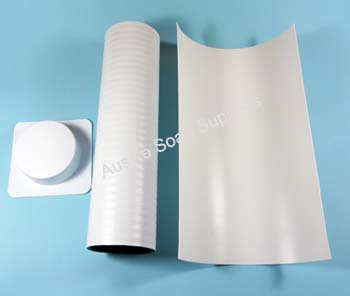

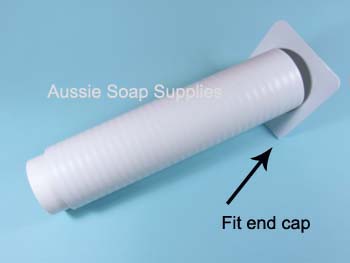
Usage Tips:
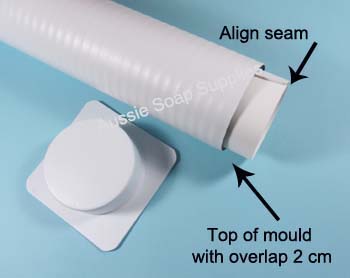
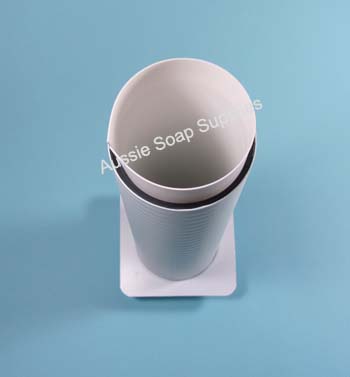
It is important that when you place the liner into the mould that the internal ‘seam’ fits flush, with no gaps, or the soap will seep into the gap and make it more difficult to unmould. The liner is inserted correctly when there is 2 cm of liner sticking out from the top of the mould. If the mould liner isn’t sticking up, remove it, flip it 90 degrees, re-insert and it will fit perfectly!
When you begin, roll the liner and slide it into the tube, there may be up to 1mm overlap - do this without the end cap on so you can see each end and how snugly it fits your tube. This can vary slightly due to the machinery's guillotine action when cutting stacks of liners. If there is too much and it doesn't fit nearly flush, just use a craft knife to trim a SMALL slither off the liner. If you cut too much, thin traced cold processed soap and melt will leak slightly under the liner making it harder to unmould.
We prefer using the smoothest side in, towards your soap, for easiest unmoulding and nicest finish.
Vertical moulds are easy to bump and knock over when you are using them, so take care to support the base of the mould during gel or when your Melt & Pour Soap is setting up.
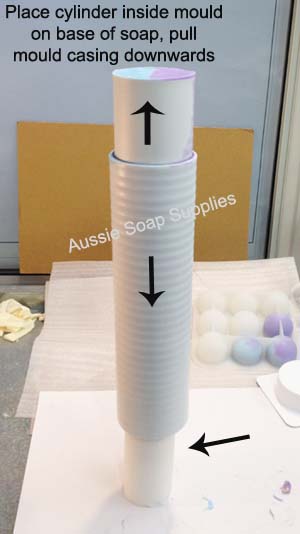
To unmould, twist off the main part of the mould, away from the end cap, instead of just screwing off the end cap. The soap should stay in the liner and end cap while the mould slips easily off.
To avoid tearing cold processed soap, just pull up one of the corners of the liner to see if the soap is ready to come out. If it tears at all, allow the soap to sit for another day or two. If you are using a softer recipe, use of Sodium Lactate Plus will help with unmoulding. This is not necessary with Melt & Pour Soap, just make sure it’s completely set up and cold.
If you have trouble removing the soap, place a disc against the base of the soap, and use a tube or broom handle to push the soap, from underneath, up and out the top. You can use the freezer to assist if needed with cold processed soap.
You can see projects made with this mould:


