

You can purchase the Kit on THIS page and select your preferred Fragrance or Essential Oil.
THE TURTLES IN THIS KIT ARE NOT SUITABLE FOR CHILDREN UNDER 3 YEARS OF AGE.
This project is made in two stages and two soap base amounts; this is the overview:
Make the 'sand' base layer:
The scented Medallion Gold coloured soap will fill ⅓ of the cavities. Add approximately 20g of coloured soap base per cavity. This equates to 120g of soap base to make six soaps with approx. ¼ teaspoon or 25 drops of fragrance.
Make the 'water' base layer with turtle:
The scented Astral Blue or Lily Pad Green coloured soap will fill ⅔ of the cavities. Add approximately 40g of coloured soap base per cavity. This equates to 240g of soap base to make six soaps with approx. ½ teaspoon or 50 drops of fragrance.
Sparkle Tops:
A light sprinkle of White Diamonds Mica.
Method:
Stage One: Make the sand
Place approximately 120g soap base into the jug ready to melt.
Melt the soap base in the microwave on medium. If possible, cover it (or use a piece of card over the jug) and heat in short bursts.
Remove from heat just before the last piece is melted. Gently stir to melt the remaining soap pieces.
Shave just over ¼ of the Medallion Gold colour block to colour the 'sand' layer.
Add this to the soap jug and stir until the colour pieces are completely melted.
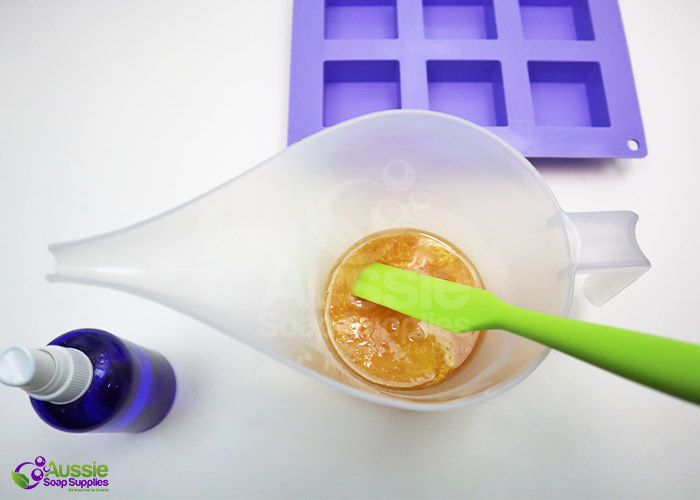
Add approximately ¼ teaspoon or around 25 drops of Fragrance or Essential Oil and stir to combine thoroughly.

Now pour into the six mould cavities - you can eyeball the level - filling each cavity approximately ⅓ full.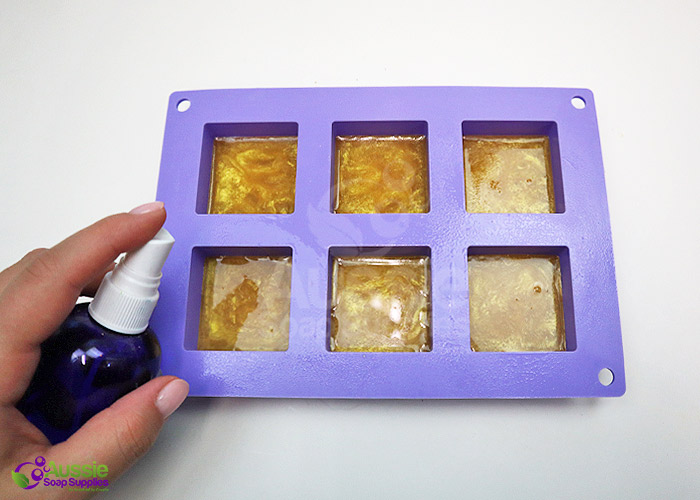
Spritz again to remove any surface bubbles.
Stage Two: Make the water
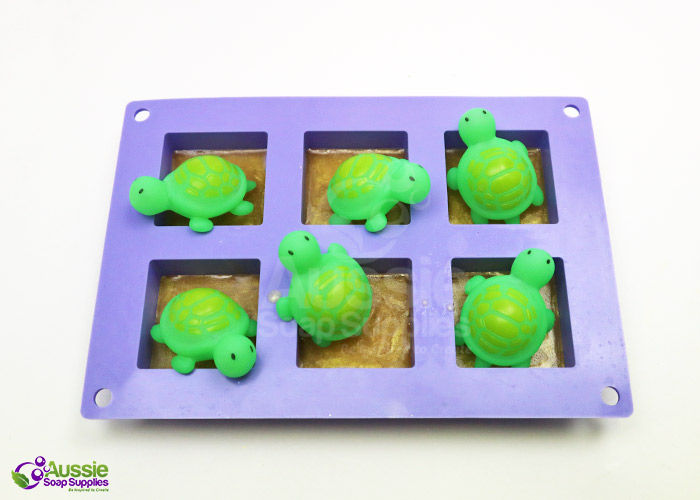
Once this layer is firm, arrange the turtles ready for the water layer.
By arranging them with their little feet over the edge, they sit nicely in the soap without floating up and sitting too flat.

Melt 240g Clear Soap Base as described previously.
Shave just over ¼ of the blue colour block, add to the melted soap and stir.
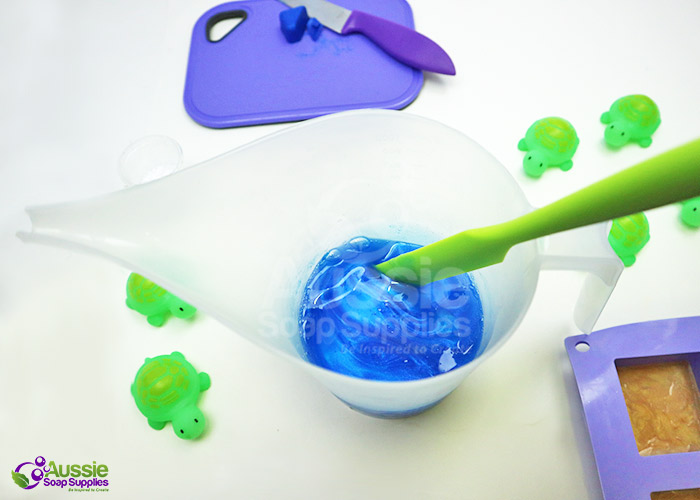
Add approximately ½ teaspoon or around 50 drops of Fragrance or Essential Oil and stir to combine thoroughly.
Spray the surface of the gold soap and under the turtles generously with Isopropyl Alcohol.
This ensures the layers stay stuck, and the turtles do too!
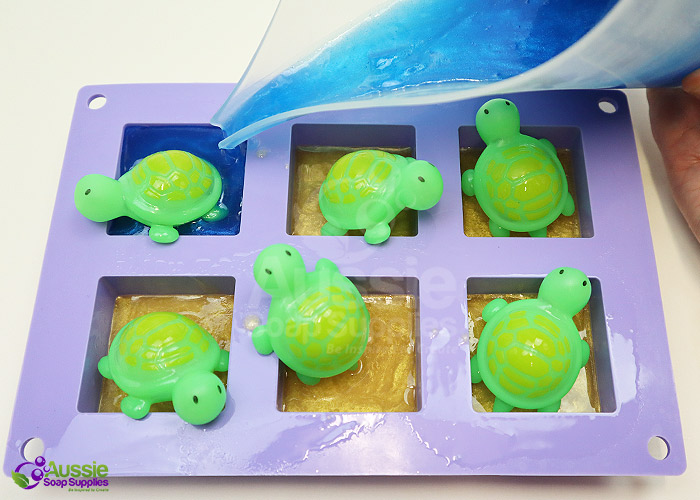
Pour into the mould cavities and spritz with Isopropyl Alcohol to remove surface bubbles.
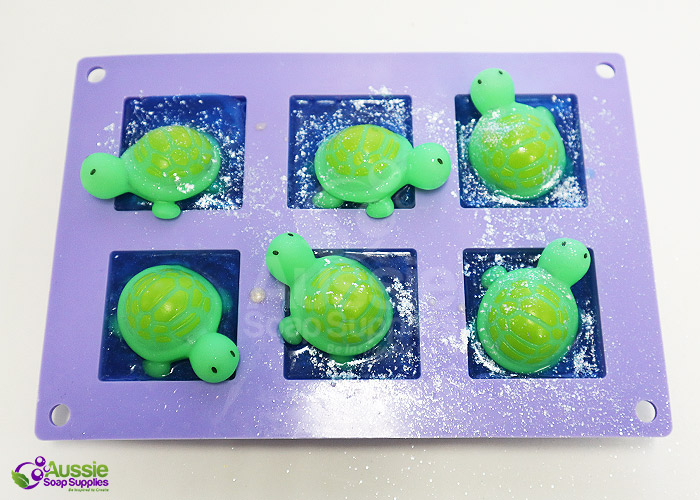
Immediately sprinkle with some sparkle mica. Take care not to inhale mica particles.
Once the soaps are completely set up and cold these can be unmoulded and set aside.
To unmould DO NOT PULL THE TURTLES! Peel the soap mould back from the soap.
You can purchase the Kit on THIS page and select your preferred Fragrance or Essential Oil.
NOT SUITABLE FOR CHILDREN UNDER 3 YEARS OF AGE


