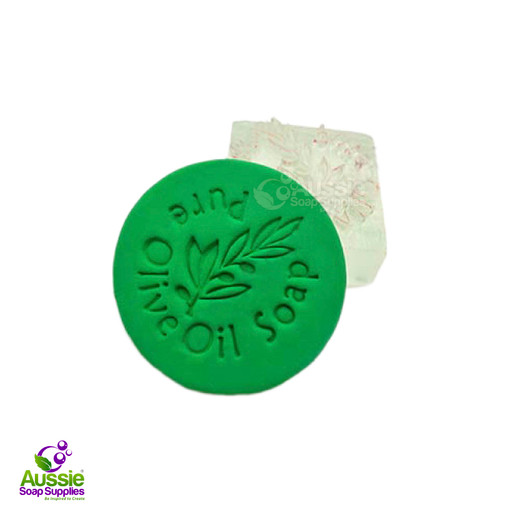
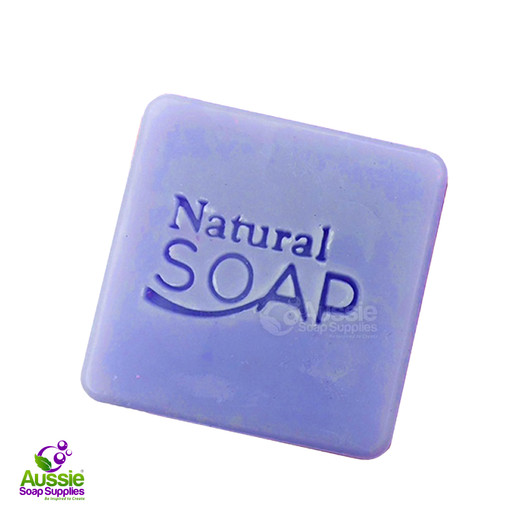
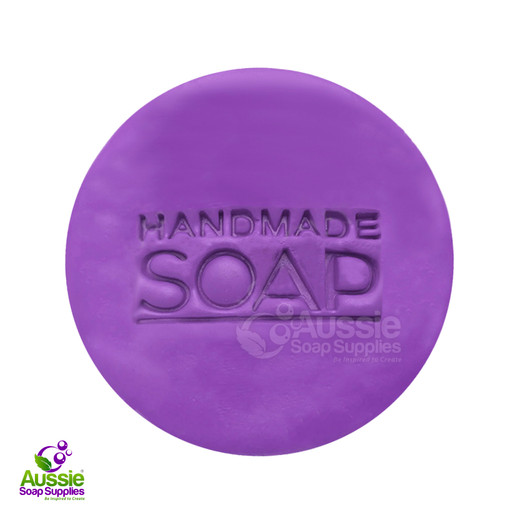
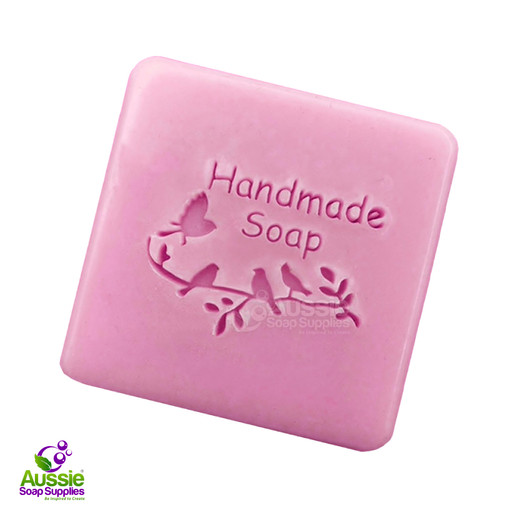
Make a great impression with your Olive Oil soaps! Soap Stamps are an easy way to personalise your soap.
Acrylic stamps give the best results with steady, firm pressure using a rolling motion. You can also brush the stamp with some Mica powder for added appeal. Each durable stamp has an acrylic handle.
Suitable for use on Cold Process Soap (1 - 2 weeks old ); if your batch is soft the best results are obtained by waiting a week or so before stamping
Material: Acrylic
Approximate Stamp Dimensions: 4.3cm x 4.3cm
Stamp on soap, depth: 4mm
Stamp Handle Size: Small (to assist removal from soap bar)
Manufacturer: Aussie Soap Supplies®
Instructions for use of this Acrylic Stamp:
DO NOT USE A HAMMER!
- Cold Process Soap only! (or HP, but not Melt and Pour Soap)
- Don’t use on fresh Cold Process Soap, or old Cold Process Soap – just in the middle of curing at about 3 - 4 weeks old
- Spray acrylic stamp with Isopropyl Alcohol before stamping
- Place on soap and press down firmly, moving a little forward and backward
- No mallet needed for this technique, just the heels of your hands
- Lift away from the soap
- If you need to clean the detail during stamping or when finished, DO NOT USE A SKEWER OR METAL IMPLEMENT. Soak in some water, and use a soft toothbrush to remove any residue soap.
Watch this Soap Queen video on stamping soap for tips and tricks to get the best out of your soap stamp.
Not recommended for all Melt and Pour Soap Bases. This particular design has very intricate detailing, so trial and error is required by you to experiment with varieties of soap recipe, age and hardness. (I have successfully stamped Stephenson Oatmeal Base, and cleaned the stamp in water after 2 soaps). I use a soft toothbrush and bowl of water to clean, dry with paper towel.


