Soothe and nourish your whole body!
There is nothing like the benefits of natural oats and goats milk when you want to pamper and soothe your skin.
We've combined these two nurturing ingredients in a natural cotton muslin bag for a pampering bath time ritual. Simply moisten the bag and gently pat onto the skin, squeezing the bag to release a gentle milky wash of goats milk soap and oat milk.
We've included enough ingredients to make two batches of Soapy Oats so we have included a gorgeous Weck's glass storage jar for the extra mixture - which is also perfect if you are gifting this kit.

Step 1 - Set out all your equipment, ingredients, and mould (ensure your mould is set level on your benchtop, or on a flat baking tray if you think you’ll need to move the soap before it has set up).
Step 2 - Cut the 500g soap base into 1 – 2 cm cubes and place 250g (half) into a microwave safe jug. Cover loosely with a piece of cardboard and place the jug into the microwave.
Step 3 - Heat the soap base in short bursts in the microwave, stirring regularly.
Step 4 - Remove from heat just before the last piece is melted. Gently stir to melt the remaining soap pieces.
Step 5 - Now drip in some fragrance or essential oil (between 2.5 – 3ml / about 1/4 to 1/3 of the 10ml bottle) and stir gently, but thoroughly.
Step 6 - It’s time to pour into the mould! Carefully pour some soap into each cavity of the mould – take care not to overfill.
Step 7 - Leave the soap to set.
Step 8 - Once the soap has set just enough so it’s hard enough to grate, pull the sides of the cavities out in a couple of places on each cavity to break the air lock. Then turn the mould upside down and run your thumbs from the outside of the mould cavity towards the centre, exerting gentle but firm pressure. The soap will simply pop out onto the bench.
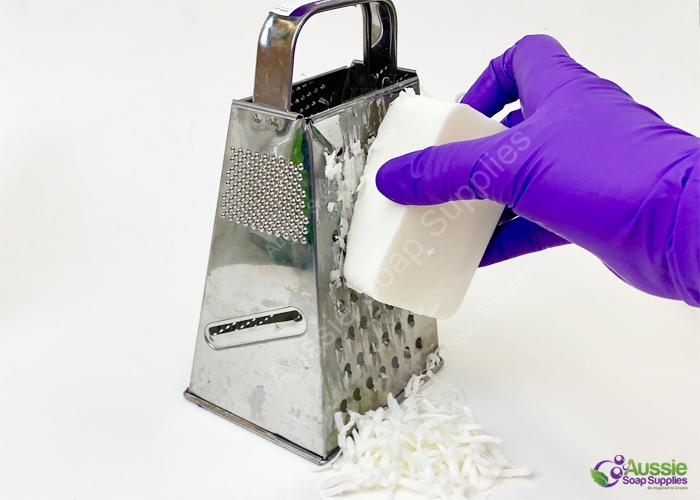
Step 9 - Grate the soaps using your cheese grater or use a knife to cut the soap into fine pieces.
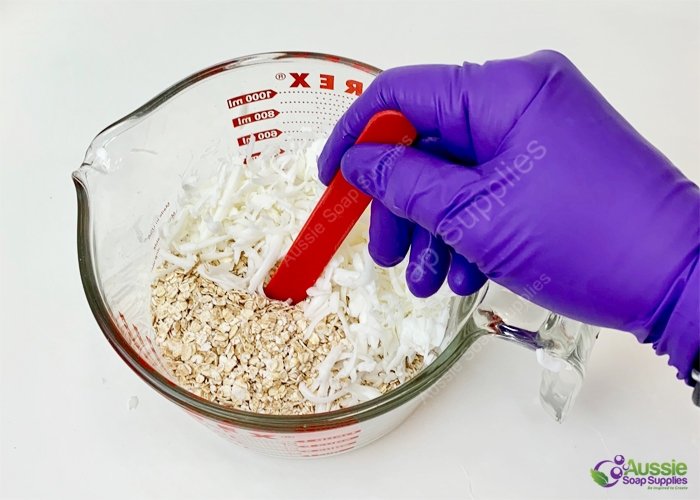
Step 10 - Combine 200g (half) the oats and the grated soap in a medium mixing bowl. Stir to combine.
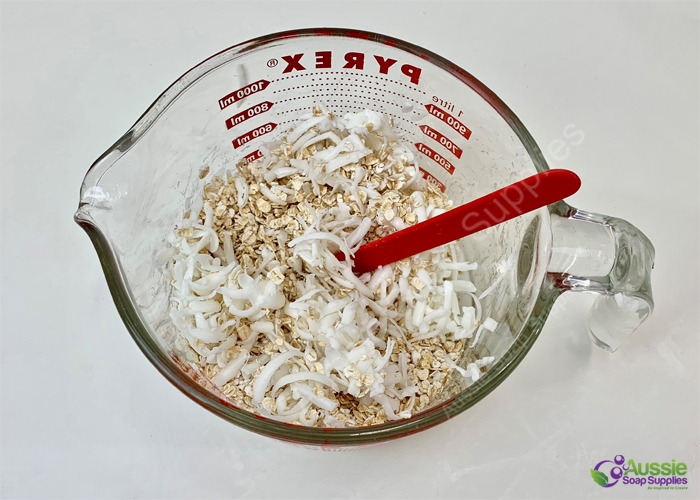
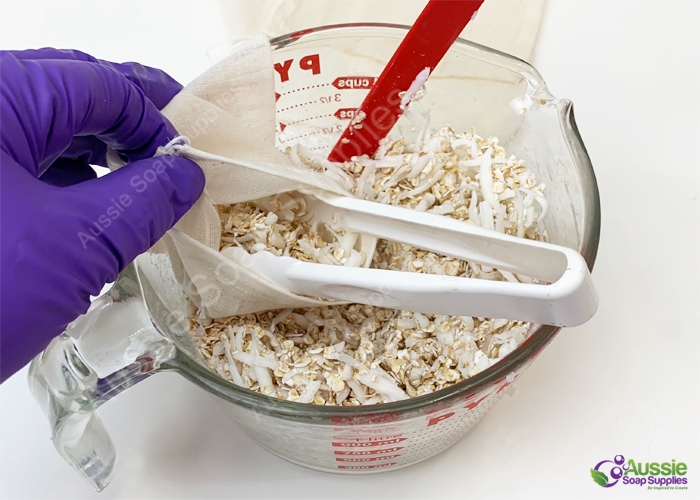
Step 11 - Spoon 1 – 1 ½ tablespoons into a cotton muslin bag, ready to use.
Step 12 - Place the rest of the mixture into the glass storage jar for future use.
Step 13 - Repeat the above steps to make your second batch! Be sure to keep the second half of melt & pour soap base in an airtight container until you’re ready to make your second batch.
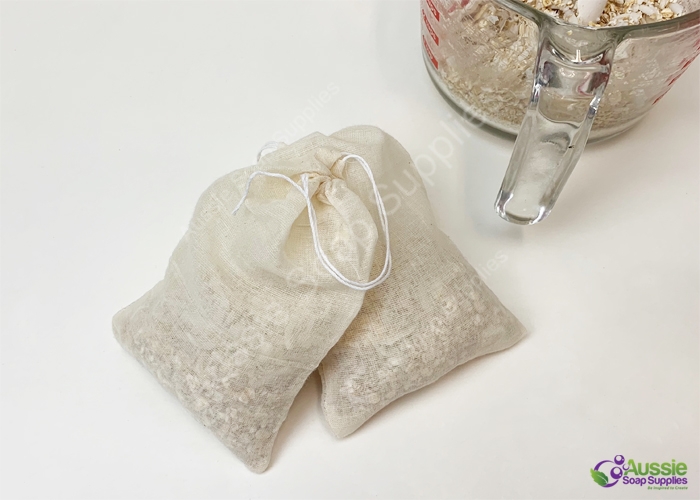
It's that easy!
To use:
-
Moisten the bag and the contents in the shower or bath.
-
Squeezing the bag to release the goats milk oat milk wash, gently move the bag over your skin in circular motions as you would a washcloth.
-
You only require gentle pressure of the bag against the skin so that the liquid gently cleanses your skin.
-
You can use the contents of the bag 1 – 3 times before emptying the contents into your green waste or compost bin. Wash and dry the bag and then re-use until you feel the bag has had its day and then it too can be put into the green waste.


