
This speckled looking soap log is an excellent way to use up left over soap, or over-coloured or over-fragranced soap. You simply grate or shred the soap and then add it to a new batch thereby creating a confetti style soap.
This project uses our Silicone Column Mould, and used 810g of traced soap, and 180g of shredded orange soap pieces. In this case Neon Carnival Orange and Neon Rockmelon Orange. I had about ½ cup of leftover grated soap for another batch, and this quanity completely filled the mould to the top. I find it best to make one batch of fresh soap and use up a few similar colours of soap offcuts at a time.
This soap is coloured with ⅔ Teaspoon Titanium Dioxide Powder for a clean background - this makes the shredded orange soap really stand out.
Ingredients:
- 130g Coconut Oil
- 200g Palm Kernel Oil
- 200g Rice Bran Oil
- 80g Sodium Hydroxide (Lye)
- Between 200ml/g of Distilled Water
- 10g/ml Sodium Lactate Plus
- 25g Kumquat Fragrance
- ⅔ teaspoon Titanium Dioxide (into the whole batch)
- 170 - 200g Cold Process Soap grated coarsely (which makes 2 to 3 cups)
- Silicone Flexible Column Mould
Equipment:
All your regular Cold Process Soap making equipment including Safety Gear including Goggles and Gloves
Jug to hold 2 litre traced soap
Old Cheese Grater
Container to hold grated soap
2 x large bulldog clips
Small beaker to hold the Fragrance - helpful, not essential
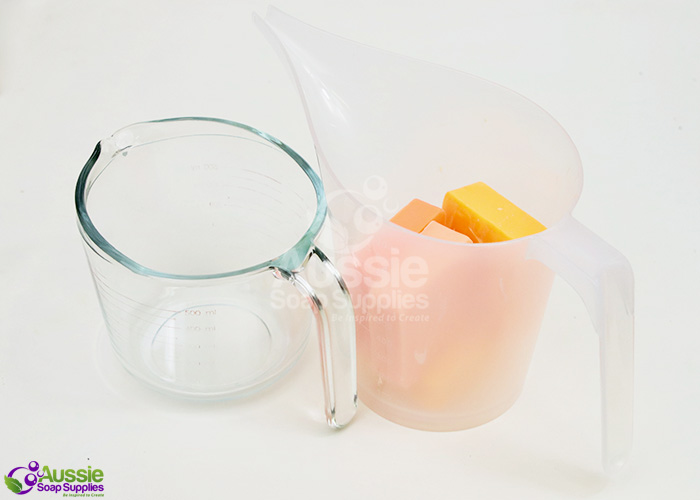
Prep:
- Grate the pre-made cold process soap in a contrasting colour.
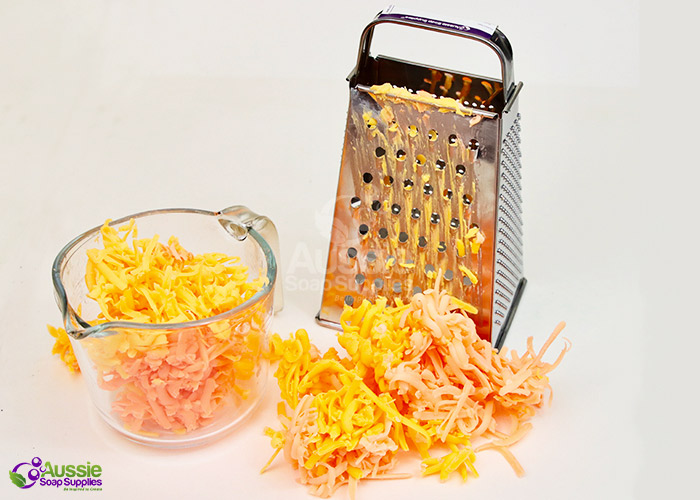
Method:
If you are a beginner, we recommend you make a few batches before attempting this soap so that you know what to expect. For how to make soap from Scratch, please see our Cold Process Soapmaking Instructions. You can also watch Soap Queen's You Tube Series on Cold Process Soapmaking. I like to pour when it's at heavy trace and insulate well to encourage gel.
Assemble the mould. I use the bulldog clips to ensure when I pour the large volume of soap into it there is no chance the seam may open with the sudden weight. You can stand the mould into a large pail or jug if desired to give it support should you need it.
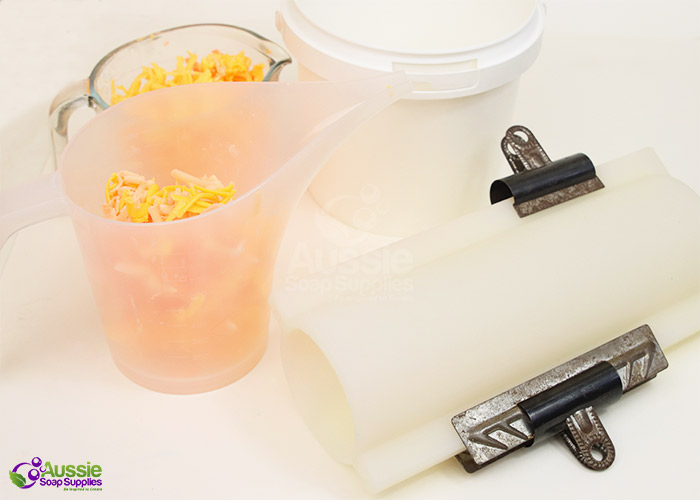
Once the lye water has cooled and you are ready to soap, (at around 35°C) add the Titanium Dioxide Powder and the Sodium Lactate Plus to the lye water pail.
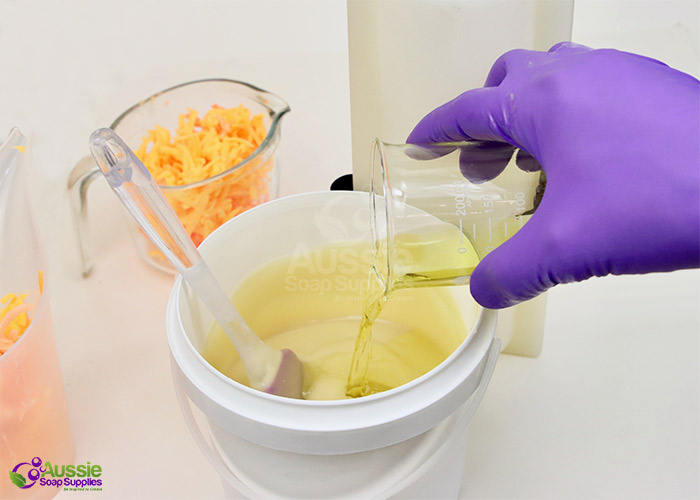
Bring the new soap light to medium trace and then add the fragrance.
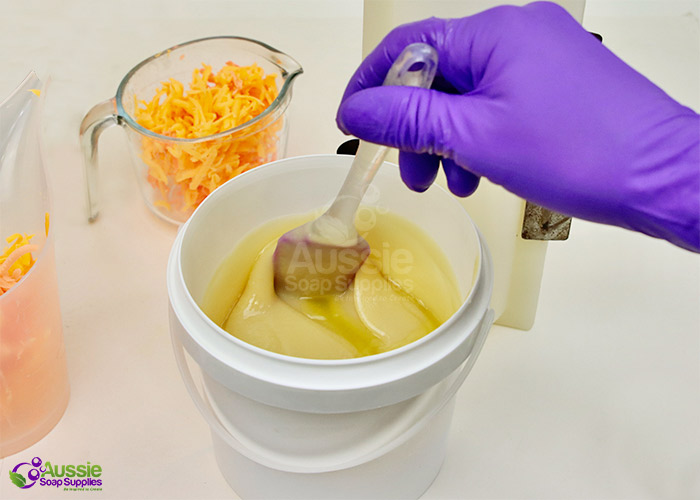
Manually stir the fragrance through thoroughly.

Add the 2 - 3 cups of shredded/grated soap and MANUALLY stir through the batch - if the soap is fresh (as ours was) it may stick together and then it may need the stick blender to break it up a little into smaller pieces. If you like the chunky look, avoid using the stick blender.
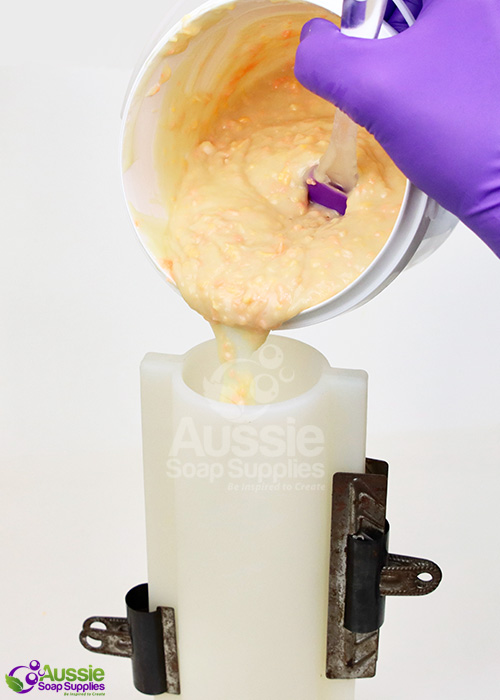
Immediately pour the whole contents of the soap pot into the mould.
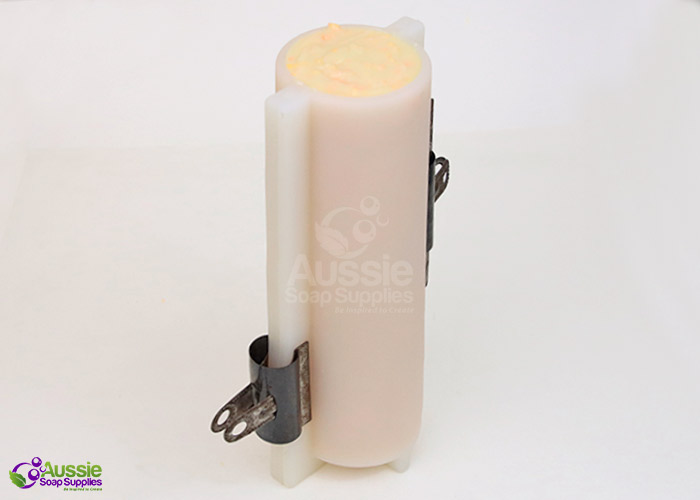
There is usually no need to cover or insulate vertical moulds as they create their own heat and there is very little surface to react with the air.
Once it has saponified, remove the bulldog clips and leave in the mould for several days to a week before attempting to unmould.

Carefully peel the mould halves away from the soap - if it sticks after this time period, you may like to use the freezer to assist unmoulding a smooth finish.
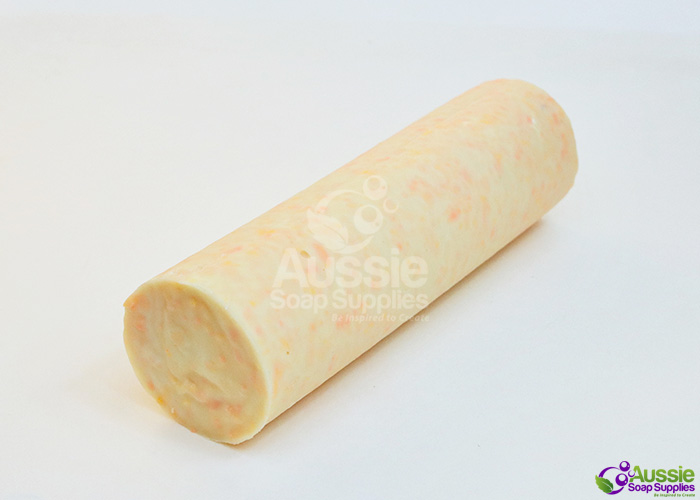
If you are a beginner leave the log another week prior to slicing.

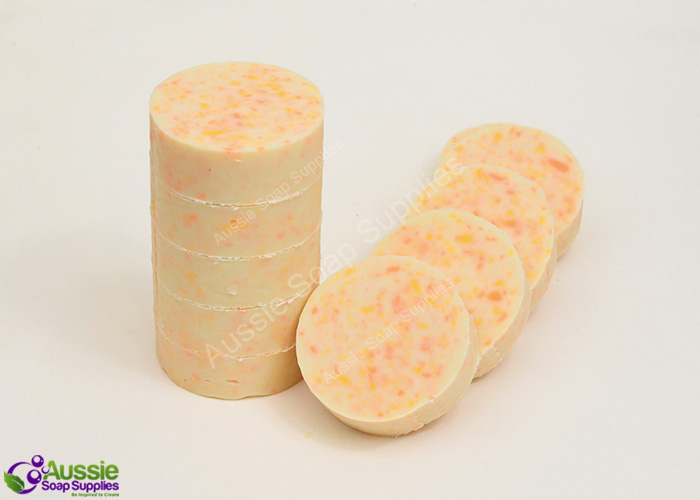
Unmould and slice as usual, allow to cure before use.
| Difficulty: | Beginner |
| Yields: | 10 - 14 bars |
| Time: | 1 hour |


