

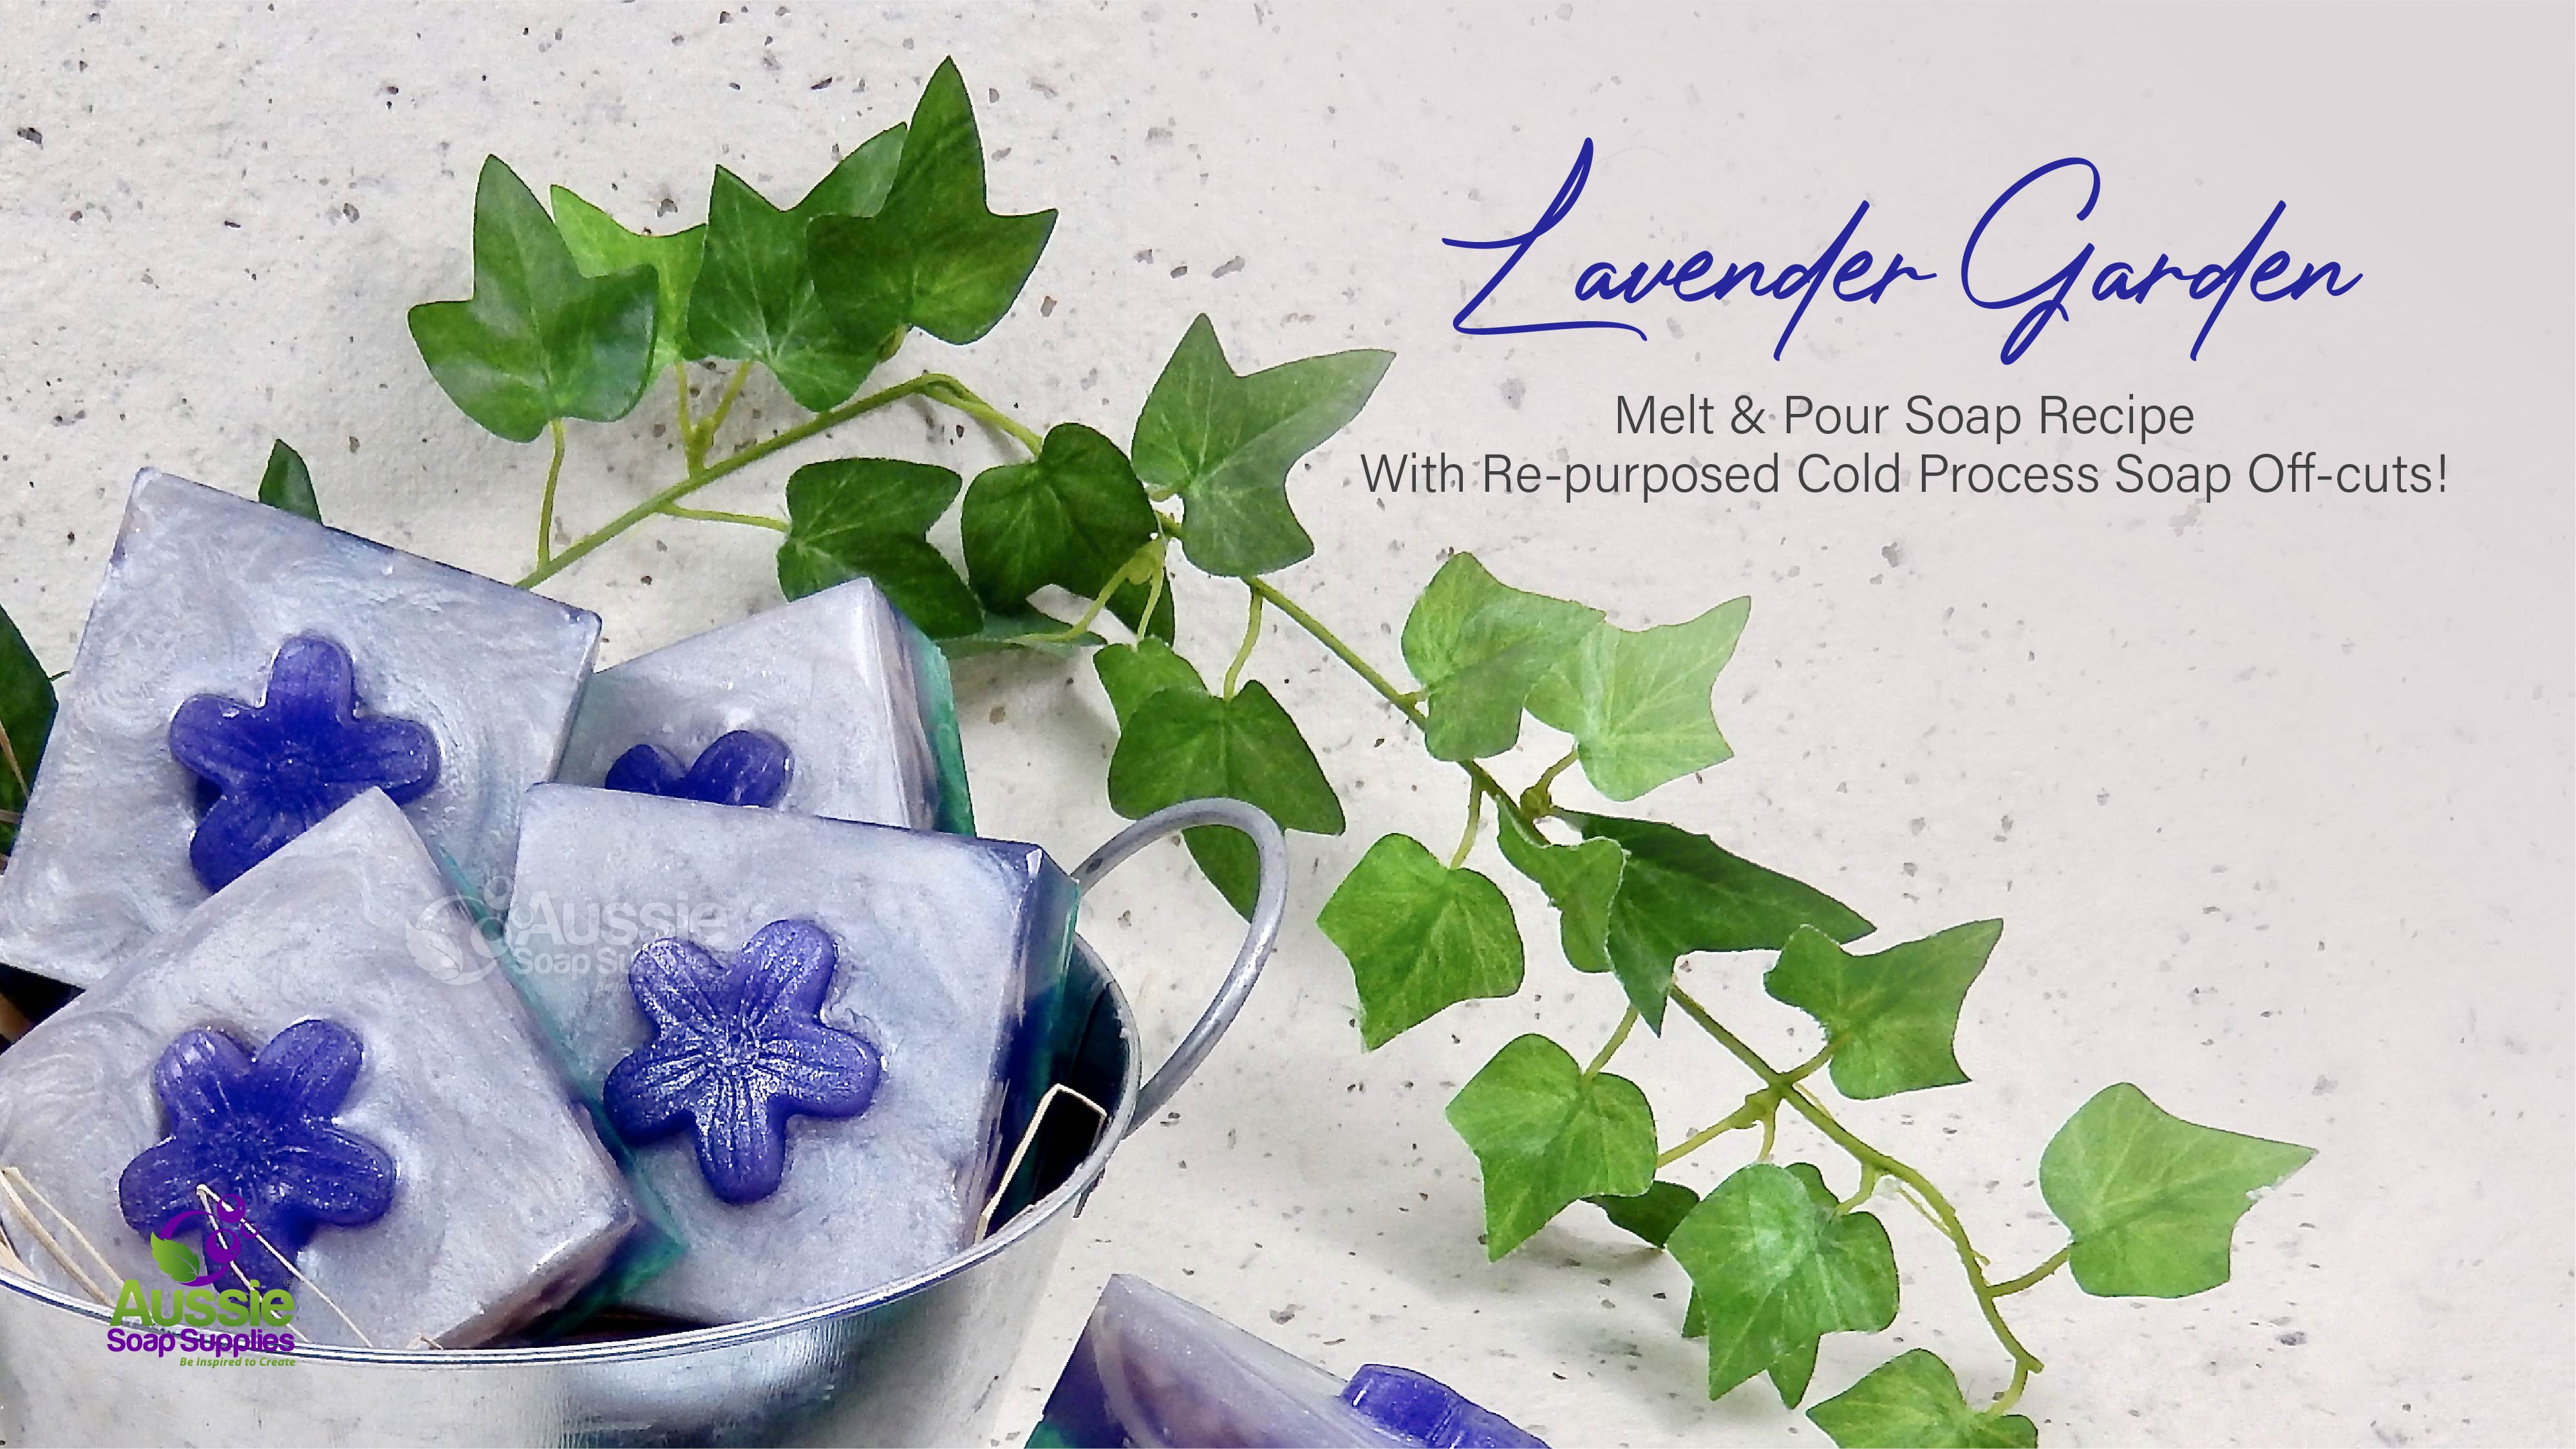
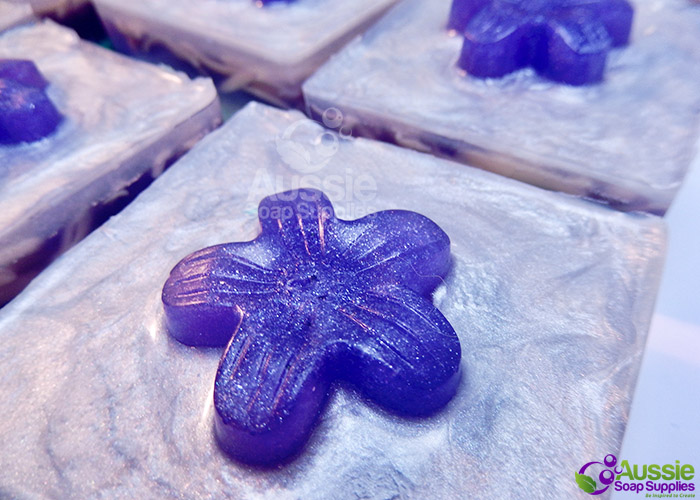
This luscious lavender soap will transport you to a field of Lavender in the south of France!
In this recipe, you'll recycle off-cuts from your previous batches of Cold Process Soap, and combine them into a Lavender delight, breathing new life into your off-cuts!
TIPS: In the base you can see I've used finely grated honey coloured cold process soap - just the one bar is sufficient to make twelve "bases" for the soap. If your cold process soap is fresh, it's easier to grate and arrange in the mould if it has only aged for 4 weeks or so (fresh = sticky). If you aren't a cold process soaper, you can achieve a similar look with either ground oatmeal or just use some coarsely grated Melt & Pour Soap Base or some Medallion Gold Mica to colour the base level without the Cold Process Soap shreds.
To make one batch of 12 soaps, you need 12 x 130g of soap base = 1560g in total, so you'll need:
- 1600g Clear Natural Melt & Pour Soap Base cut into cubes
- 30g/ml Baby Bedtime Lavender Fragrance or Lavender French Essential Oil
- 2 bars of Cold Process Soap in any neutral colour or left over Melt and Pour pieces, coarsely grated
- Pashmina Mica
- Royal Purple Liquid Pigment Disperison or you can use a purple Mica of choice
- Deep Seagreen Liquid Pigment Dispersion or you can use a green Mica of choice
- Flexible Mould 12 Squares
- Flexible Embed Column Mould Daisy
- Isopropyl Alcohol Set with a Spritzer Bottle
Equipment:
Hand grater
Stirring spoons or spatulas
1 microwave safe jug - Needs to hold 1 litre or more
Electronic scales are useful but not essential
A thermometer is useful, but not essential
Method:
- Set out the ingredients, equipment and ready to go
- Firstly make the little flowers to go on top of the finished bars. Dice and then melt 150g of Clear Melt and Pour Soap Base in a small jug. Add a small pigment scoop of White Pearl Mica and several drops of Royal Purple Liquid Pigment Dispersion (coloured to eye depending if you want deep purple or pale lavender coloured flowers).

Note: We used to use a mould with individual cavities, this is no longer stocked.
We now use the Flexible Embed Mould Daisy which is a column mould - the graphic has been amended to show this :) 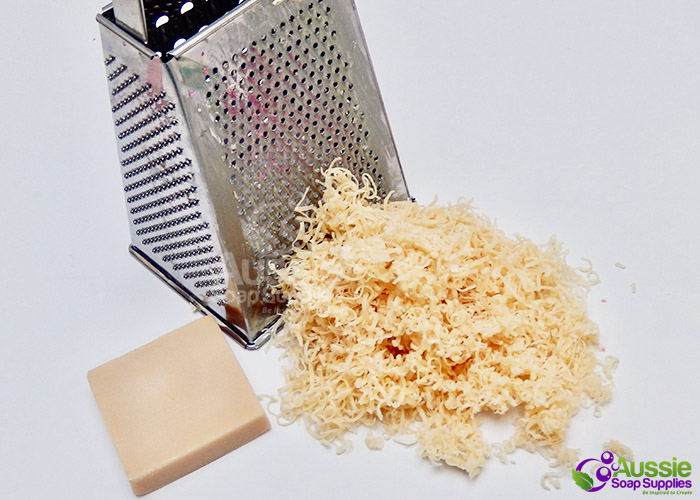
- Grate one soap bar into fine shreds, and the second bar into coarse shreds. Keep these separate and set aside. (If you are using melt and pour instead of cold process, grate these into coarse shreds and pop them into the freezer so they don't melt when the hot soap is poured over them).
- Dice 360g of clear soap base into small ice cube sized chunks and place in the microwave jug. Lightly cover the jug of Melt & Pour Soap, and put in the microwave to melt on medium or medium low. This will take a few minutes, so do keep an eye on it so it doesn't overheat. The soap should not be much above 60°C.
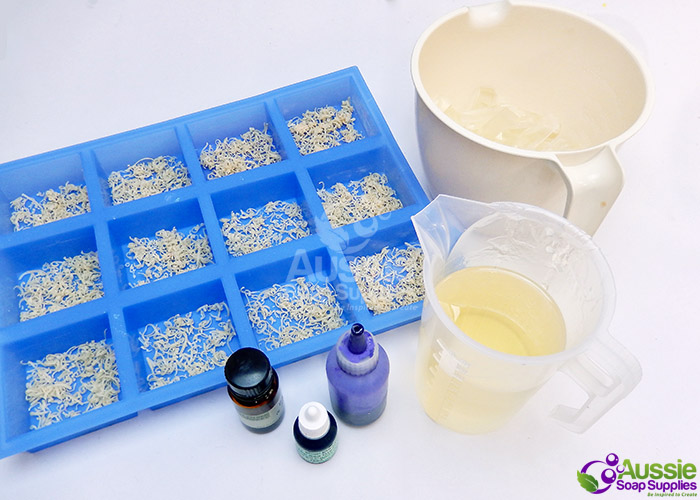
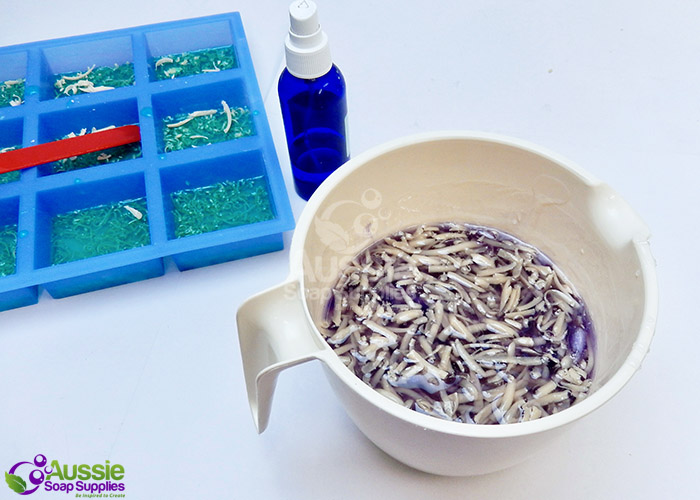
- Whilst this is melting arrange the pre-prepared fine soap shreds in a thin layer in the base of each mould cavity.
- Remove the liquid Melt & Pour Soap from the microwave, and add sufficient Deep Seagreen Liquid Dispersion until it reaches a depth of colour you are happy with. I like mine fairly dark so there is a good contrast between layers.
- Add 4ml (just under a teaspoon) of Lavender fragrance (or Lavender Essential Oil) and stir to combine well.
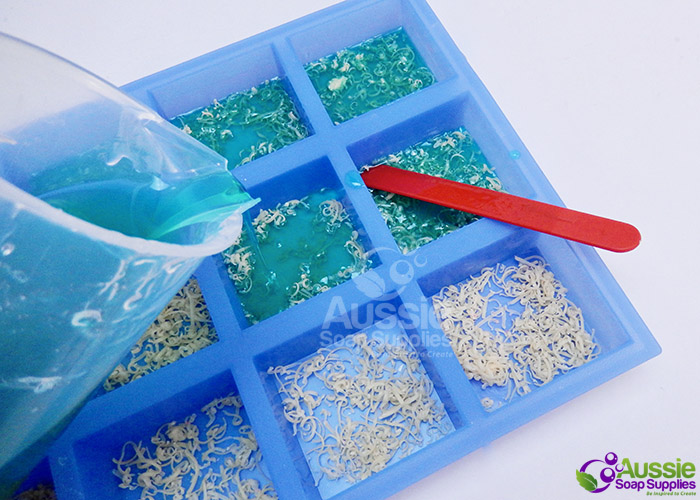
- Spritz the surface of the jug of soap with alcohol to remove any surface bubbles, and also spray the soap shreds in the mould cavities.
- Carefully pour enough soap into the mould cavities just to cover the shreds of soap (this is 40g per cavity), then spritz the top of the soap with alcohol and allow to set.
- While these set up prepare the middle layer.
- Allow 1 - 2 teaspoons of coarser soap shreds for each mould cavity.
- Melt 800g of clear soap as previously and colour to a mid shade with Royal Purple Liquid Dispersion.
- Then mix in 10 - 15g/ml (2 - 3 teaspoons) of fragrance.
- Add the shredded soap pieces to the jug and stir through.
- Spritz the first layer of soap in the moulds.
- Pour the purple soap evenly in all the cavities, ensuring you pour some shreds into each one.
- Spritz the surface of each soap to remove surface bubbles.
- Allow about 45 minutes to set up.
- Time to use the embed flowers! Unmould the column daisy mould, and then cut the flowers into evenly sliced pieces ready to embed. Approximately 1cm deep is perfect!
- Melt 300g of clear soap and add ½ teaspoon of Pashmina Mica and stir well. If you want a little mauve in there, you can use either a purple Mica or add a few drops of Royal Purple Liquid Dispersion. Stir well to ensure there are no dry spots, use the isopropyl alcohol to remove lumps and any bubbles.
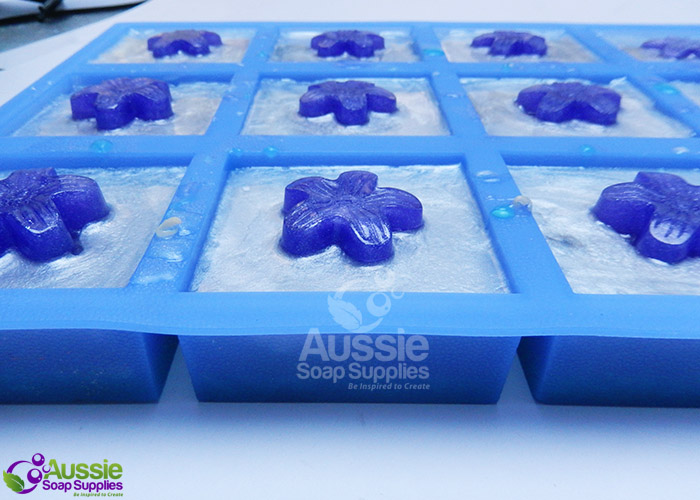
- Spritz the surface of the soaps and also the underside of the flowers with isopropyl alcohol and arrange the flowers in the centre of each cavity with set soap
- Spritz the surfaces again with Isopropyl Alcohol ready for the findal pour
- Pour the pearlescent soap around each of the flowers, this is only a couple of millimetres deep. This not only makes a nice finish but also helps to embed the flowers into each soap
- Then allow at least 45 minutes to finish setting up.
- Unmould and wrap as usual.

Ingredients in the "add to trolley" basket contains everything except the re-purposed soap bars/offcuts
| Difficulty: | Experienced Beginner |
| Yields: | 12 bars |
| Time: | 1 ½ hours |
| save: | No |
| sale: | No |


