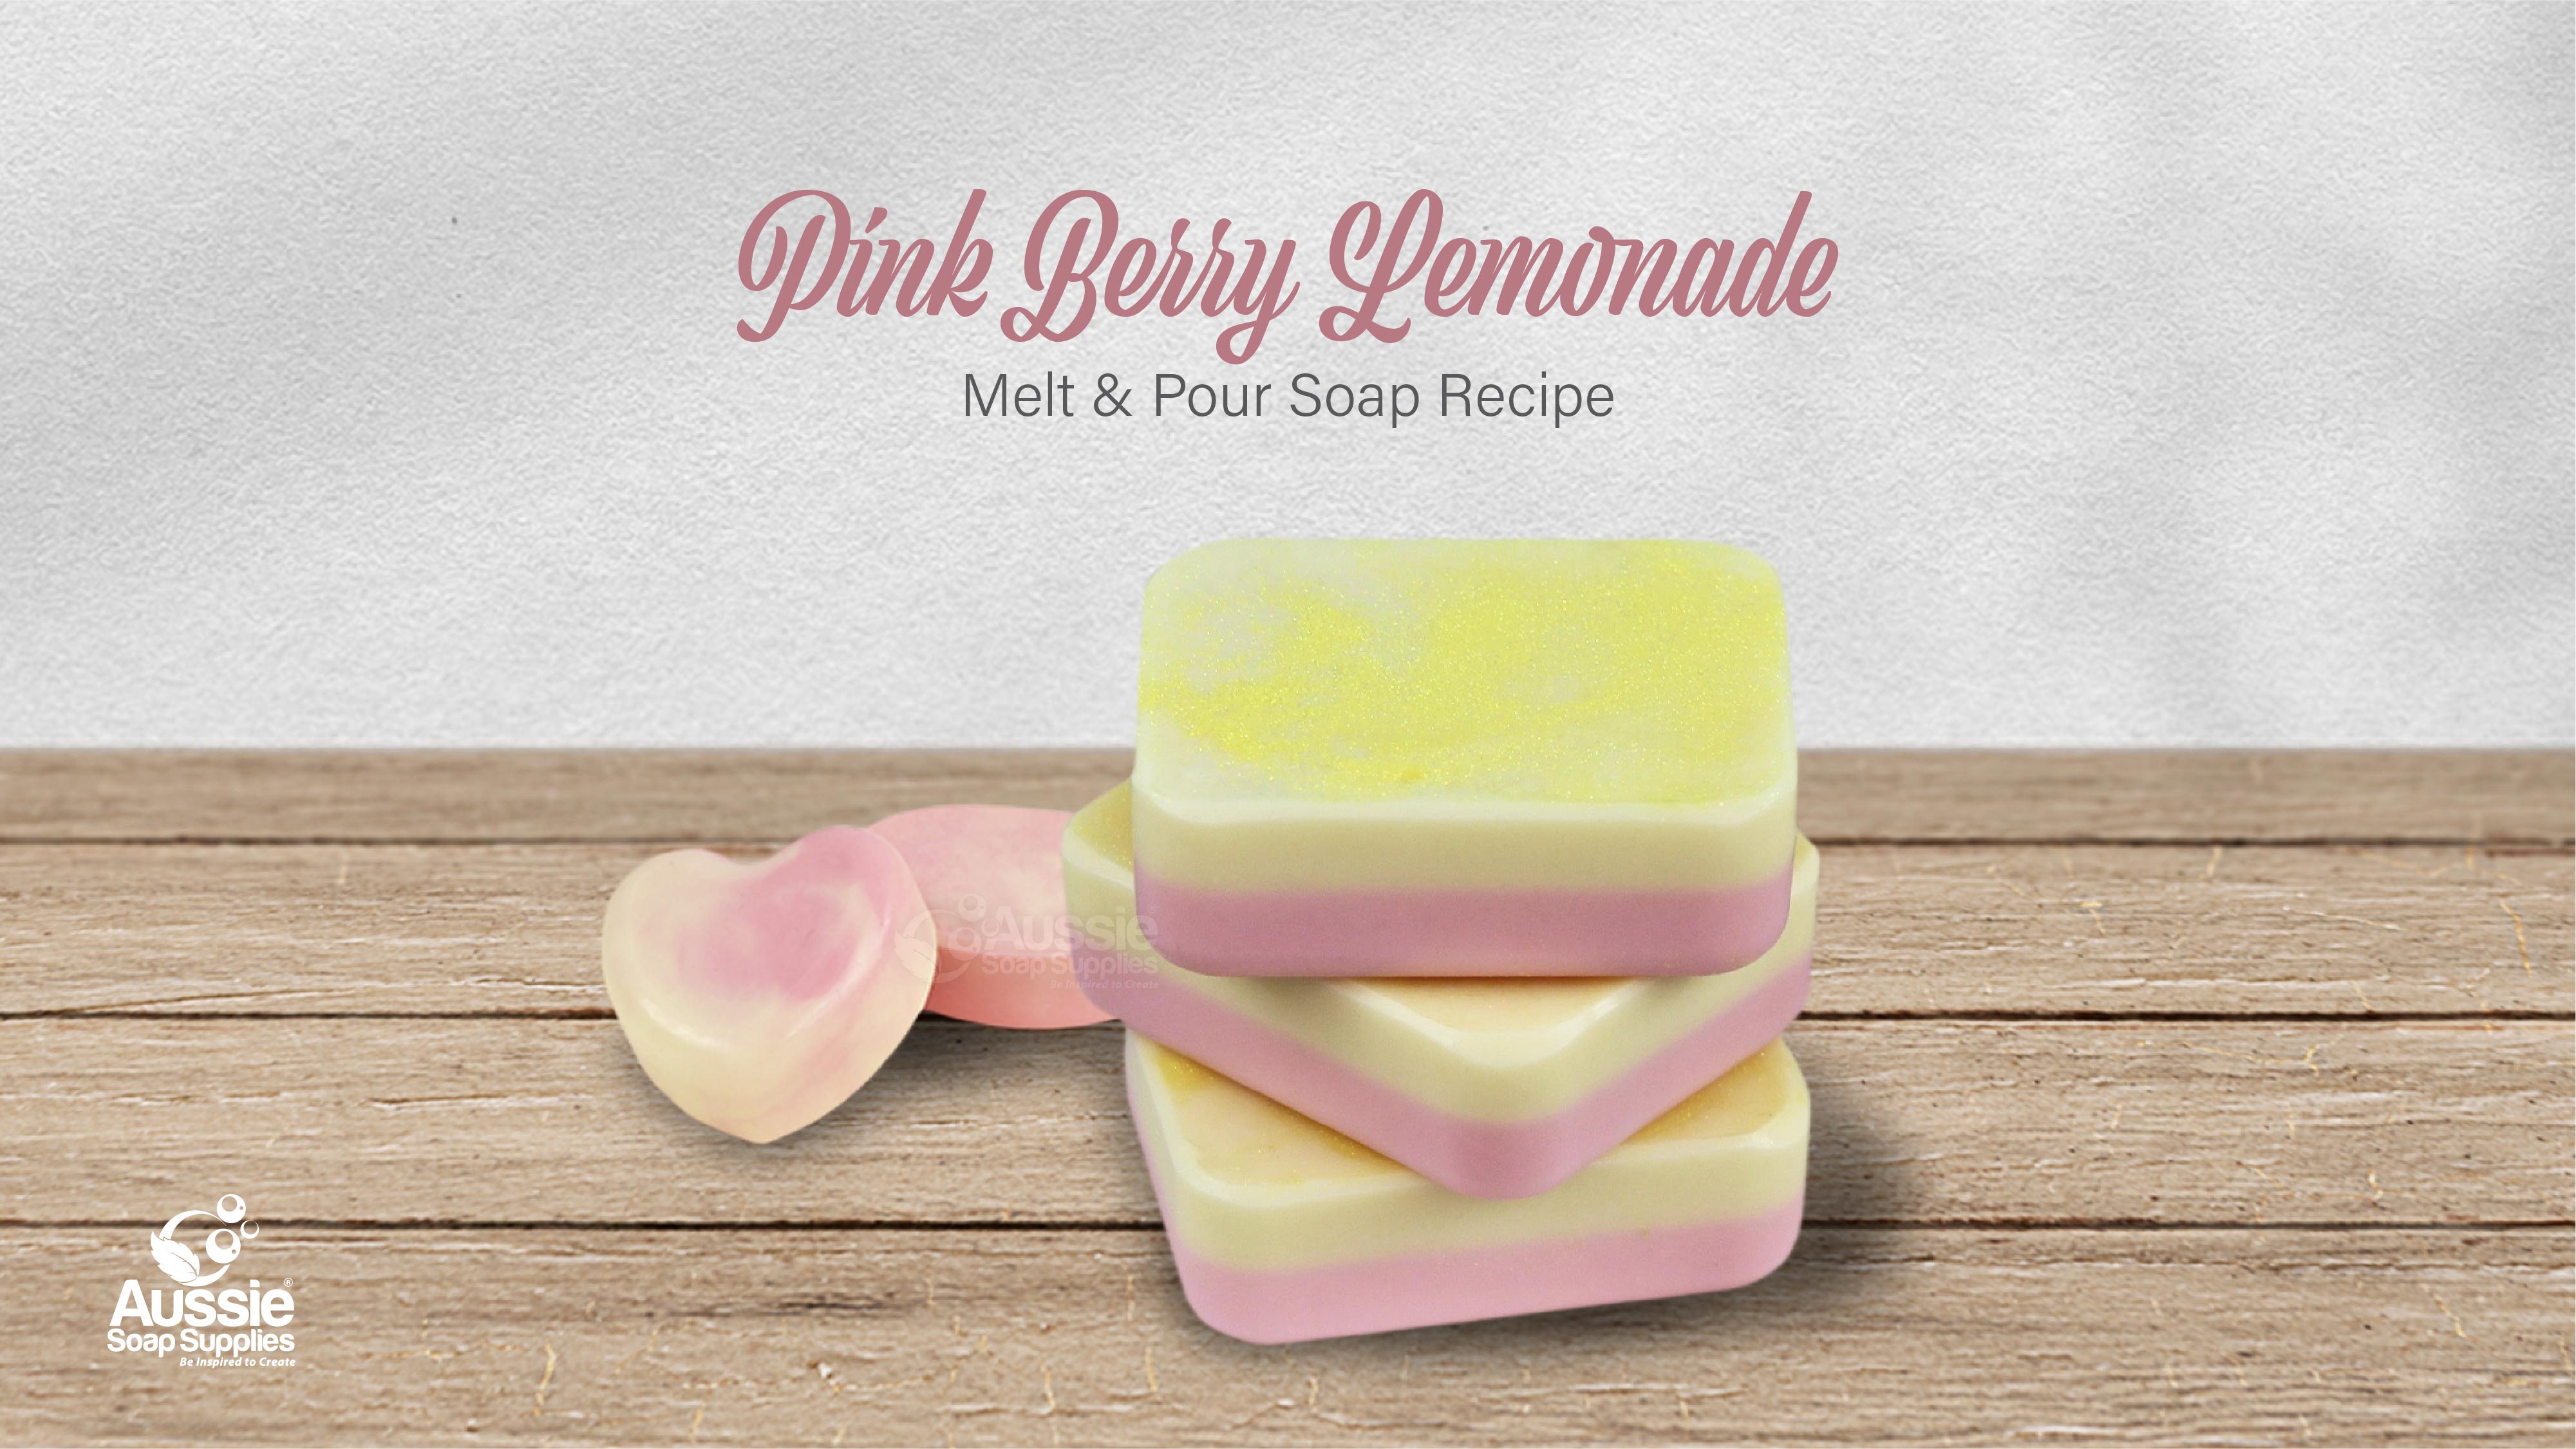
These sweet and summery Pink Berry Lemonade Soaps are so cute, we had to make them in two different styles! Make either a simple two-layer soap, or a swirled design - or why not try both?! We've got you covered with instructions and equipment for both styles, but you can un-tick any of the products you don't need from the shopping list as you like.
Both design styles are pretty easy - but if you're just starting out, we recommend starting with the two-layer design before moving on to the slightly more technical swirled sunrise soap design.
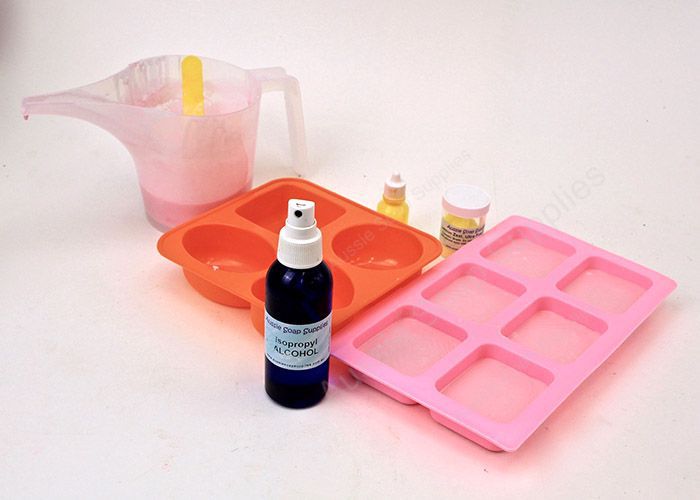
What you'll need (for 10 soaps in both styles):
- 1kg Stephenson Crystal TBS (Triple Butter) Melt and Pour Soap Base
- Carmine Red Liquid Pigment Dispersion
- Yellow Liquid Pigment Dispersion
- 23g/ml Scent Blend = 2.3% for a stronger fragrance (but you can use half this quantity if preferred
10g/ml Lemon Essential Oil, 3g/ml Champagne Fragrance and 10g/ml Cranberry Fig Fragrance
- Budget Wise Flex Mould – 6 Rounded Rectangle
- Budget-Wise Flex Mould – 4 Shapes (Rounded)
- Glitter to decorate surface - optional
Equipment:
- 2 x 750ml Microwave Safe Jugs
- Covering for the jugs between pours (cardboard is fine)
- Small Glass Beaker or jar for the scent blend
- Spatulas, spoons or stirring sticks
- Digital Scales - Optional but helpful
- Spare tray or baking tray to place the moulds on
- Thermometer - Optional, but helpful
- Pipette or dropper for fragrance
- Isopropyl Alcohol and Spritz Bottle Set - required if layering two colours
Overview – you are making two different batches – we melt all the soap at once and then reheat as necessary for the second mould:
Batch One:
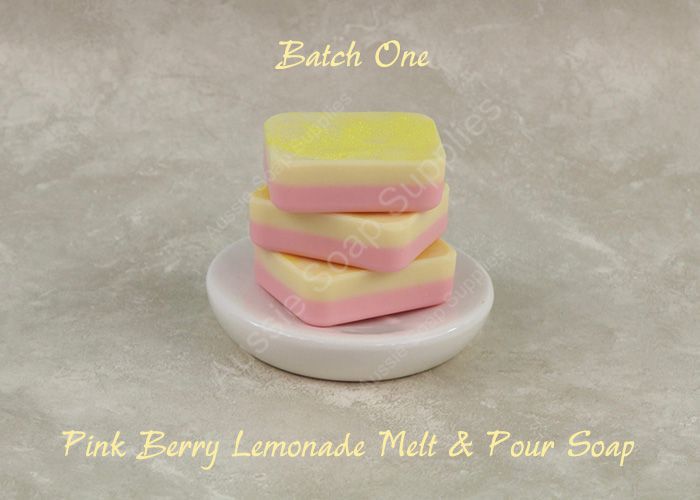
6 x Pink Berry Lemonade two-layer soaps
Budget Wise Flex Mould - 6 Rounded Rectangle = 95g soap for each cavity:
270g for base layer (6 x 45g) – white soap coloured pink with Carmine Liquid Dispersion
300g for top layer (6 x 50g) – white coloured creamy yellow with Yellow Liquid DIspersion
Total of 570g soap base
Just over half of the scent blend (you can take this higher if you prefer a stronger fragrance)
Batch Two:
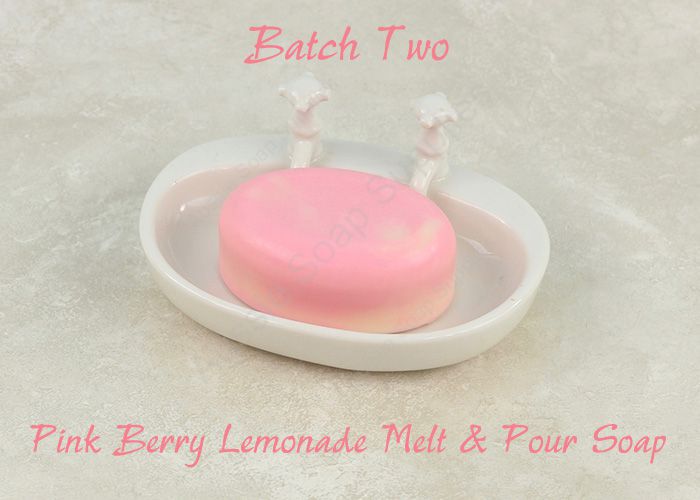
4 x Pink Berry Lemonade Swirled Sunrise Pour technique soaps
These four soaps use the remainder of the soap from Batch One, re-melted and poured using a different technique.
Budget Wise Flex Mould – 4 Shapes, Rounded = 110g for each cavity:
240g of leftover pink colour soap (4 x 60g)
200g of leftover yellow colour soap – (4 x 50)
Just under half of the scent blend (you can take this higher if you prefer a strong fragrance)
Prep
Dice all the soap and divide into the two jugs – 510g into one jug, and 490g into the other
Measure and mix the fragrance blend in a small glass beaker or jar
Method (Batch One):
This first batch uses the 6 Rounded Rectangle Mould and some glitter (if using glitter).
Place the soap in the two jugs, cover and place in the microwave and melt in short bursts until the soap is liquid.
Take care not to overheat the soap – if it overheats it will affect the fragrance and essential oils and make your soap more prone to sweating.
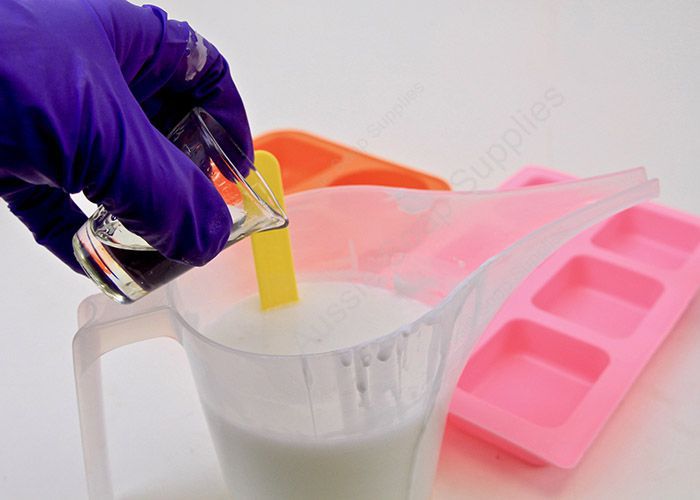
Add the fragrance quantity (as above) and stir well to combine.
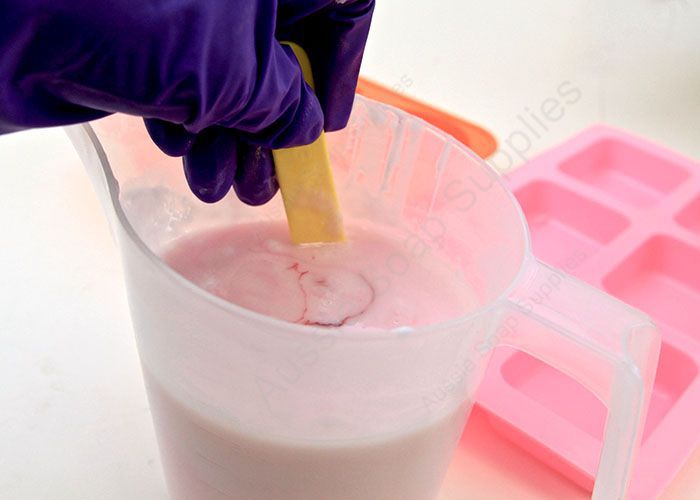
Colour the melted soap in the jug with colourant – this one is Carmine, until you have a nice pink tone (I used approximately 7 drops).
If you wish to have exact measurements in the layered pour you’ll need the scales. Place the tray on the scales and tare to zero.
Pour 45g of pink coloured soap into each of the six cavities and then give a quick spritz with alcohol to remove any surface bubbles.
Now melt the second jug and colour yellow, stir as previously, and then add the fragrance (as above) and stir well.
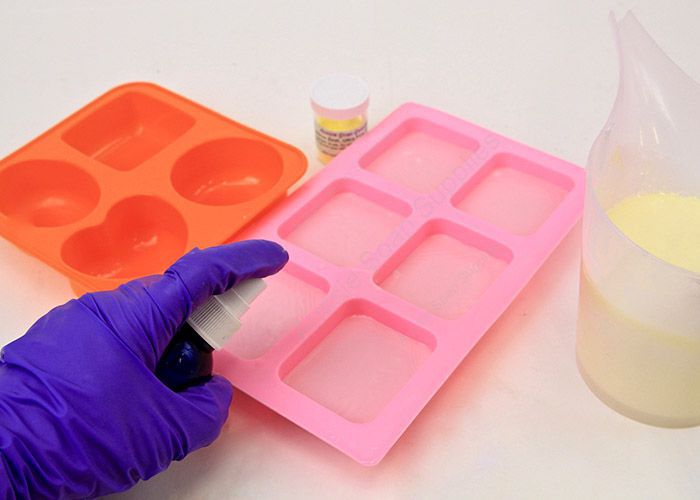
Check the pink layer of soap is firm to the touch and then spray with Isopropyl Alcohol.
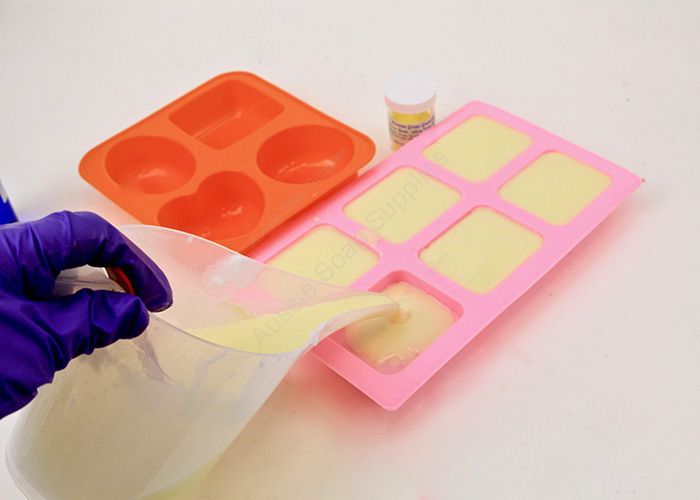
Now it’s time to pour the yellow layer - take the spoon and pour the soap into the cavities over the
back of the spoon to ensure it doesn’t break through the half set soap in the mould.
Then give a quick spray with Isopropyl Alcohol again.
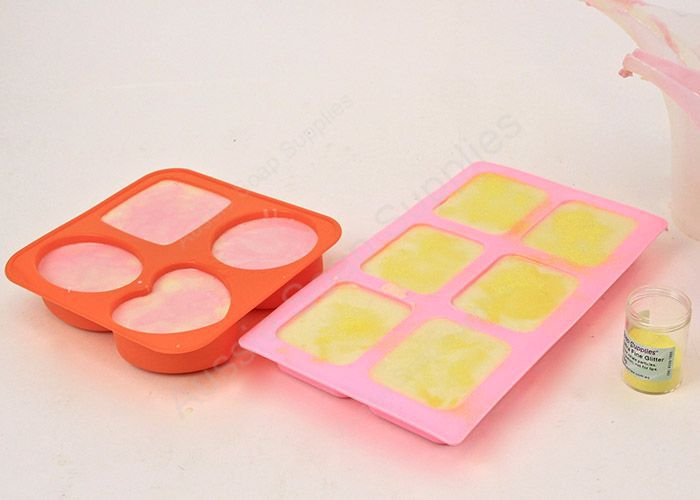
Straight after this, give a light sprinkling of glitter (optional) and it can be set aside whilst you make the second batch.
Method (Batch Two):
Place the second mould onto the tray on the work bench.
Place the jugs into the microwave and cover, and re-melt.
Give the soap a quick spritz of alcohol if there are any surface bubbles after re-melting.
If you are confident you can do the sunrise technique:
Take a jug in each hand, and then pour both jugs simultaneously into the first mould cavity.
It is best to do this slowly to gain the most benefit from the swirling technique.
Move from cavity to cavity until you have used all the soap.
Spritz with alcohol again and it’s done!
OR
If you don’t feel confident to do this, not to worry, you can swirl in the jug (which actually involves no swirling!)
Place the second mould onto the tray on the work bench.
Place the jugs into the microwave and cover, and re-melt.
Give the soap a quick spritz of alcohol if there are any surface bubbles after re-melting.
Now to combine!
Carefully pour the soap in one jug into the other jug - DO NOT STIR!
Give the soap another quick spritz of alcohol if there are any surface bubbles.
Now close to the mould, pour carefully into each of the four cavities.
You will notice the soap will swirl itself as you pour – then you are done!
If you feel you want a little more pattern, just use one or two tweaks in the liquid soap to make more pattern –
if you overdo it, or pour too hot it will end up one colour!
Give the soap a quick spritz of alcohol if there are any surface bubbles and allow to set up.
If you prefer rounded corners on your soaps, below is the economical tool I’ve been using for over 15 years.
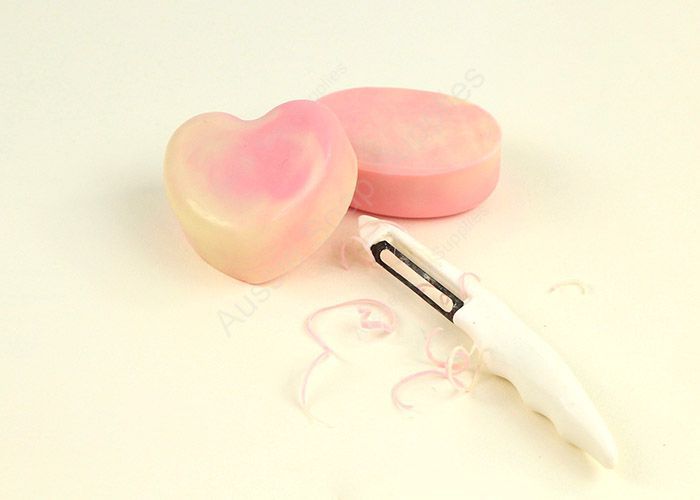
When set up, peel away the moulds and wrap as usual
| Difficulty: | Experienced Beginner |
| Time: | 1 - 2 hours |
| Yields: | 10 + bars |
| sale: | No |
| save: | No |


