Make your own fizzy Bath Bombs with fun, coloured embeds! These Bath Bombs were made by our team of total beginners on a staff training day!
The little coloured embeds are made first, and placed in the mould before packing the uncoloured bath bomb mixture into the mould. The embeds are made from a slightly different recipe to the bombs, but they are still really easy to make with a little care.
As you gain experience in crafting hand made Bath Bombs, you will learn to judge when they are ready to mould, with just enough moisture in the mixture without it being too wet or activating. A useful tip is that when the temperature begins to drop suddenly (you can feel this through thin gloves), you do not add any more moisture.
Ingredients needed to make both the Embeds and the Bath Bombs:
- 1kg Bicarbonate of Soda
- 500g Citric Acid
- 1 tsp Cream of Tartar
- 40g Sweet Almond Oil or Liquid Shea Butter (Oil) - trolley items include Sweet Almond Oil
- 40g Polysorbate 80
- ½ tsp Watermelon Red Powdered Lake (or your preferred bath bomb colour)
- 12 - 25g Happy Place Pure Essential Oil Blend (or your preferred Fragrance Oil)
- 1 x 76mm Stainless Steel Bath Bomb Moulds - one mould set at least
- 1 x 55 Mini Heart Embed Mould
Equipment:
- 2 mixing bowls or jugs, 1 medium and 1 large
- Sieve
- Scales, preferably digital
- Spatulas, spoons etc
- Disposable gloves for hand mixing
- Spritz Bottle with Floral Water, Isopropyl Alcohol or Witch Hazel
- 1 dropper or 1 x Disposable Pipette
Instructions For the Embeds:
(Note: the graphics are showing the larger batch of embed mixture I make, there are plenty of embeds with the 200g batch you are making.
Ingredients:
- 100g Bicarbonate of Soda
- 100g Citric Acid
- 1 teaspooon Cream of Tartar (or you can use White Kaolin Clay if you have that on hand)
- ½ teaspoon Almond Oil (or other vegetable oil)
- ½ teaspoon Powdered Lake Dye
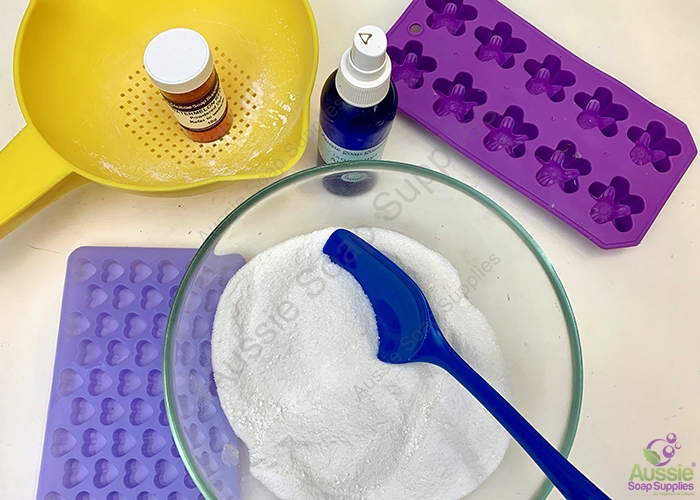
Embeds One: Place a sieve over a large bowl and add the Bicarbonate of Soda, Citric Acid, and Cream Of Tartar and carefully push through the sieve into a large mixing bowl or jug. This is to eliminate any lumps.
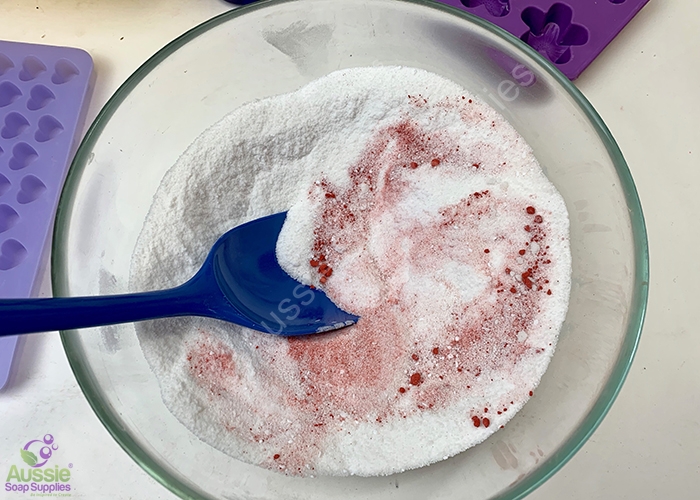
Embeds Two: Add the Watermelon Red Powdered Lake and mix well through the mixture, again ensure all small lumps of dye are broken up into powder.
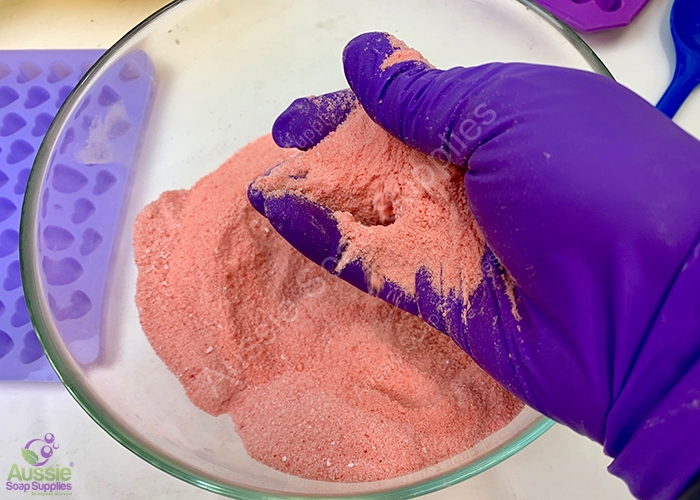
Embeds Three: Begin to moisten the mixture by adding and mixing in your chosen fixed oil and spraying with either Isopropyl Alcohol or Witch Hazel.
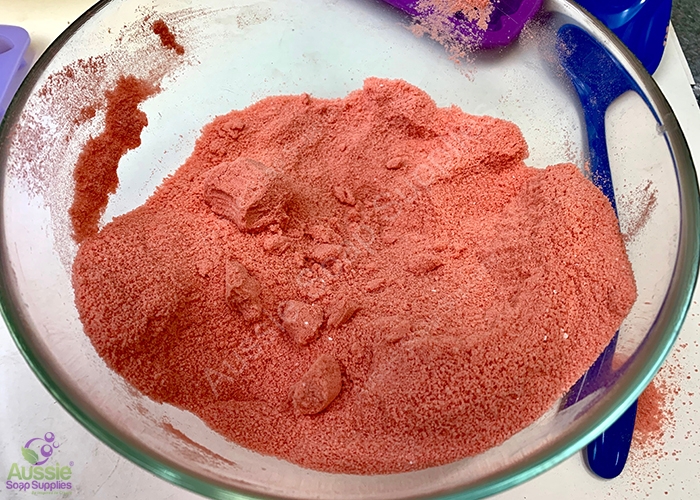
Embeds Four: You can see the more moist the mix becomes, the darker it looks, this is normal. Once the mixture holds together in your hand, and looks like damp sand, it is ready to mould.
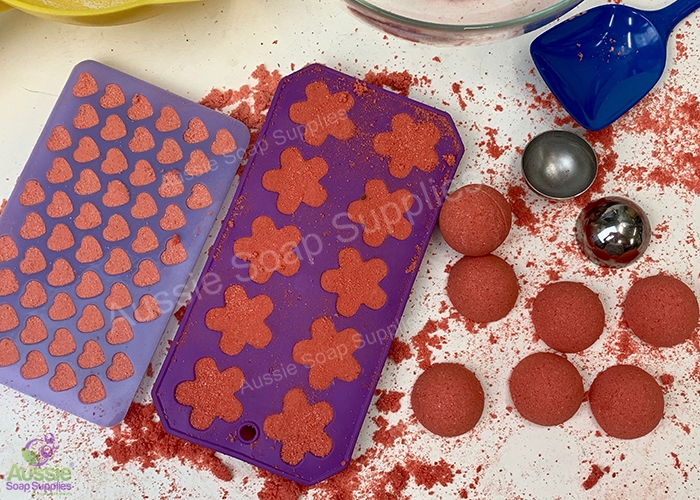
Embeds Five: As these are not the 'main event' you can have them a little more moist than you would for the main bath bomb mixture. Spoon the mixture into the moulds, and press it down into the mould cavities. Allow to sit for an hour or overnight, to allow them to dry out and firm up.
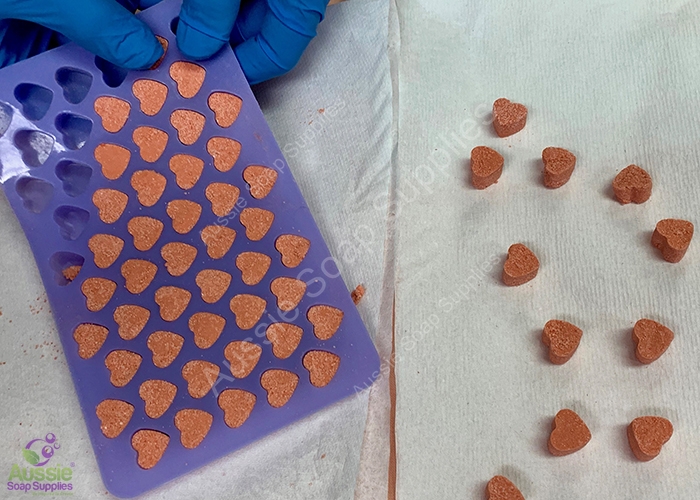
Embeds Six: Unmould all the embeds ready for the main batch.
Instructions For the Bath Bombs:
For the main Bath Bomb mixture, use the rest of the Bicarbonate of Soda and Citric Acid. As an option, you can add up to 50–100g Cream of Tartar or Kaolin Clay which helps to make a harder Bath Bomb.
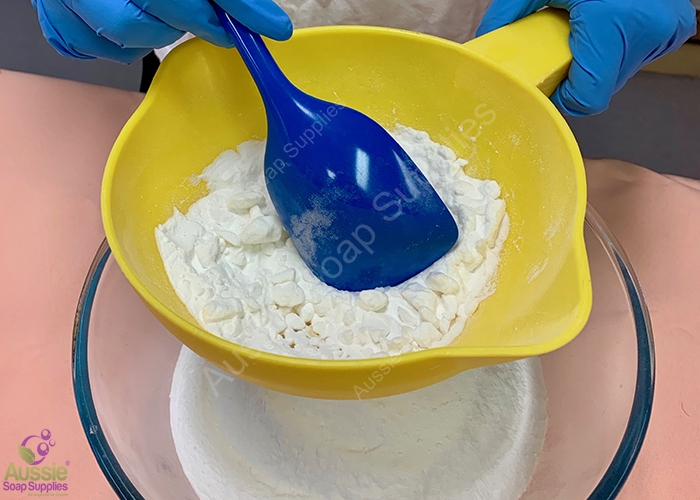
Bath Bombs One: As previously, sieve the mixture to remove any lumps.
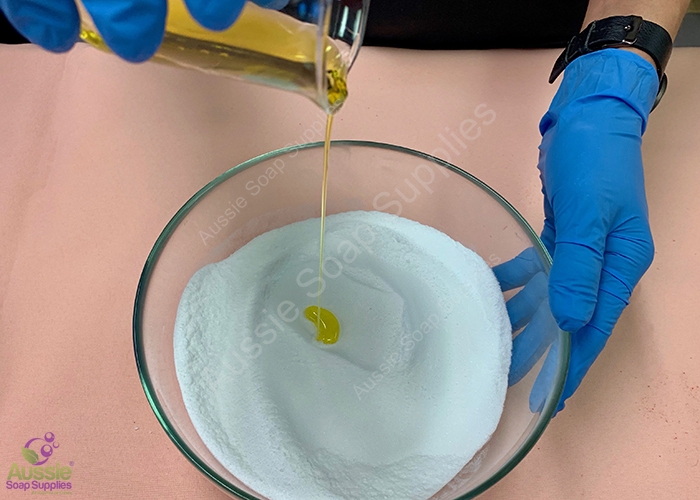
Bath Bombs Two: Combine the remaining Almond Oil, Polysorbate 80 and the Essential Oil Blend or fragrance. Slowly pour in the liquid mixture, mixing it in as you go. You can use a balloon whisk, or your fingers to combine the oils and powders.
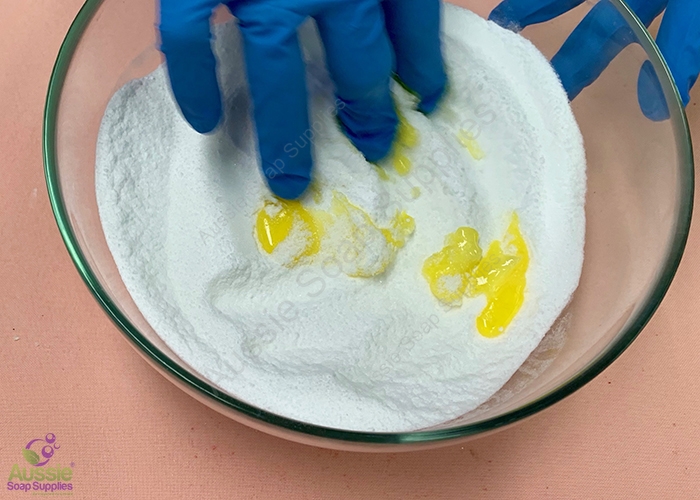
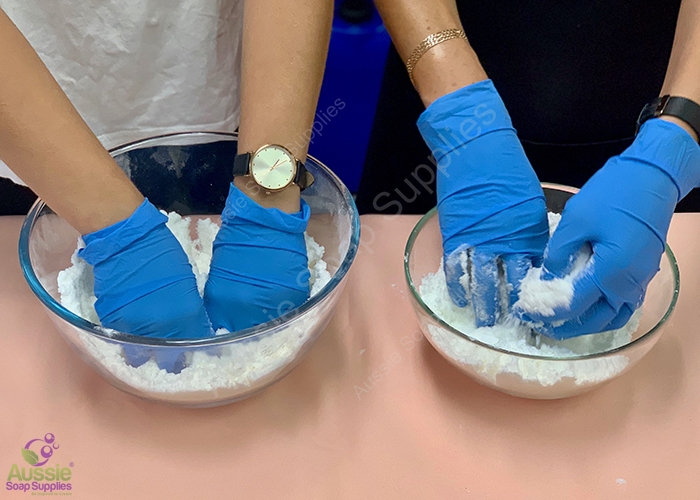
Bath Bombs Three: Remember, we had two elves so if there is only one of you, don't divide the mixture! Begin Spritzing the mixture with the atomiser.
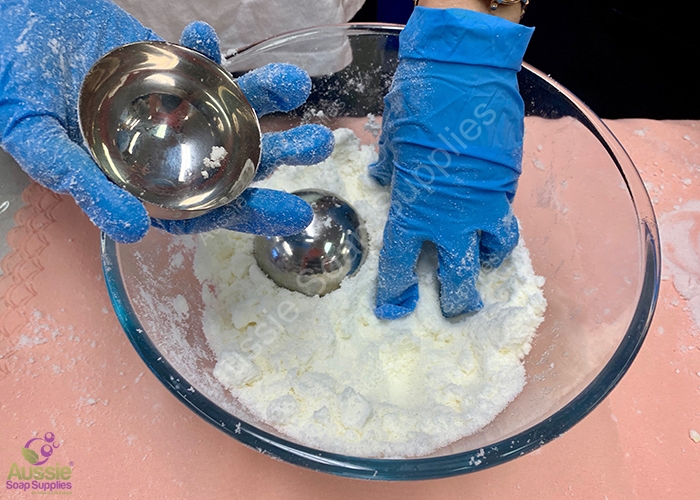
Bath Bombs Four: Continue with mixing and spritzing and checking for consistency, as with the embed mixing. You are looking to reach "wet sand" consistency.
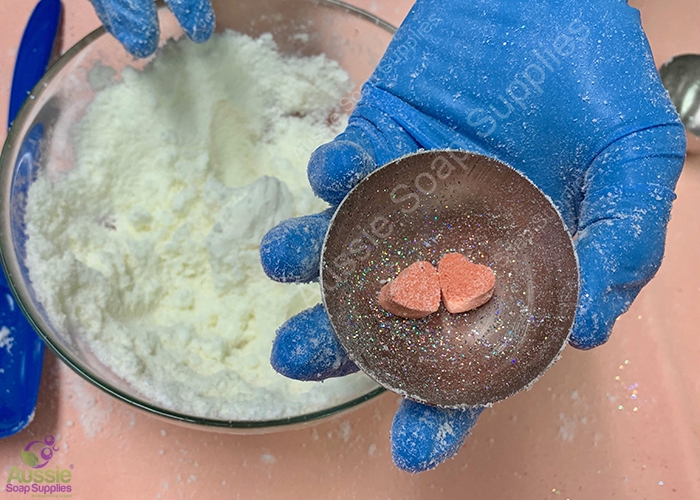
Bath Bombs Five: Place your embeds and/or some glitter into one half of the mould
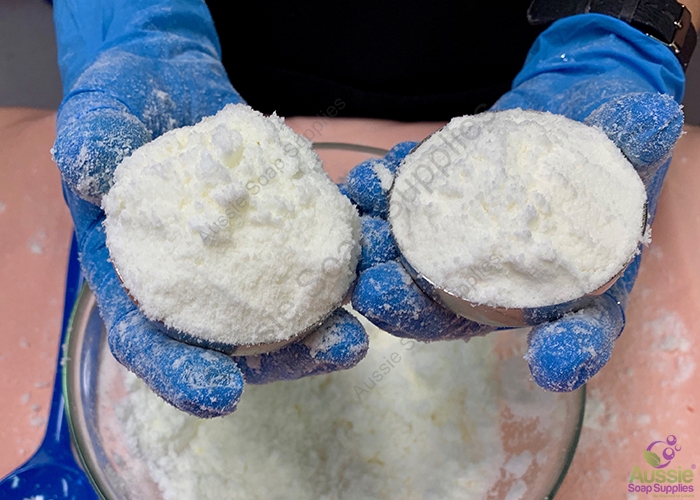
Bath Bombs Six: Now fill both halves of the mould with a generous amount of mixture
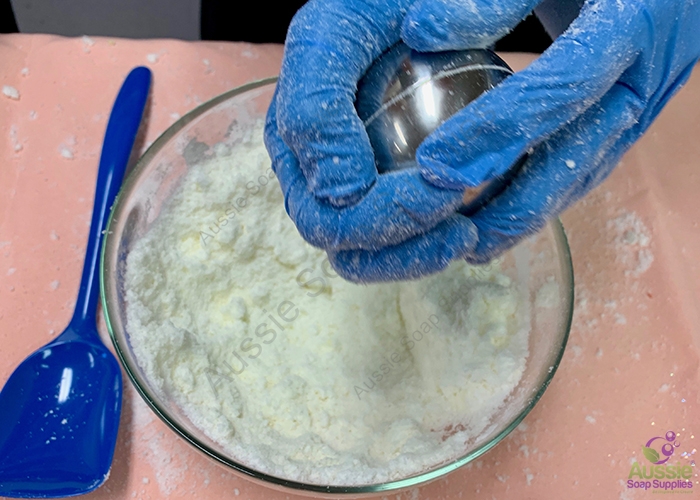
NB: You need enough mixture to ensure when you press the two halves together they only just touch once the mixture is compressed. If they come together easily and you can feel the metal on metal, you need a little bit more mixture.
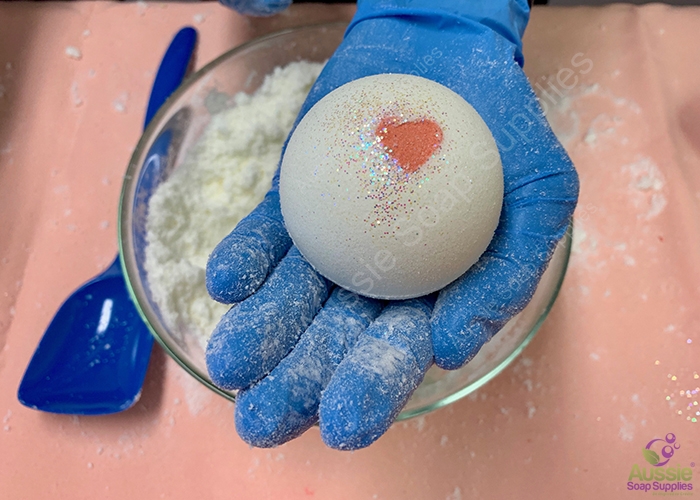
Bath Bombs Six: If you have filled and pressed the mould halves together correctly, it's time to unmould. We like to give one half of the mould a sharp tap with a mixing spoon, and then carefully twist a centimetre or so, as you lift one half of the mould away from the bomb so that you have just half sitting in the second mould. Then repeat and carefully place the bomb on a lined tray to dry completely.
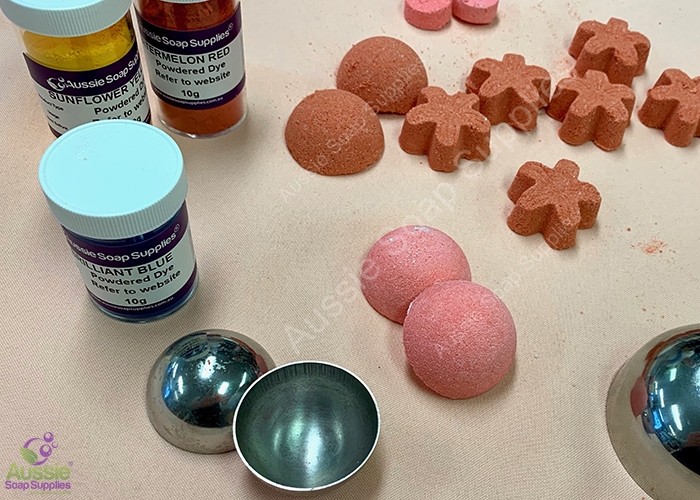
There are endless variations and configurations of embeds you can use in your Bath Bombs.
Below are pictured some of the other variations our elves made that day
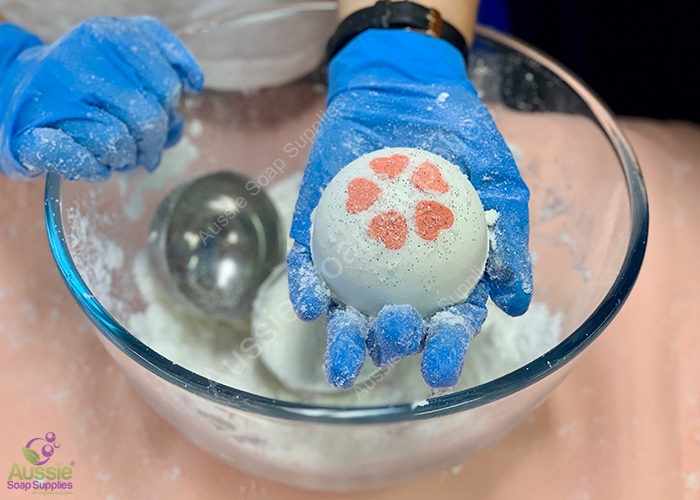
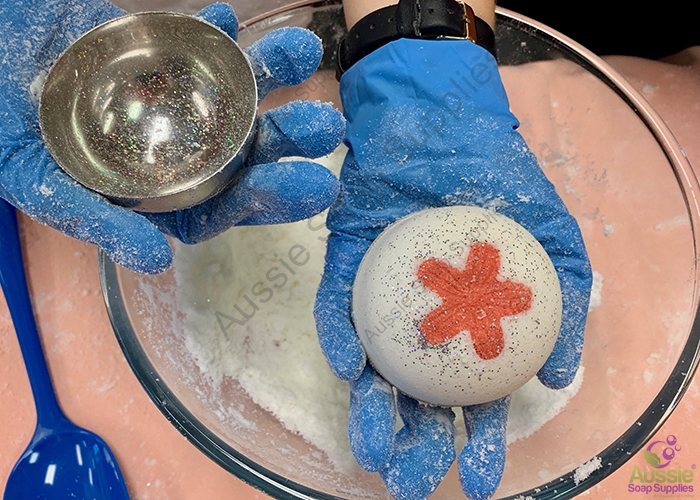
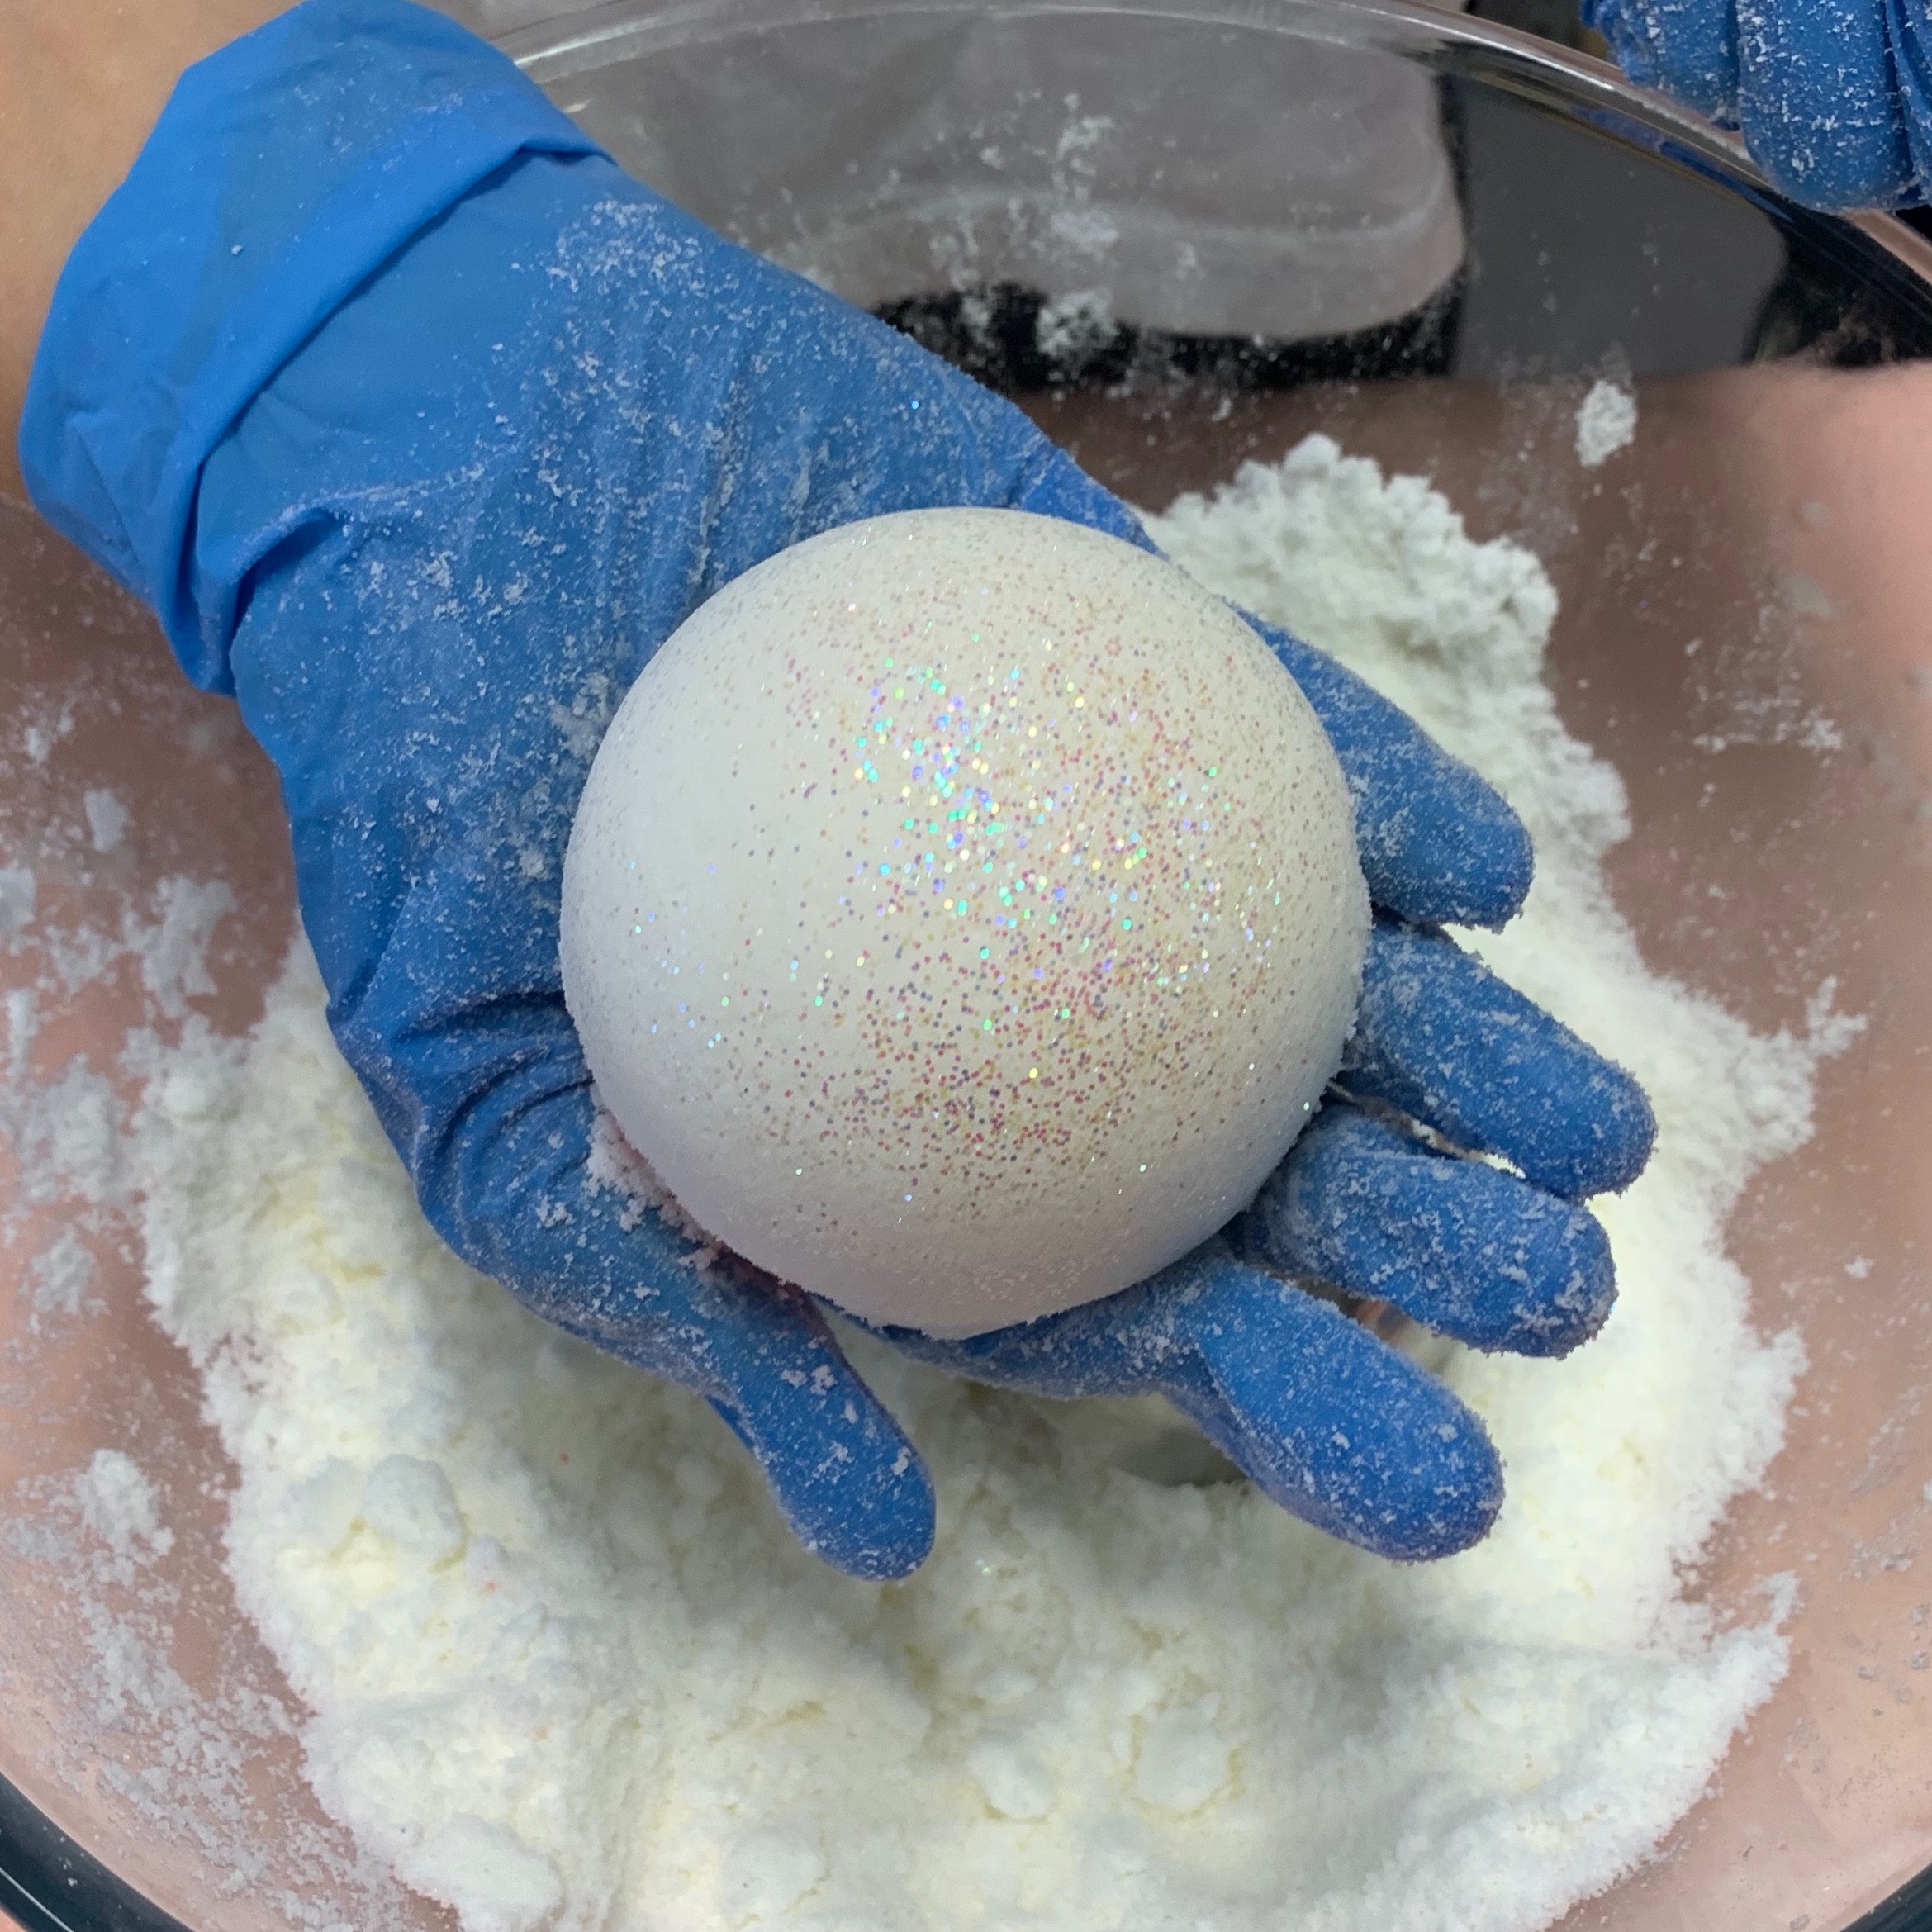
Or you might just prefer some glitter in your mould before making your bath bomb!
| Difficulty: | Experienced Beginner |
| Yields: | 20 fizzies |
| Time: | 1 hour plus 1 hour |
| sale: | No |
| save: | No |
