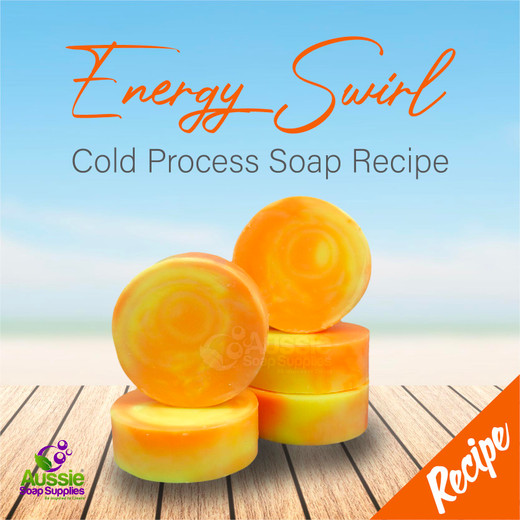
We love the Retro-Groovy design that is revealed when slicing this log!
This Cold Process Soap uses a “slide column” or “faux funnel slide” technique, in which you slide the soap down the side of the column mould, measuring the pour by counting to achieve an even “funnel pour” of semi-concentric, but off set, rings of coloured soap. As you fill the mould you decrease the time you pour the soap.
This is an intermediate-advanced level project, so you'll need to be able to control a light trace, working with a non-accelerating scent and be patient - it takes a couple of weeks before the soap is hard enough to unmould! You'll see in the photo of the unmoulded soap log, I was impatient - so do wait a couple of weeks before unmoulding!
What you need:
- 80g Avocado Oil
- 120g Castor Oil
- 80g Cocoa Butter Pellets
- 100g Palm Kernel Oil
- 400g Olive Oil
- 350g Rice Bran Oil
- 400g/ml Distilled Water
- 148g Sodium Hydroxide (Lye)
- 45g/ml Enchanted Orchid Fragrance Oil
- 1½ teaspoons Orchid Mica
- 1 teaspoon Saturn Mica
- 1 teaspoon Mermaid Blue Mica
- 10g Sodium Lactate Plus (2 teaspoons)
- Silicone Column Mould
- Spare soap moulds for left over soap
NOTE: As I like to tap the mould on its seam (base end) to settle the soap and release any air bubbles, I use bulldog clips to ensure the side and base seal stays sealed. The pail (bucket) allows the mould to lean on its side at an angle, thus enabling the slide pour to happen!
Equipment:
- Your usual Cold Process Soaping equipment including safety goggles and gloves
- 4 bulldog clips
- Plastic or ceramic vessel to hold the mould (filled with soap) on an angle
- Mini mixer or milk frother for mixing colours - optional
- Three jugs, each to hold around 500g traced soap and still take the hand balloon whisk
- Scales
- Small cups for the colour mixing
- Thermometer - Optional but useful

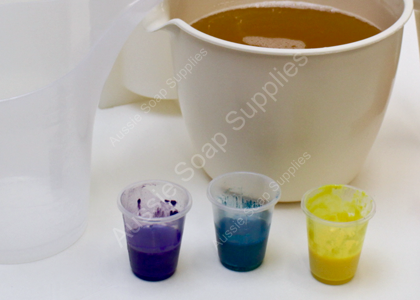
Colour Preparation for powdered colours:
- Remove 30g (6 teaspoons) Rice Bran Oil from the allocation and place 2 teaspoons into each of the 3 small cups.
- Add each of the colourants into each of the small cups of oil.
- Manually mix the pigments into the oil initially, then using a mini mixer or milk frother mix thoroughly ensuring there are no dry spots.
Mould Preparation:
- Assemble the column mould, and for extra security, use 4 bulldog clips to secure the seals.
- Place the mould into a pail (or other container) so that it sits on an angle as shown below.
Method:
If you have not made Cold Process Soap before, stop here! This is not the easiest recipe to begin your soapy journey with. See Instructions for Making Cold Process Soap from Scratch HERE.
Begin preparing the soap as usual, don't forget to add the Sodium Lactate Plus to the lye water.
Check the temperature of the oils and lye water - it should be around 20 - 30°C. (If you soap too hot you will have a thicker trace).
Now everything is ready to go! Bring the soap to a VERY light trace.
Divide the soap batter into the three jugs by weighing - place one of the jugs onto the scales and tare to zero.
Weigh 500 - 550g lightly traced soap per jug. Repeat for the other two jugs.

Now add the colourant to each jug – there is enough to make a nice dark colour, but if you prefer pastel, just use half the colourant quantity.
Mix this in manually, not with the stick blender.
Once the colourant is mixed in, add a third of the Fragrance to each jug and stir manually to combine.

Decide what colour combination you like and then line the jugs up in a row, mine were purple, then teal and then yellow.
Now begin pouring the Orchid colour soap first, as you slowly pour, count to five – this is the measure to ensure even portions.
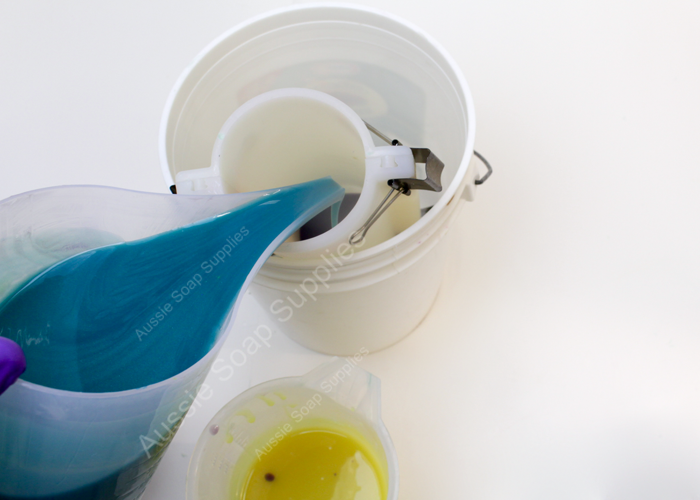
Now pour the Mermaid colour to the count of five.

Now pour the Saturn yellow colour to the count of five.
After this the column mould will be two thirds full and it’s time to adjust the angle of the mould and pour the last layers.
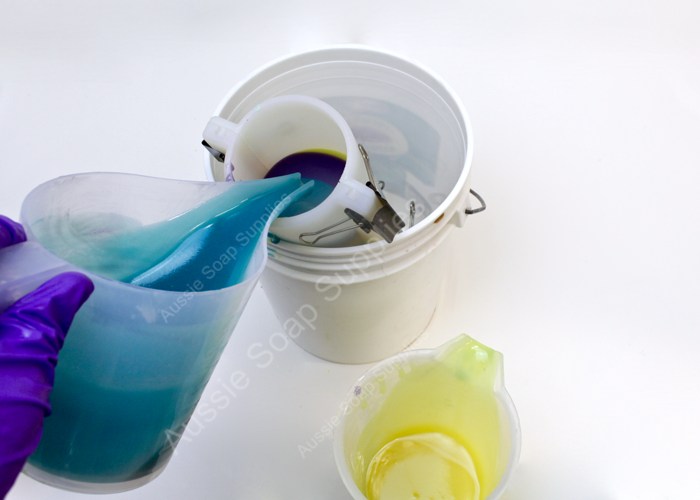
Manually stir each of the jugs to loosen the soap as it may be starting to thicken a little.
Begin pouring again with Orchid soap, this time with a count of three.
Adjust the angle of the mould a little so that it is more upright.
After this repeat the other two colours pouring to the count of three.
After this the column mould will be nearly full and needs to be vertical.
Top up the colours as required to within 1 cm of the rim of the mould

I give the mould a GENTLE tap to settle the soap if needed and then it's time to put it to bed!
Insulate the soap using your usual method and encourage gel.
At this time I combine all my left over colours and pour into individual moulds - I made 4 soaps with the left overs.
After the temperature of the soap has returned to room temperature set aside for a couple of weeks to dry out a little and firm up.
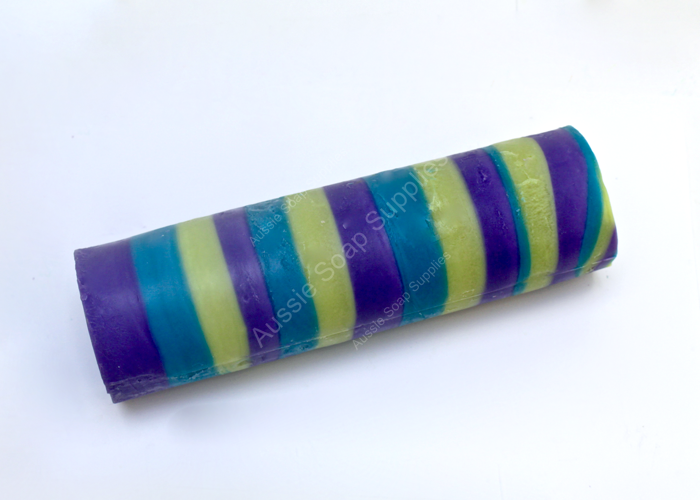
As you can see from my log I was too impatient! Because the silicone mould does not allow evaporation
through the sides the soap takes longer until it's ready to unmould.
If you unmould too early as I did, it's a little rustic in places.
Once it is firmer unmould and slice to reveal the groovy, retro semi-concentric circle design.

Allow 6 weeks to finish curing before use.

You need to purchase Distilled Water, Olive Oil and Sodium Hydroxide separately.
Second mould for leftover soap not included in trolley items.
There will be left over ingredients in varying amounts for another project
| Difficulty: | Advanced |
| Yields: | 10 - 14 bars |
| Time: | 1½ hours |
| save: | No |
| sale: | No |


