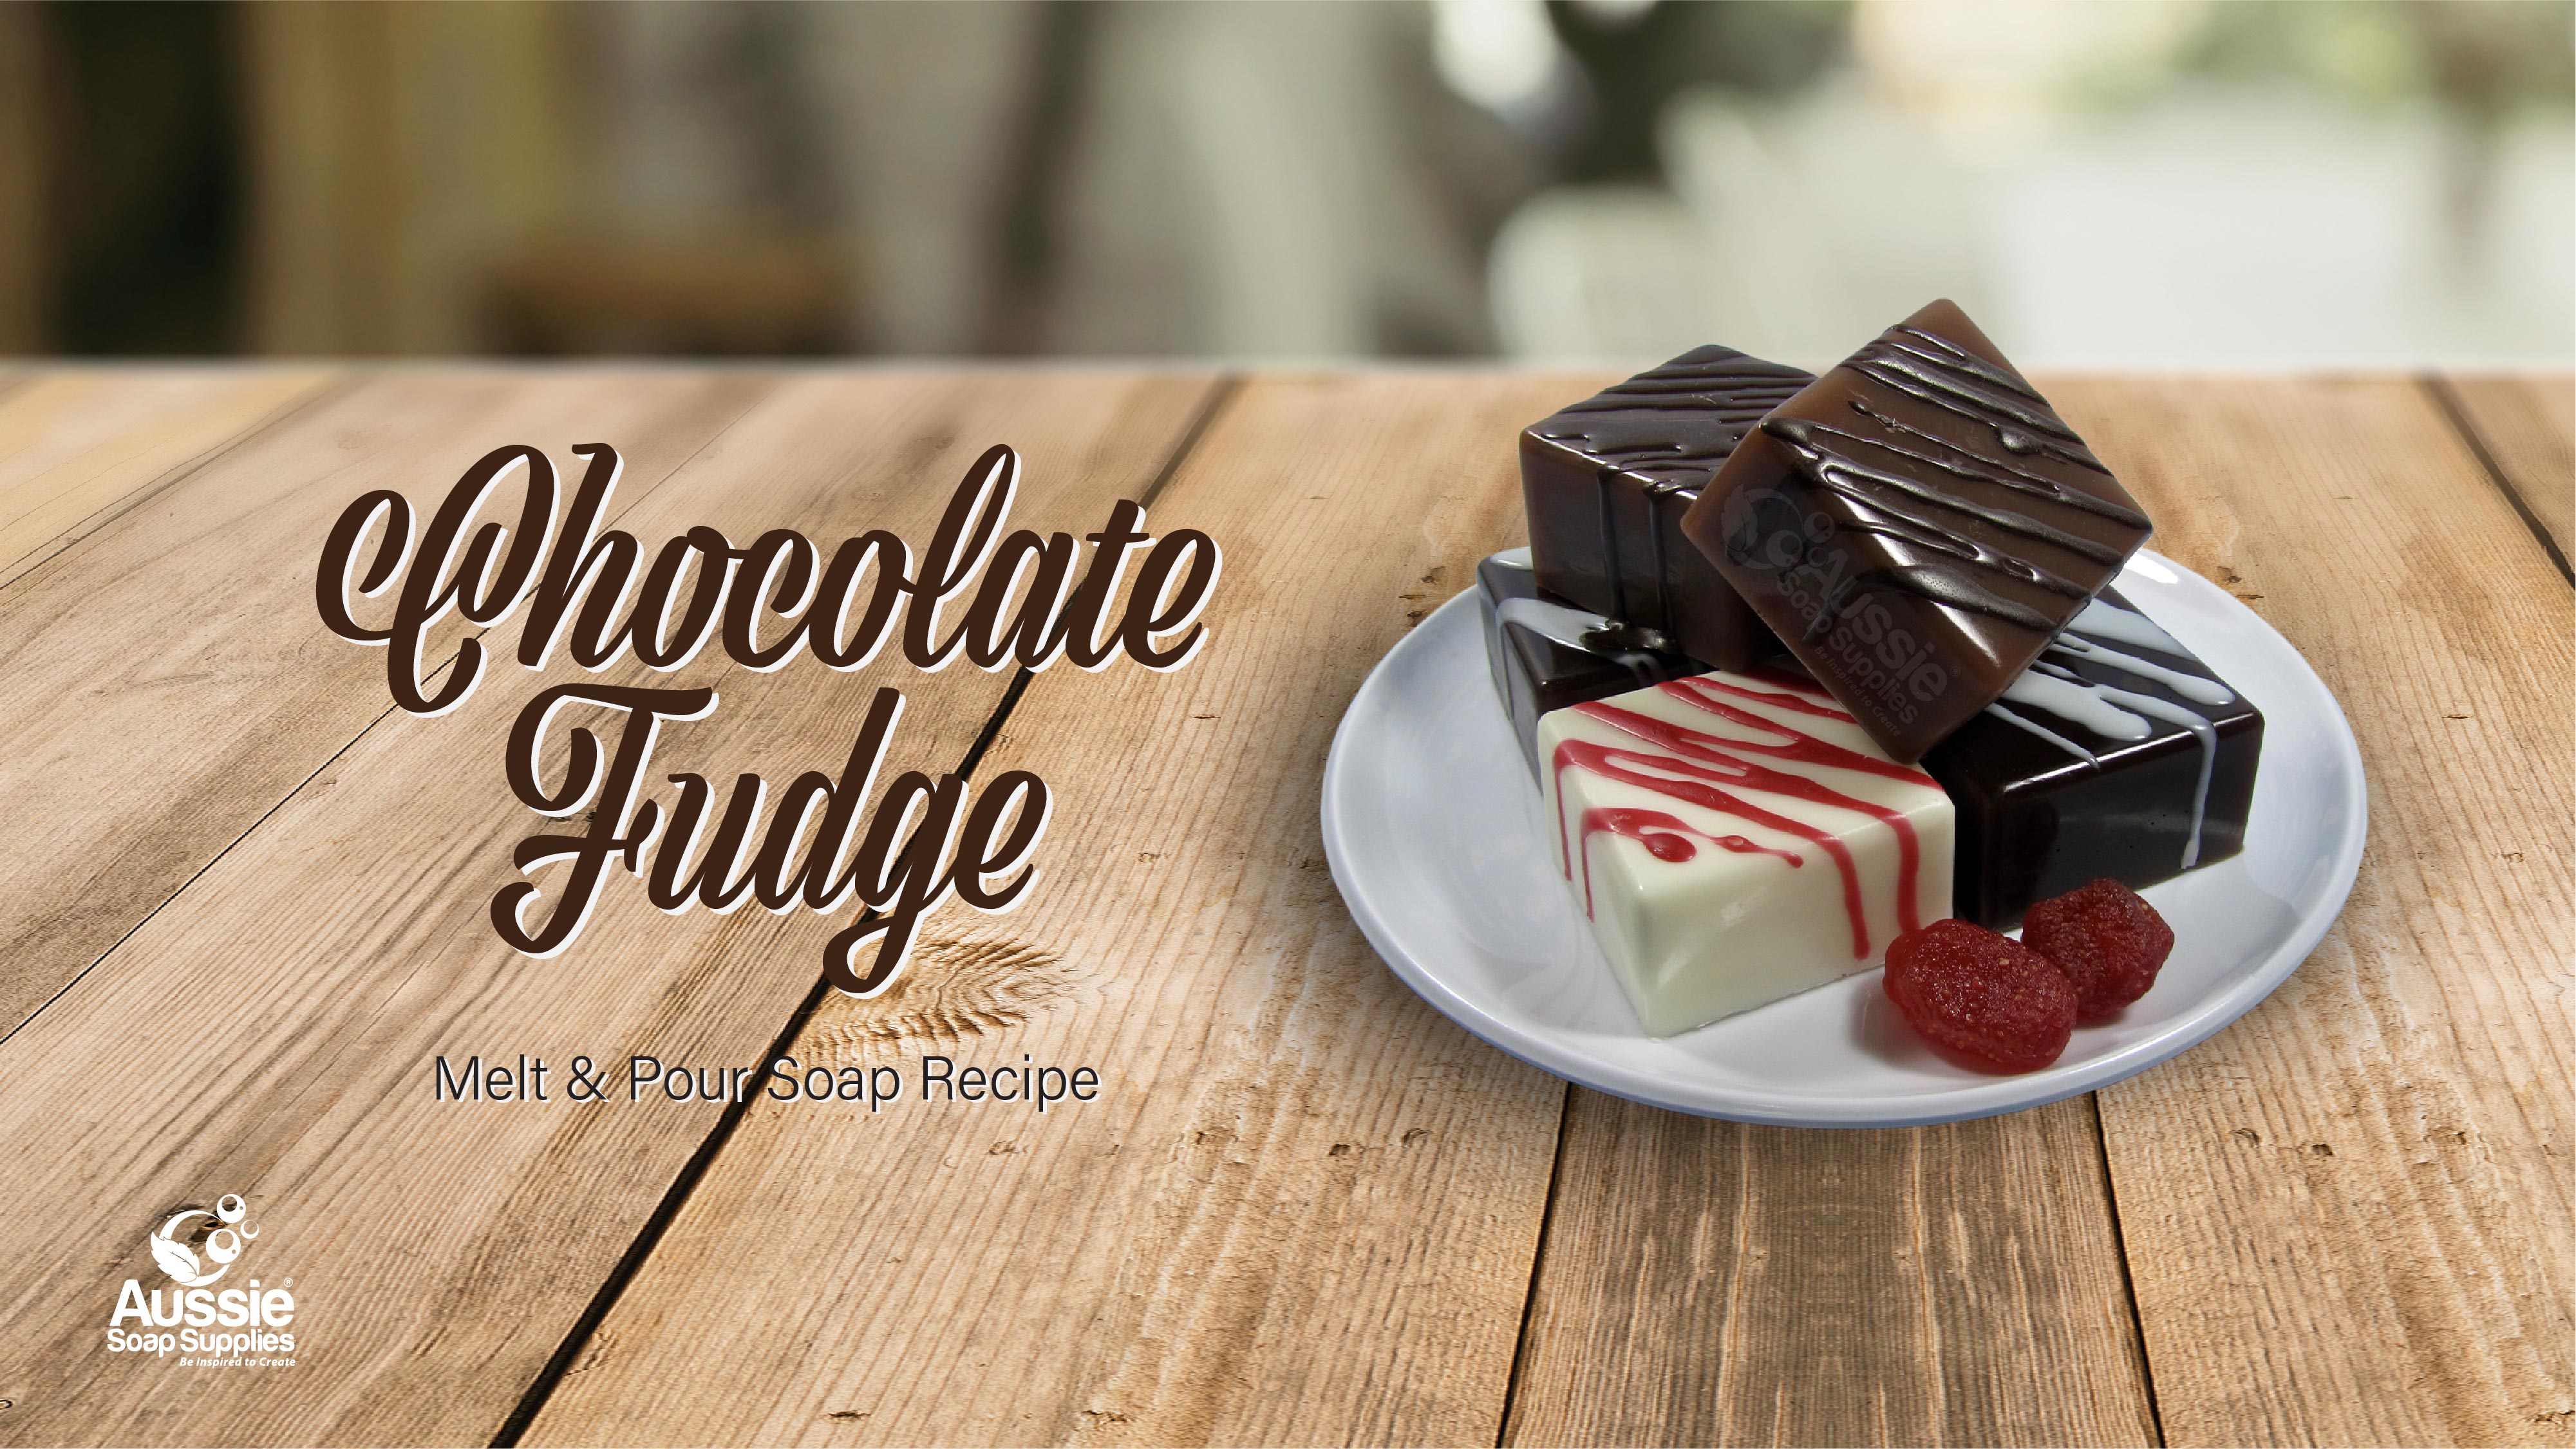
Treat yourself to our Melt & Pour Soap Chocolate Fudge Squares – they smell delicious and won't add to your waistline! From kids to adults, everyone loves these soaps, and this project is suitable for beginners as well as more experienced soapers.
You'll make 18+ soaps with this recipe; 6 of each of the three types of chocolate fudge squares - Milk Chocolate with a dark chocolate drizzle, Dark Chocolate with a white chocolate drizzle, and White Chocolate with a raspberry drizzle.
Ingredients:
- 1kg Clear Melt & Pour Soap Base
- 500g Goat's Milk (White) Melt & Pour Soap Base
- 25ml Chocolate Fudge Fragrance
- 25ml Black Raspberry & Vanilla Fragrance
- 50ml Vanilla Colour Stabiliser
- Liquid Brown Oxide
- Black Colour Block
- Salsa Red Colour Block
- Isopropyl Alcohol in a Spritzer Bottle - For spritzing the bubbles from the poured bars
* Please note, the mould pictured in the below graphics has been discontinued and replaced with a 6 cavity mould. We have also substituted black liquid dispersion with a black colour block, and red liquid dispersion with a red colour block. Please refer to step-by-step instructions below.
Equipment:
- Microwave - to melt the soap
- 1 x 750ml+ microwave safe jug
- 3 x Small microwave safe jugs or containers - for the drizzle soap
- Stirring spoons or spatulas
- A Thermometer is useful, but not essential
- 6 Cavity Square Mould
- Pipettes (with the tip cut off) to drizzle the soap over the top
- Digital Scales
Method:
- Set out the ingredients and equipment, ready to go.
- We recommend placing the silicone mould on a flat baking tray, in case you need to move the soaps before they have set up.
- Dice both soap bases into small 1 - 2cm cubes. Keep the cubes of Clear base separate from the cubes of Goat's Milk (White) base.
Milk Chocolate Fudge Squares:
- Place 350g of Clear soap base, and 40g of Goat's Milk (White) soap base into the large microwave safe jug and place in the microwave.
- Melt the soap base on medium power in 30 second bursts. This will take a few minutes depending on the microwave, so do keep an eye on it so it doesn't overheat.
- Remove from the microwave just before the last piece of soap base melts (this helps ensure you haven't over-heated the soap). Stir to melt the last piece of soap base.
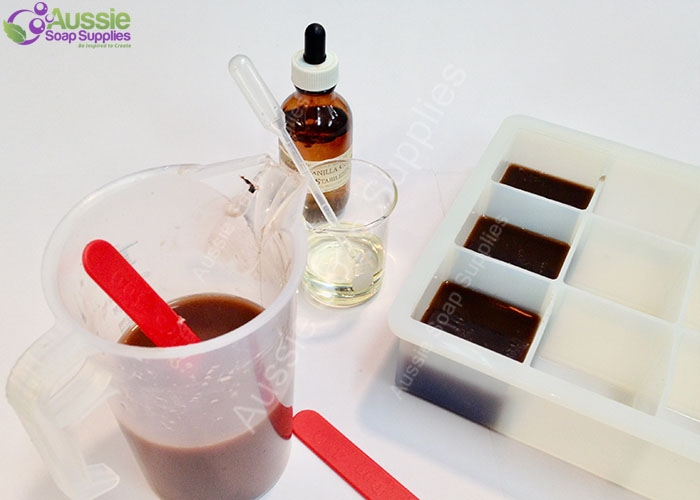
- Now for the Milk Chocolate colour. Slowly drip the Liquid Brown Oxide Colour into the melted soap base, stirring to combine well. Continue to add colour until you have reached your desired colour depth. *Take note of how many drops of colour you have used for this batch; you'll need to recall it when making the dark chocolate batch.
- Now add 6 - 8g/ml of Chocolate Fudge Fragrance, and stir gently to combine.
- Add the same quantity of Vanilla Colour Stabiliser as your fragrance. Stir to combine.
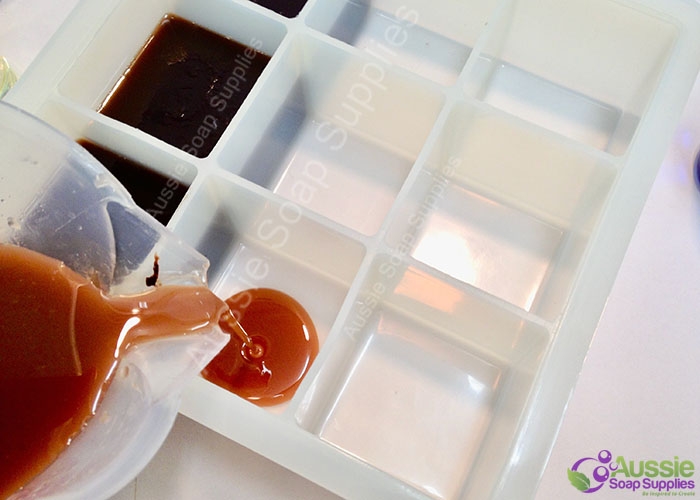
- Carefully pour the melted soap into the silicone mould.
- Spritz the surface of the soaps with isopropyl alcohol to remove any surface bubbles.
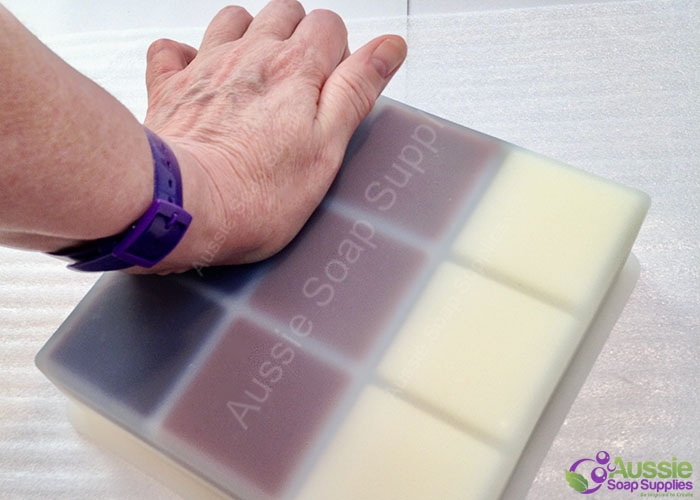
- Allow several hours for the soap to set up completely, even overnight depending on the ambient temperaure.
- Once set hard, unmould the Milk Chocolate soaps and set aside.
- Clean your mould, large microwave jug and soap stirrers, ready for the next batch.
Dark Chocolate Fudge Squares:
- Set out the ingredients and equipment, ready to go.
- Once again, place the silicone mould on a flat baking tray, in case you need to move the soaps before they have set up.
- Place 390g of Clear soap base into the large microwave safe jug and place in the microwave (there should be approximately 260g of clear soap base left over for your drizzle and for future projects).
- Melt the soap base on medium power in 30 second bursts. Take care not to overheat the soap.
- Remove from the microwave just before the last piece of soap base melts. Stir to melt the last piece of soap base.
- Now for the Dark Chocolate colour. Recall you took note of the amount of Liquid Brown Oxide you used in the first batch of Milk Chocolate squares? Add the same amount of Liquid Brown Oxide into this batch, stirring to combine through.
- Now add some small shavings of Black Colour Block to the jug and stir well. Continue to add colour block shavings until you have reached your desired colour depth - keep in mind, with colour blocks, a little goes a long way!
- Once you have reached your desired shade of Dark Chocolate, add 6 - 8g/ml of Chocolate Fudge Fragrance, and stir gently to combine.
- Add the same quantity of Vanilla Colour Stabiliser as your fragrance. Stir to combine.
- Carefully pour the melted soap into the silicone mould.
- Spritz the surface of the soaps with isopropyl alcohol to remove any surface bubbles.
- Allow the soap to set up completely.
- Once set hard, unmould the Dark Chocolate soaps and set aside.
- Clean your equipment, ready for the third batch.
White Chocolate Fudge Squares:
- Set out the ingredients and equipment, ready to go.
- Once again, place the silicone mould on a flat baking tray, in case you need to move the soaps before they have set up.
- Dice the Goat's Milk (or other white soap) base into small 1 - 2cm cubes.
- Place 390g of soap base into the large microwave safe jug and place in the microwave (once again there should be some leftover soap base to use for your drizzle and for future projects).
- Melt the soap base on medium power in 30 second bursts. Take care not to overheat the soap.
- Remove from the microwave just before the last piece of soap base melts. Stir to melt the last piece of soap base.
- No colour needed for this batch!
- Add 6 - 8g/ml of Black Raspberry & Vanilla fragrance, and stir gently to combine.
- Add the same quantity of Vanilla Colour Stabiliser as your fragrance. Stir to combine.
- Carefully pour the melted soap into the silicone mould.
- Spritz the surface of the soaps with isopropyl alcohol to remove any surface bubbles.
- Allow the soap to set up completely.
- Once set hard, unmould the White Chocolate soaps and set aside.
- Your chocolate fudge squares are now ready for their drizzle!
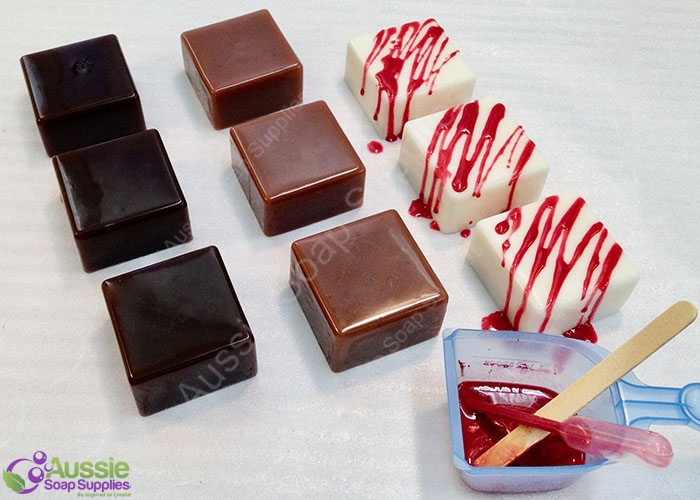
Preparing the Drizzles:
- Set out the ingredients, equipment and 3 small microwave safe jugs / containers.
- Place some cubes of soap into each of the three small jugs (2 x clear base, 1 x white base). You only need about 20 - 30g of soap for each of the drizzles, but if it's your first time trying this technique, we recommend melting a little more to be safe.
- Set your fudge squares out on a baking sheet, lined with baking paper (not essential, but easier to clean). Be sure to set the fudge squares out with their like colours, to make it easier when pouring the drizzle.
- Melt the first clear soap base - this will only take 10 - 20 seconds usually - do not let it overheat or boil or your soaps will sweat!
- Use the same colouring techniques as described when making the fudge squares. For the Dark Chocolate drizzle, drop some Liquid Brown Oxide and a sliver or two of Black Colour Block. Mix well.
- Cut the tip from the pipette to make a nice nozzle for the drizzle.
- Fill the pipette, and drizzle the liquid soap quickly over the Milk Chocolate Fudge Squares as pictured below. *It's important to work quickly so that the soap doesn't set up in the pipette. If it starts to set up, re-melt the soap taking care not to boil it, and continue working.
- For the Raspberry Coulis drizzle, repeat the above steps to melt the second jug of clear soap, then add shavings of the Salsa Red Colour Block to the melted soap, stirring, and adding more until you reached the desired shade.
- Snip the tip of another pipette and drizzle the raspberry coulis over the White Chocolate Fudge Squares (see picture below).
- For the White Chocolate drizzle, melt the white soap base, add a touch of Vanilla Colour Stabiliser, fill the next pipette and drizzle on to the Dark Chocolate Fudge Squares.
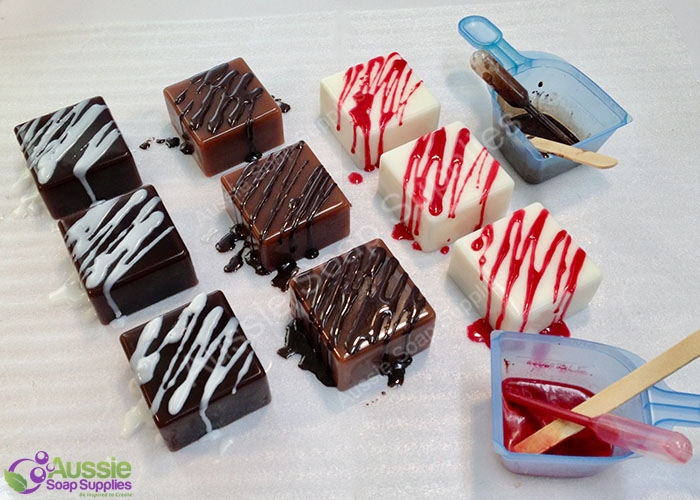
And voilà!
Once the drizzle has set, wrap your soaps, and may be best to label "Do not eat, this is soap!"
As mentioned, you'll have some leftover soap, colour and fragrance that you can use to make mini batches of these fudge squares, or simply label and store to use for your next project!
| Difficulty: | Beginner |
| Yields: | 18 bars |
| Time: | 1.5 hours |
| save: | No |
| sale: | No |


