

Our Sweet Dreams Bath Fizzies are quick and easy to make and will have you drifting off into a blissful state in no time! In pretty tickled pink and sherbet lemon colours, we even experimented with a speckled, tie dye style too! Topped off with our sprinkles for the perfect finishing touch. Makes for a lovely gift for yourself or a friend.
We recommend allowing the bath bombs to fully harden and dry for a day or two if possible. Store in a cool, dry place.
Ingredients:
1000g Bicarbonate of Soda
500g Citric Acid
100g Goats Milk Powder
50g White Aussie Clay*
1 - 2 teaspoons Sherbet Lemon Mica
1 - 2 teaspoons Tickled Pink Mica
25ml Fairy Garden Fragrance or your preferred Essential Oil
40g Apricot Kernel Oil
30g Polysorbate 80
1 set Fluted Dome Bath Bomb Mould
2 teaspoons Sweet Dreams Bath Bomb Sprinkles
Witch Hazel
Spritzer Bottle
*Can be omitted, but contributes to making a harder bath bomb. Delete from Trolley items if preferred.
Equipment:
2 x Medium - Large bowls or jugs - needs to hold 1 litre or more
Hand held balloon whisk, stirring sticks or spatulas
Sieve/strainer
Pipette for Fragrance or Essential Oil
Small beaker or cup for mixing liquids
Disposable gloves
Baking Tray
Method:

Set out all the ingredients and pour the Witch Hazel into the Spritz Bottle ready for use.
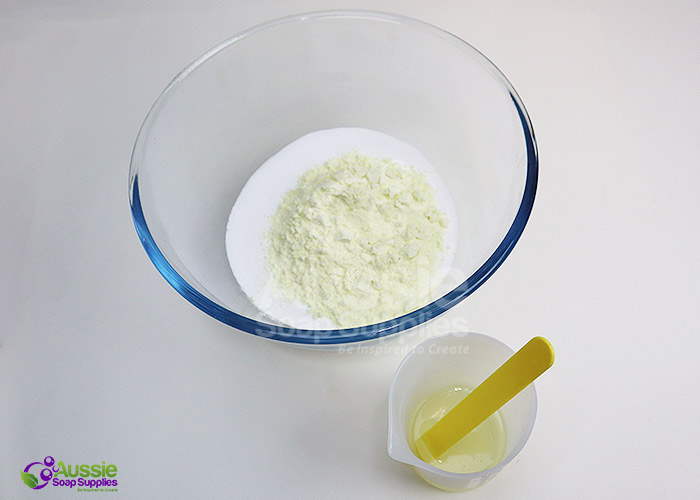
In the beaker combine 40g of Apricot Kernel Oil, 30g of Polysorbate 80, and 15 - 25g/ml of Fairy Garden Fragrance Oil.
Stir and set aside.
Sieve the following into a large bowl: 1000g Bicarbonate of Soda, 100g Goatsmilk Powder, and
the optional 50g White Aussie Clay.
Stir to combine and then divide the mixture into two equal portions.
Transfer HALF this mixture to a second bowl.
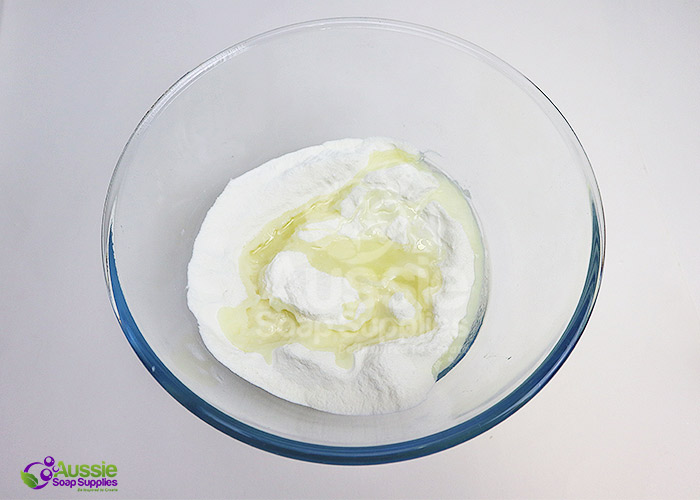
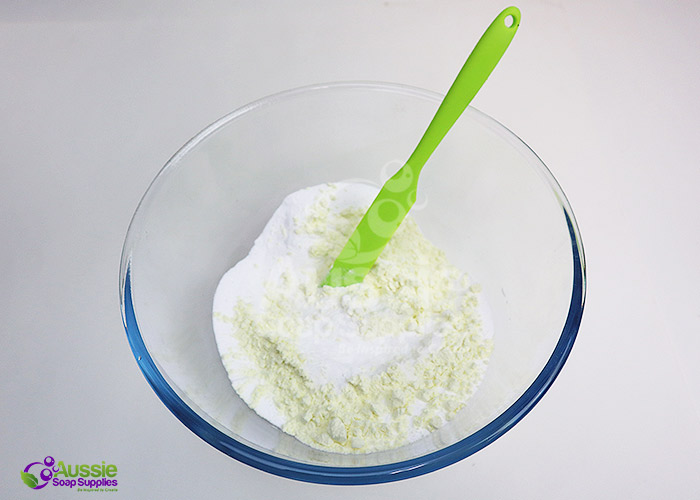
Add HALF the contents of the beaker to each bowl and mix well with the hand whisk until the mixture
resembles fine breadcrumbs.
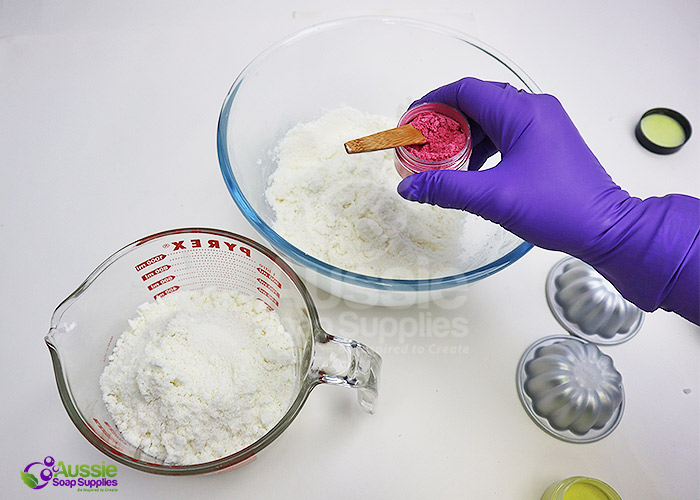
Now it is time to add colour!
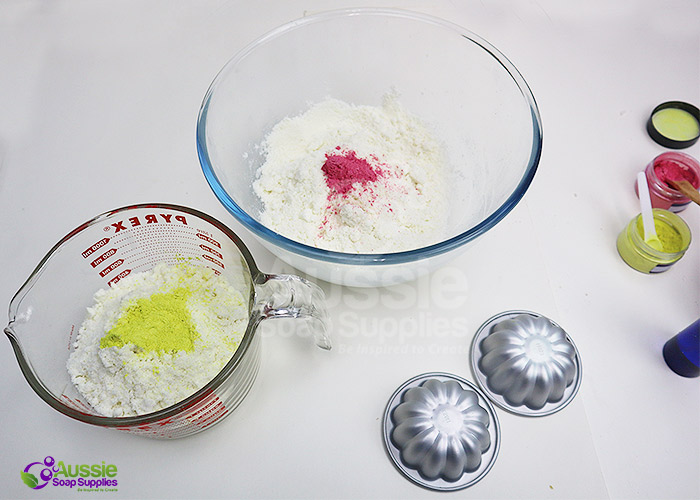
Add 1 - 2 teaspoons of Sherbet Lemon Mica into one bowl, and 1 – 2 teaspoons Tickled Pink Mica into the other.
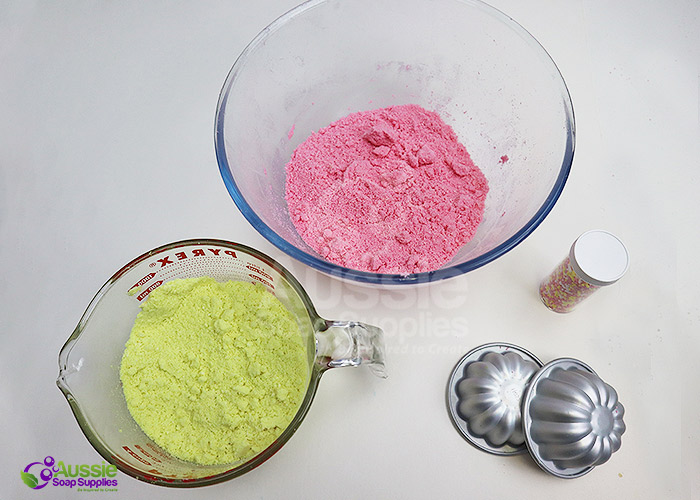
Carefully stir each one through the dry mixture.
Important! Now add 250g (half the bag) of Citric Acid to each bowl and stir well.
By adding it this late in the procedure there is less risk of activating the bombs.
Now it's time to begin spritzing with Witch Hazel.

Begin spritzing with the Witch Hazel about 4 ‘spritzes’ at a time. Don't use too much spray at once or you will activate the bombs!
If you haven’t already, you may like to get your hands into the mixture at this point.
Continue to mix with your fingers and spritzing until the mixture holds together in your hand.
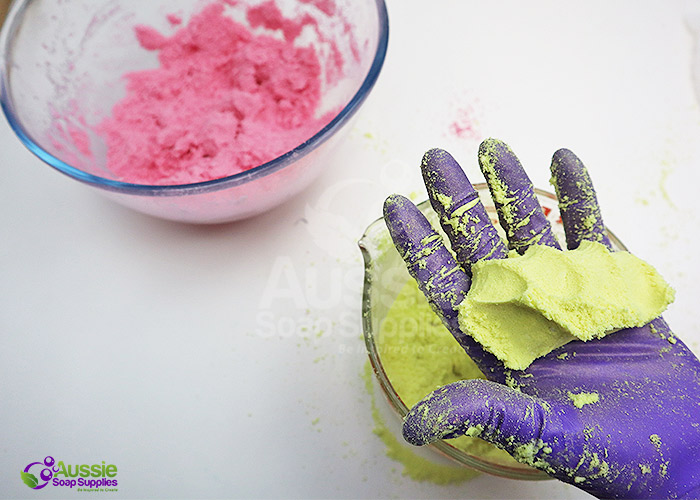
The mixture should hold together when squeezed VERY firmly in your hand and should still feel a little dry – if it is too moist it will start to activate.
Damp sand is the spot you are aiming for! Patience is the key.
You may also notice a temperature drop – this is the point when you have added enough moisture. You can’t always pick up on this, but most of the time you will feel the difference.

Place a small amount of sprinkles into the base of the moulds.
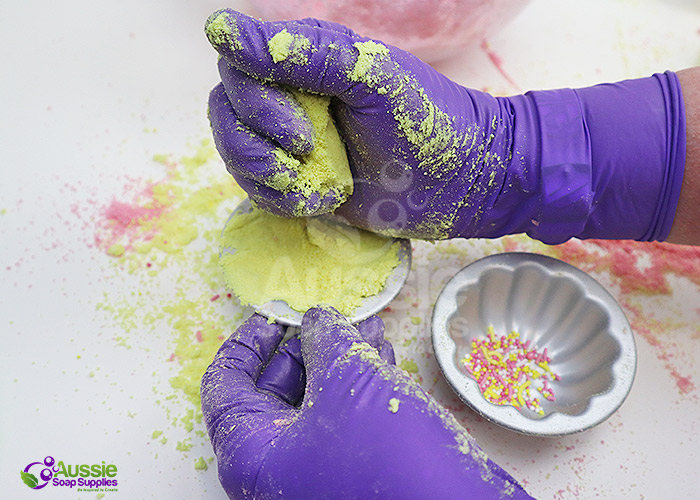
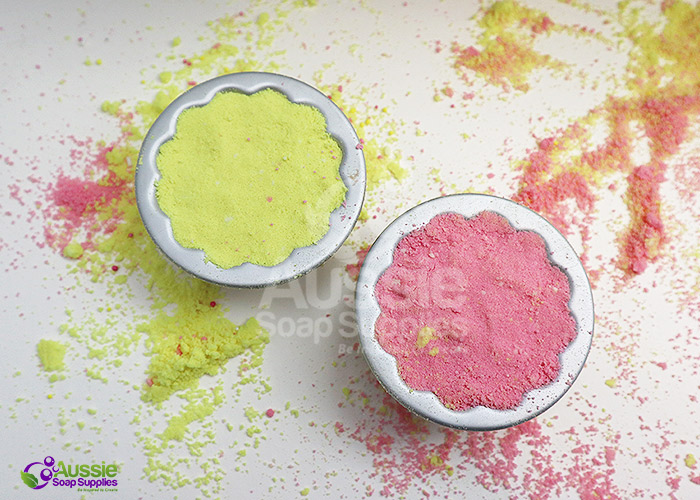
For all yellow fizzies, pack the entire mould with Sherbert Lemon mixture and smooth off the surface.
For all pink fizzies, pack the entire mould with the Tickled Pink mixture.
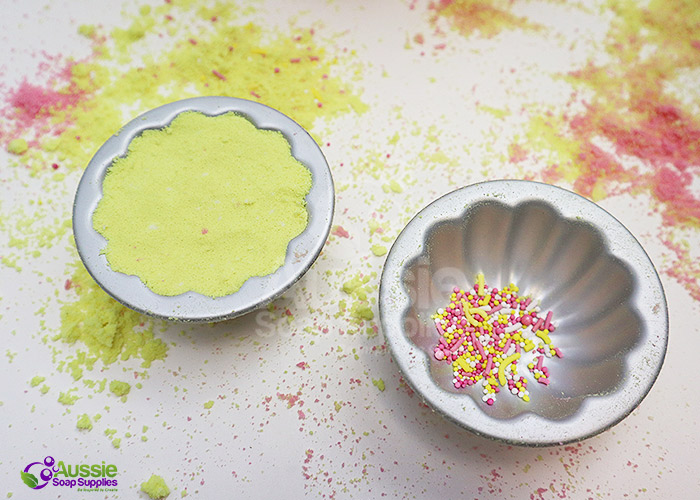
Pack the mould until it is level with the flat surface of the mould.

Do the same for the pink!
Leave in the mould for a couple of minutes and it's time to turn them out.
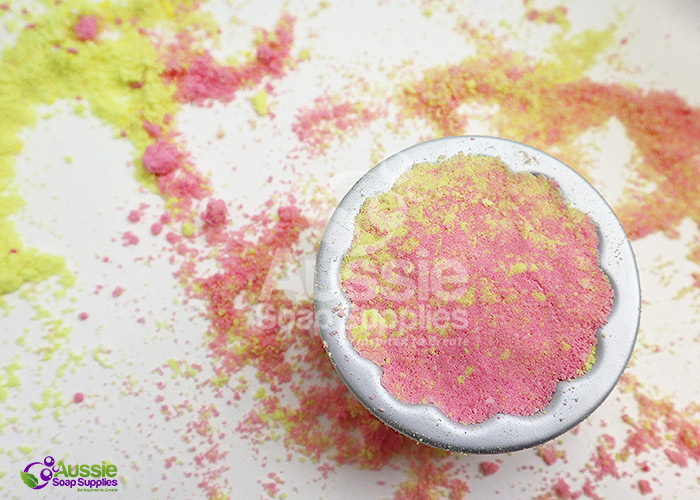
This is a two tone fizzy - simply fill the mould in two or three portions of alternate colours.
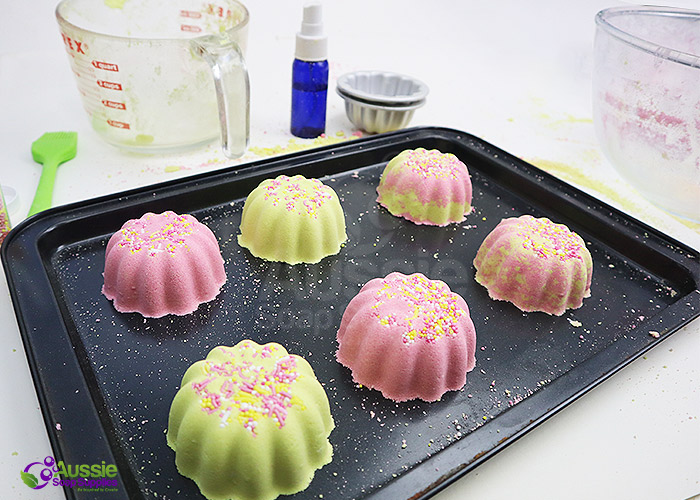
Now carefully sit the unmoulded bombs on the tray.
Firm, swift tapping onto the tray unmoulds them nicely.
Continue with the rest of the mixture, and then make up the second batch and repeat.
Cover the bombs with a paper towel or dry tea towel and allow to air dry for a day or two if possible.
If it is winter or humid weather use a dry cupboard or similar spot for them to set up.
Either wrap or store in an airtight container ready for use.
| Difficulty: | Beginner |
| Yields: | 12 |
| Time: | 1 ½ hours |
| save: | No |
| sale: | No |


