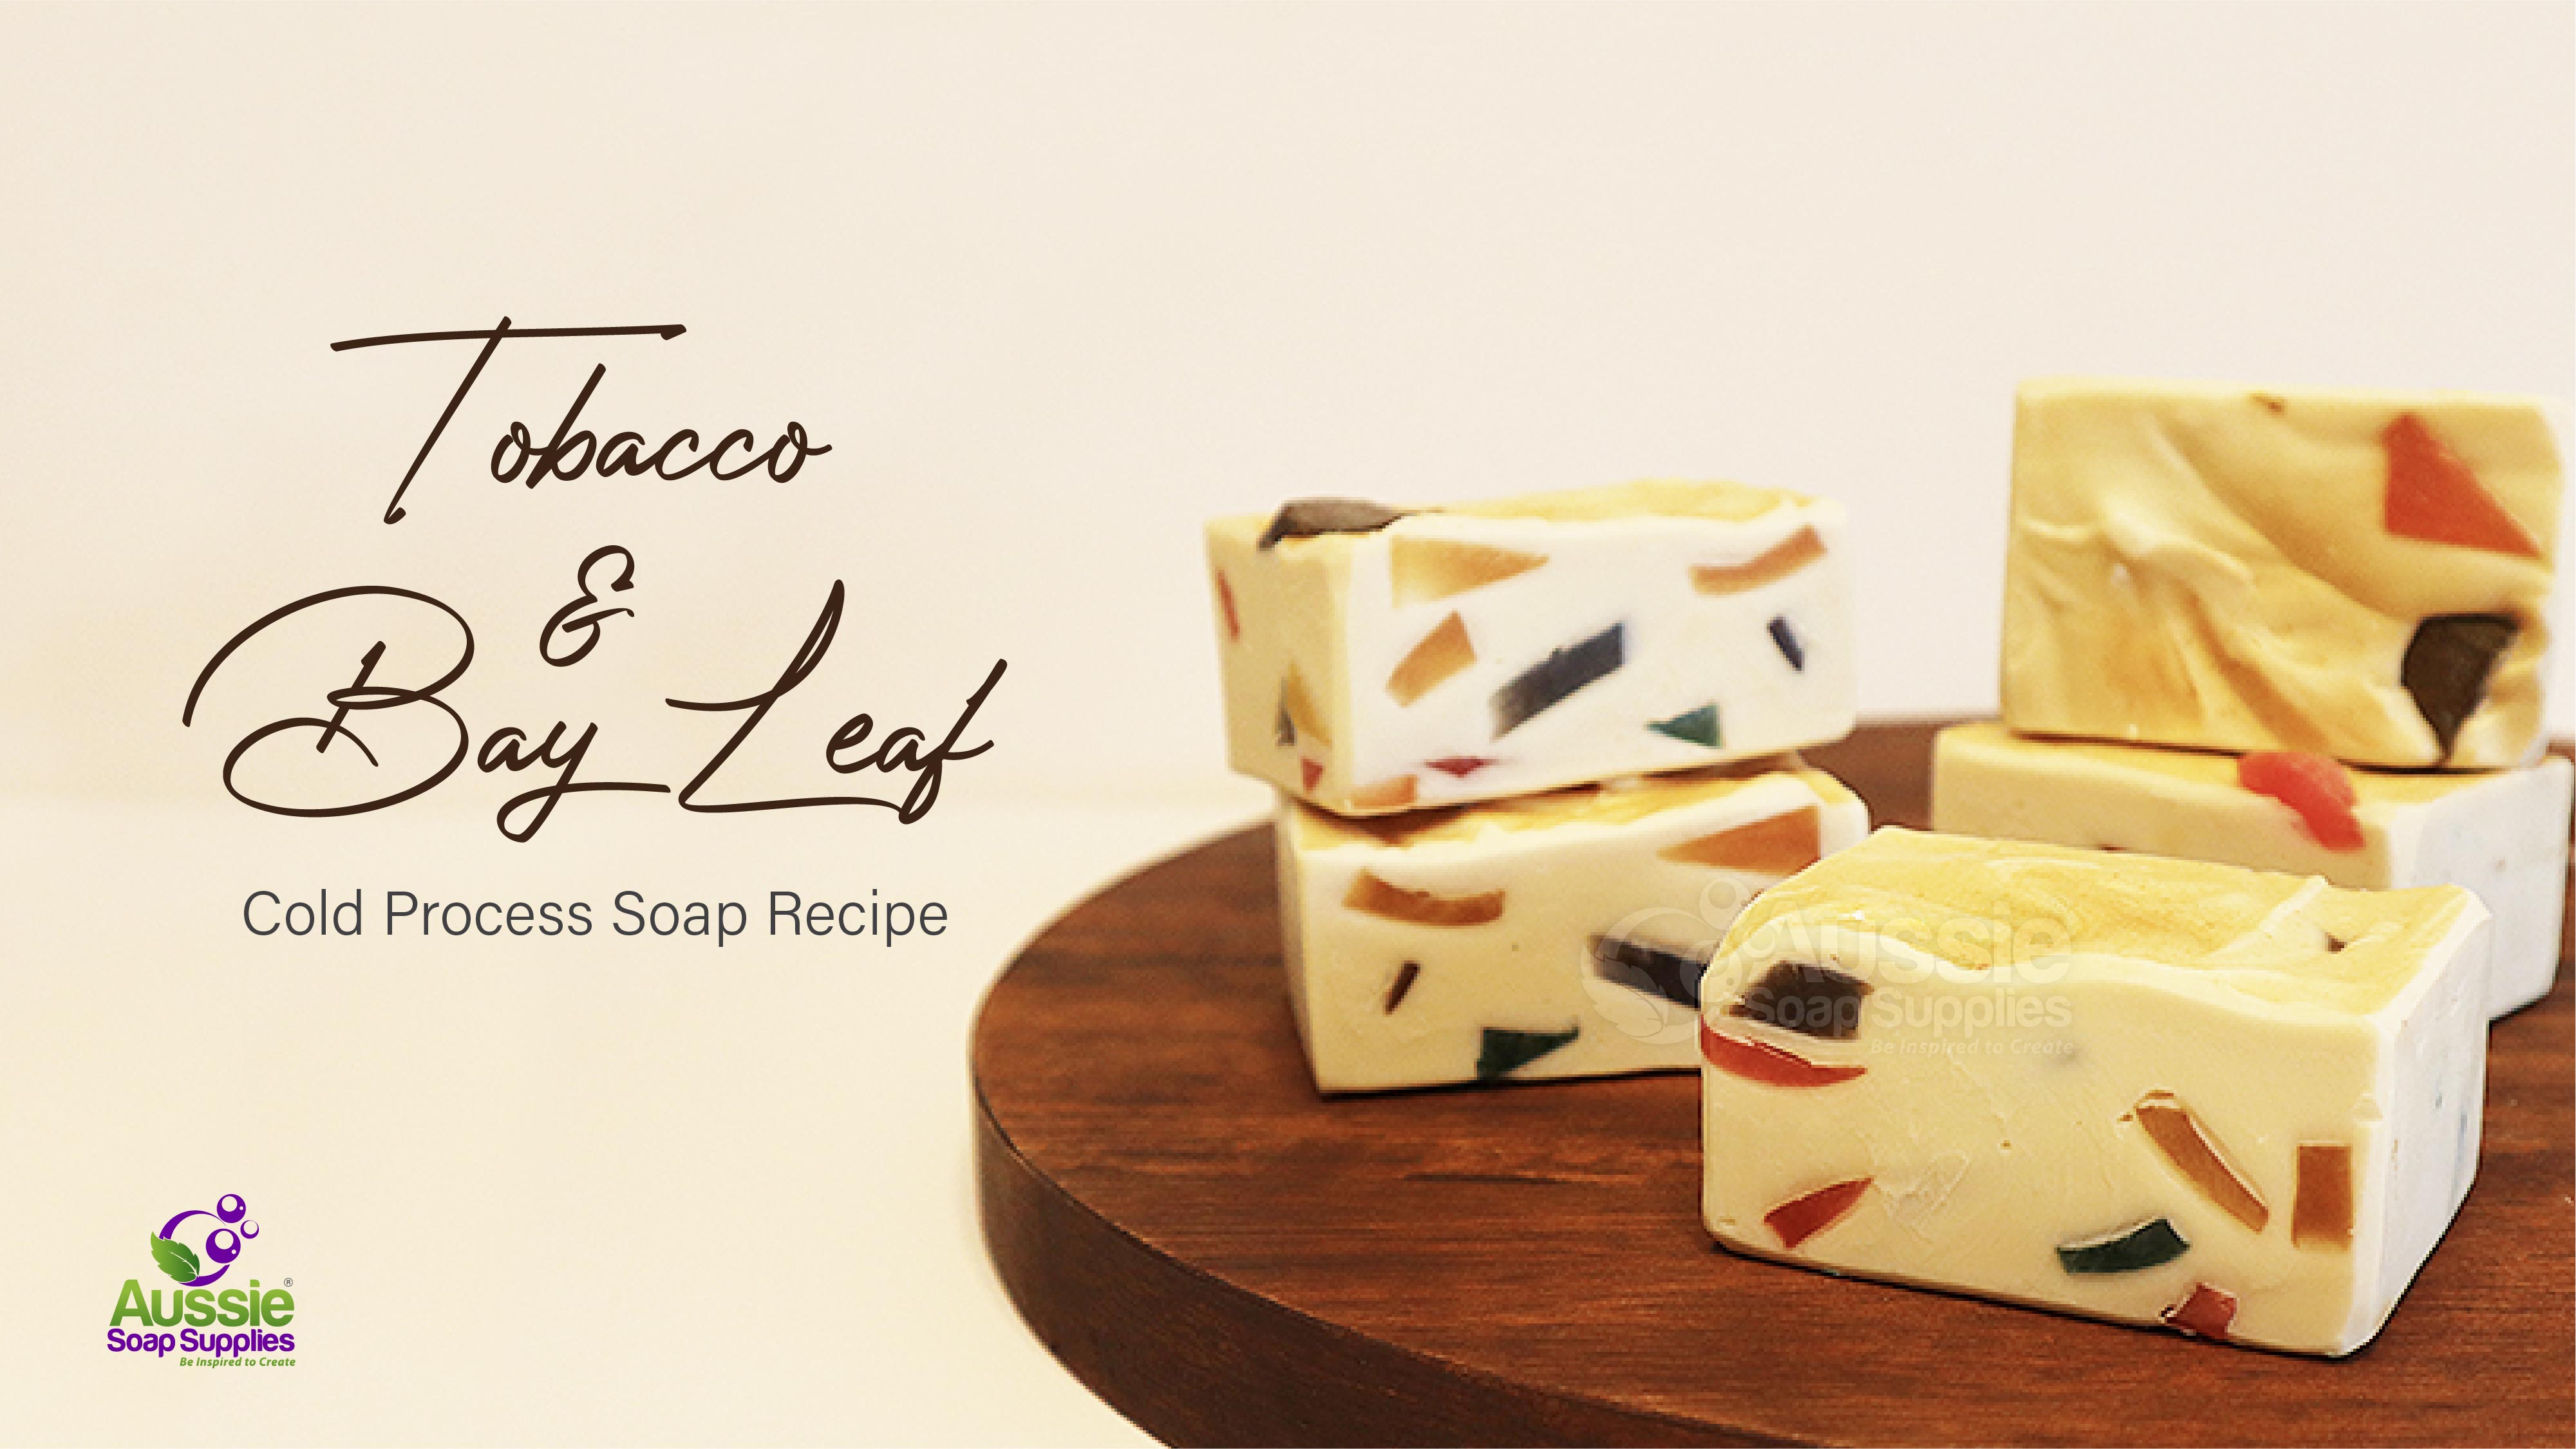
This delicious masculine soap was the first project we made in our new Wooden Slab Mould with its Silicone liner.
It is scented with Tobacco and Bay Leaf Fragrance which creates a stable, medium trace consistency that holds the Melt and Pour Soap pieces nicely in place - plus it smells divine too!
The batch is uncoloured except for some Titanium Dioxide to balance out the slight mauve-ing that this fragrance can create in some batches. The Melt and Pour Embed pieces are made using autumnal coloured micas: I used Armadillo Green Mica, Swiss Chocolate Mica, Bumblebee Mica and Tangelo Mica coloured soap pieces). However, any colours that suit the theme will work equally well.
Though you can of course fill the mould, we used around 1400g traced soap plus the 180g Melt and Pour Soap chunks.
Ingredients:
- 100g Castor Oil
- 40g Cocoa Butter Pellets
- 300g Coconut Oil
- 300g Olive Oil
- 200g Rice Bran Oil
- 135g Sodium Hydroxide
- 350g Distilled Water
- 25g/ml Sodium Lactate Plus
- ¾ teaspoon Titanium Dioxide Powder
- 35 – 40g Tobacco & Bay Leaf Fragrance Oil
- 180 - 200g Melt and Pour Soap chunks – clear base works best
- Micas - if you are making the chunks from scratch you’ll need the Mica Colours (not included in Trolley)
- Midas Gold Mica – for dusting the top – optional
- Wooden Slab Mould with Silicone Liner
- Spare soap moulds to make the Melt and Pour Soap
- Isopropyl Alcohol and Spritzer Bottle - helpful but not essential
Equipment:
All your regular Cold Process Soap making equipment is needed including Safety Gear (Goggles and Gloves).
Jug to hold 2 litres traced soap
Knife to dice the Melt and Pour Soap
Small beaker to hold the Fragrance - helpful, not essential
If you have to make the Melt & Pour Soap pieces, your usual equipment and micas for those
Powder Sprayer or tea strainer/sieve to dust the surface with mica
Prep:
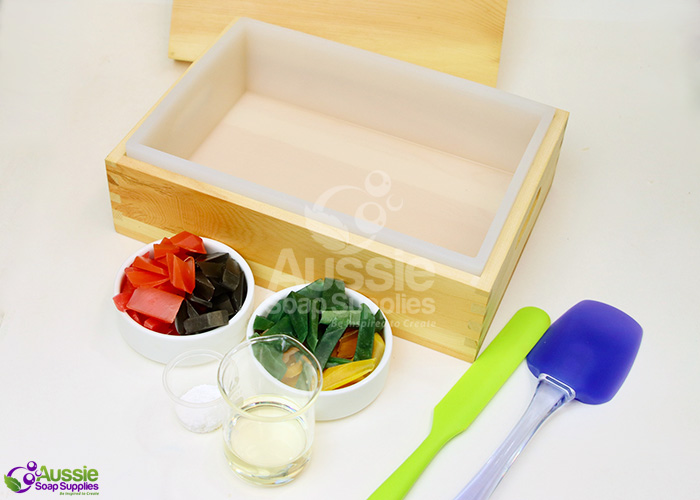
Make the Melt and Pour Soap in some spare soap moulds (or use some soap you already have on hand.) ¾ - 1 cm randomly sliced, flattish pieces look good. If you make them very deep they can stick out a little too much.
Method:
If you are a beginner, we recommend you make a few batches before attempting this soap so that you know what to expect. For how to make soap from Scratch, please see our Cold Process Soapmaking Instructions. You can also watch Soap Queen's You Tube Series on Cold Process Soapmaking.
Add the Sodium Lactate Plus and the Titanium Dioxide to the cooled lye water and stir to combine.
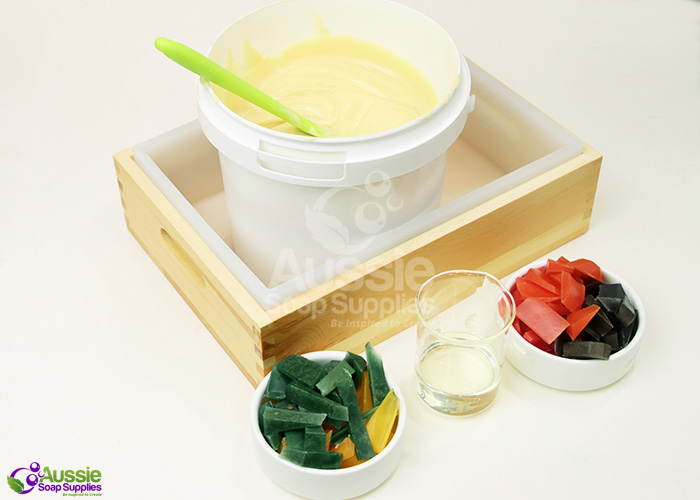
Having prepped the Melt and Pour Soap and fragrance, bring the soap to light trace.

Add the fragrance and stir manually to keep at light to medium trace.
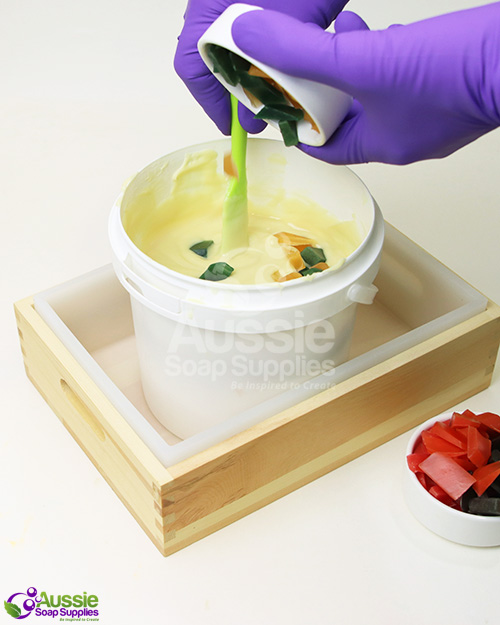
Now manually stir through the Melt and Pour Soap pieces.
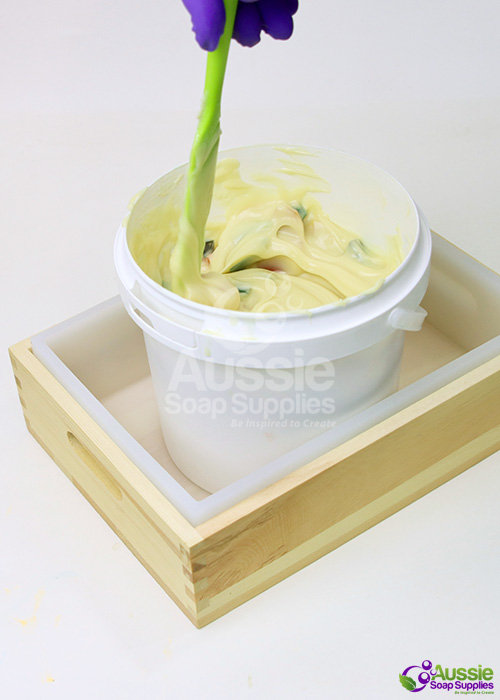
The soap does not seize, but does get thick. 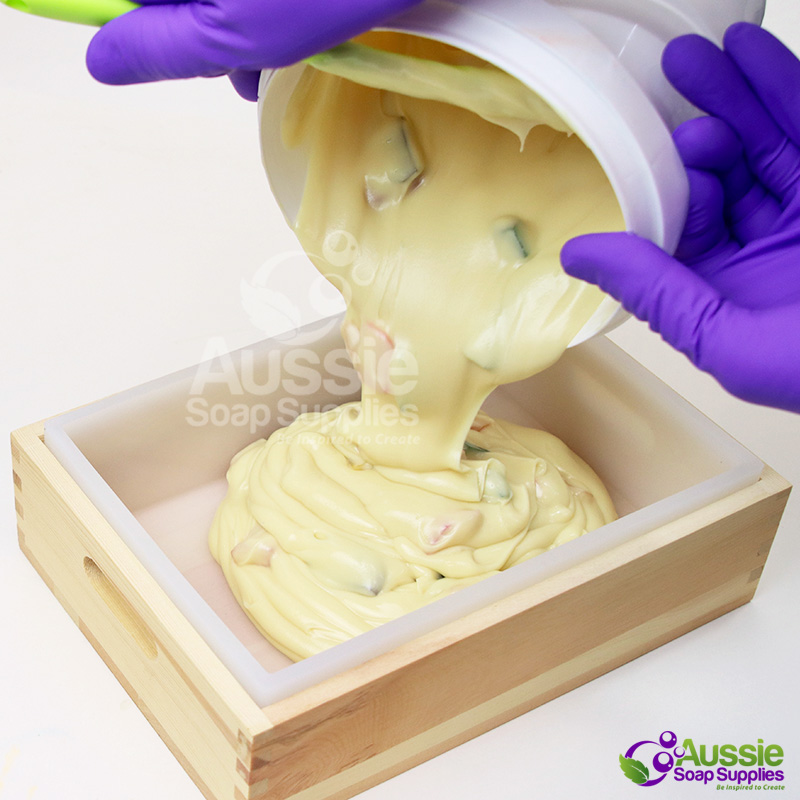
Pour into the slab mould and smooth out the surface with a spatula and then tap the mould on the bench to settle the soap.
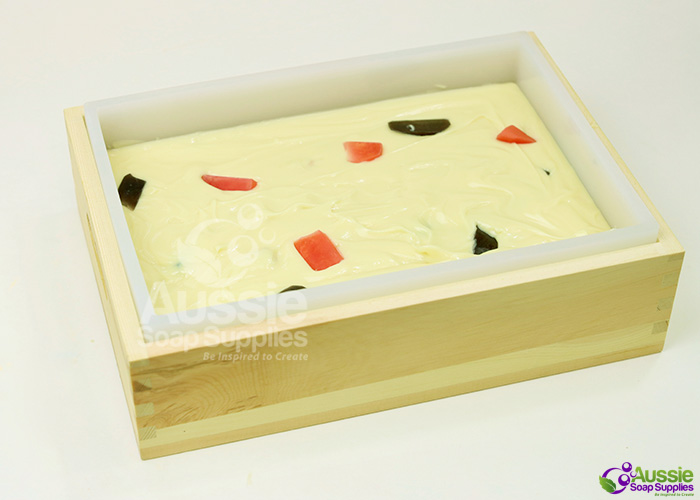
You can see the soap sits quite nice and smooth once this has been done!
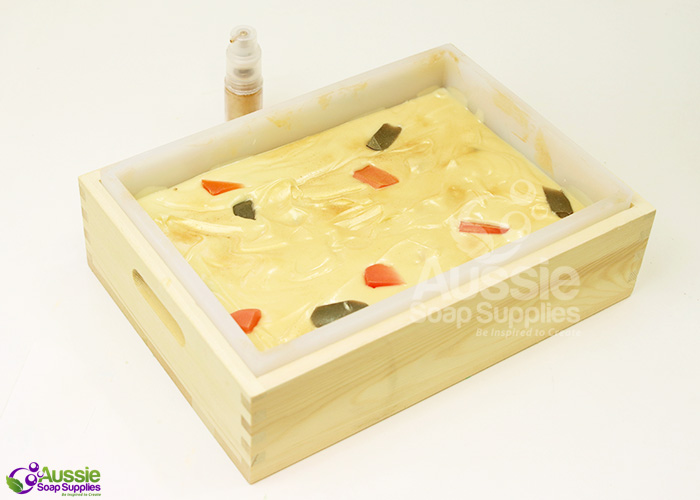
Lightly dust the surface of the soap with Midas Gold Mica.
You can spray the surface with Isopropyl Alcohol, this is optional.
Place the lid on the mould and leave for a couple of days.

Note: Taking the lid off the mould after a couple of days you can see the moisture (sweating) on the Melt and Pour Soap embed pieces.
In this project you can either wipe it off, or wait for it to evaporate again during the curing period (which is what I did).
Remove the lid and allow to sit in the mould for a few more days before unmoulding and cutting.
Leave to cure for four to six weeks.
| Difficulty: | Experienced Beginner |
| Yields: | 9 - 12 bars |
| Time: | 1 ½ hours |
| sale: | No |
| save: | No |


